Making the sleeves
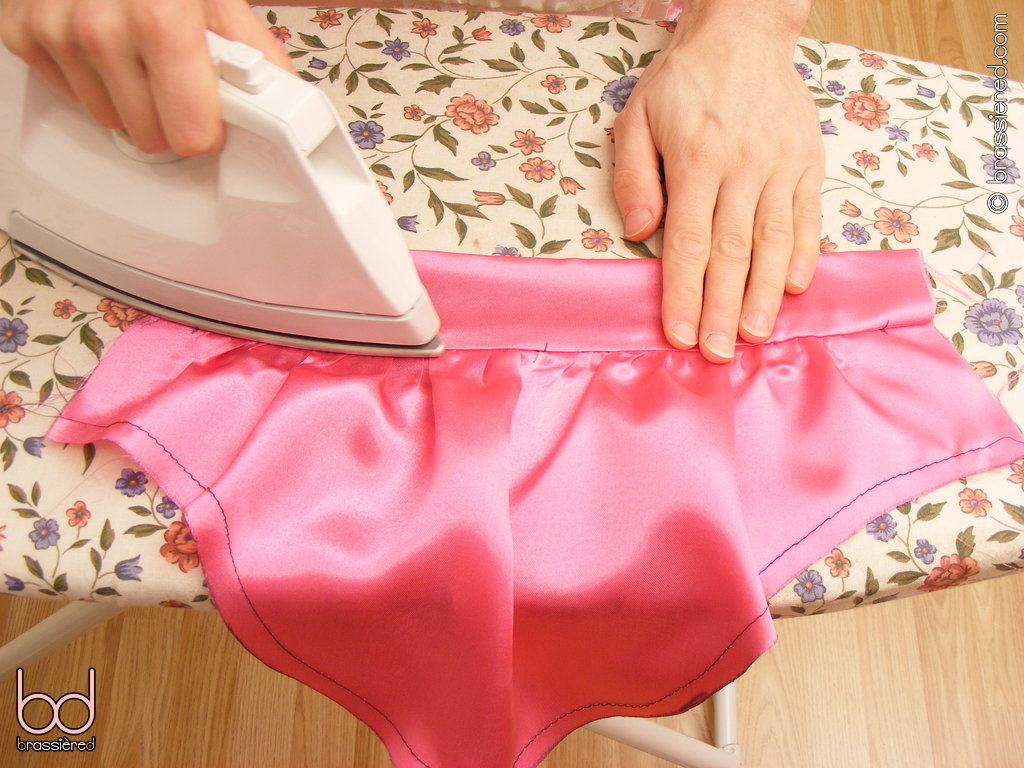
With the right side of the sleeve band facing down, fold one of its long edges up by your seam allowance and press (Figure 7.1).
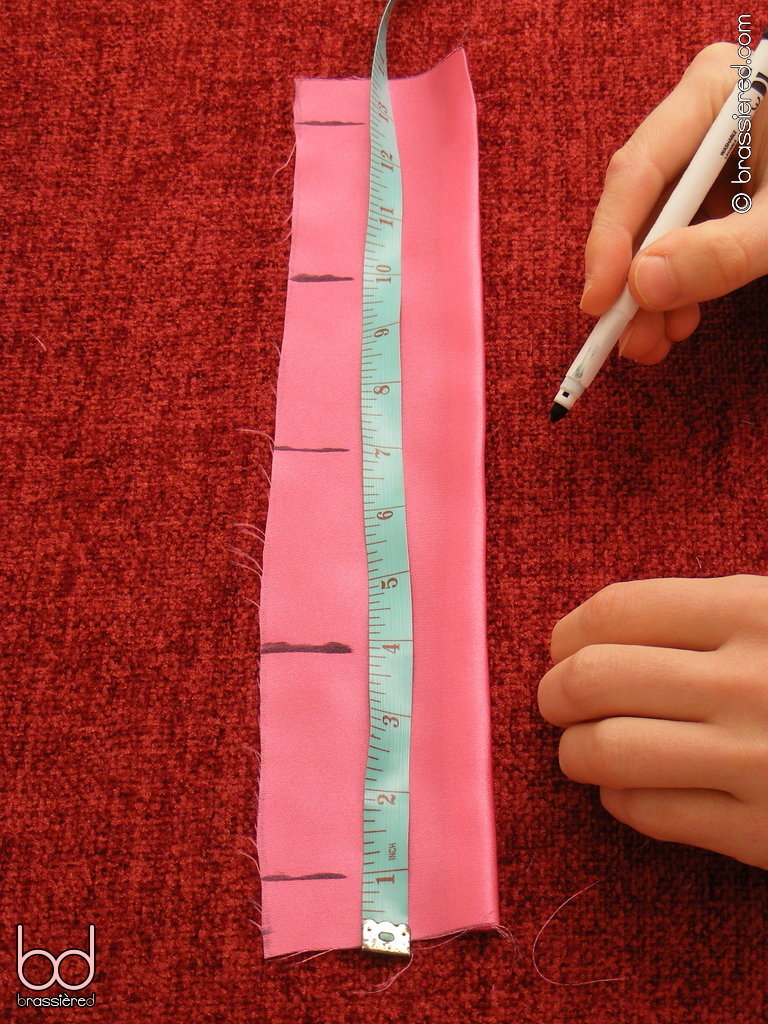
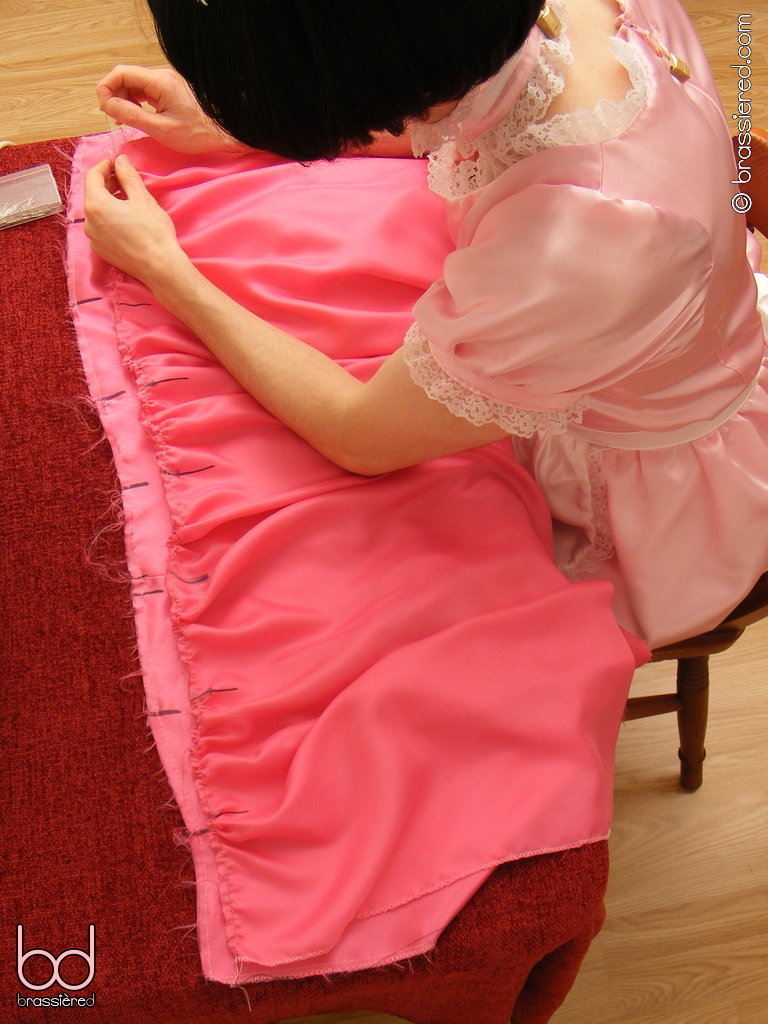
Along the other long edge of the sleeve band, on the right side, draw a short line 2.5cm / 1” in from either side. Split the distance between these two marks into four equal sections, marking the resulting quarters with similar lines. Do the same on the straight edge of the sleeve piece, this time on the wrong side (Figure 7.2).
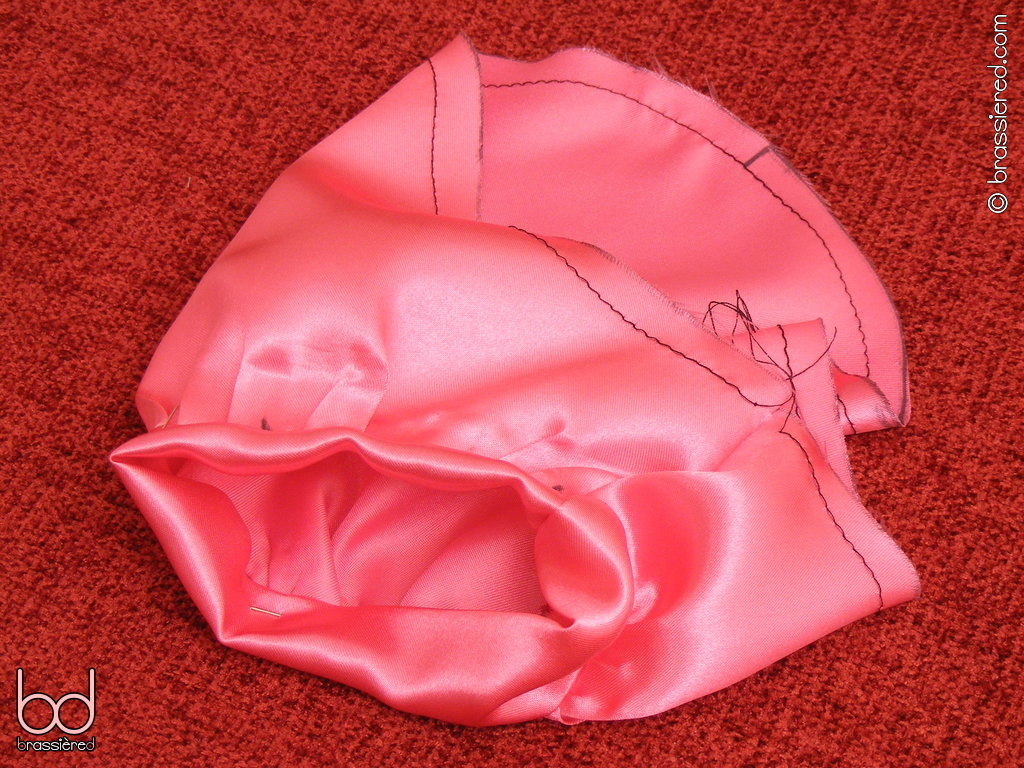
Sew a gathering stitch along the marked edge of the sleeve piece, such that the thread you'll pull sits on the wrong side of the fabric. As you did for the bib of the apron, keep it within your seam allowance, stitching from one side of the sleeve piece to the other. In Figure 7.3, my husband uses black thread for this, putting it ⅜” from the edge of the fabric. In due course, this stitch will disappear inside the seam of the sleeve band.
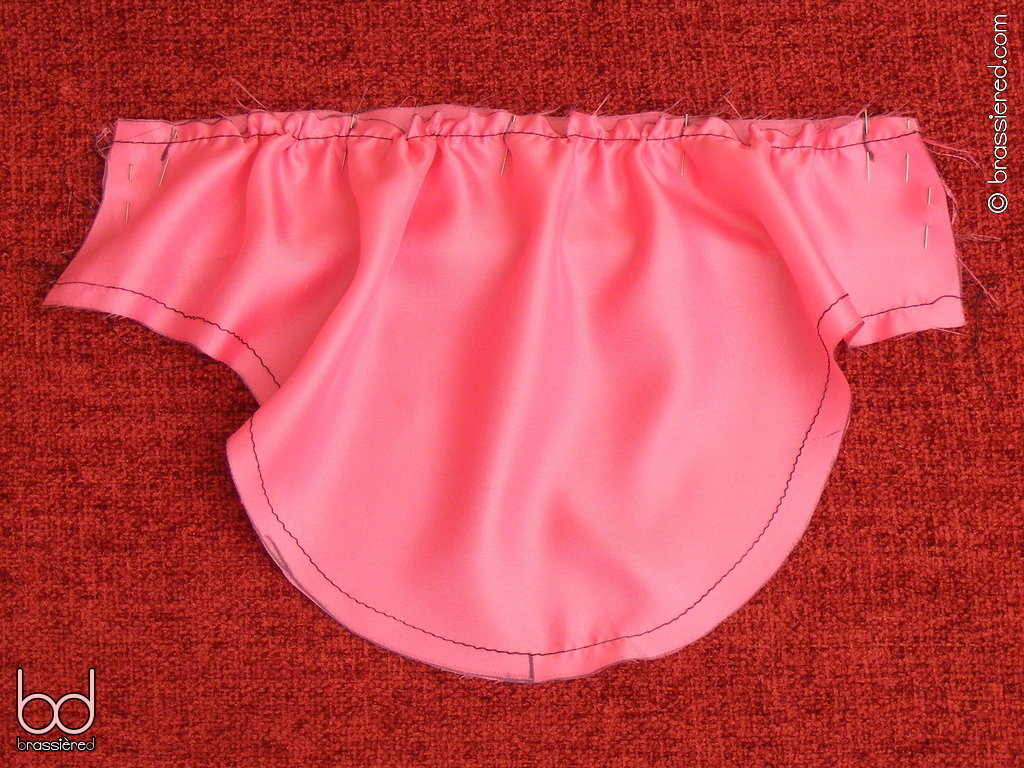
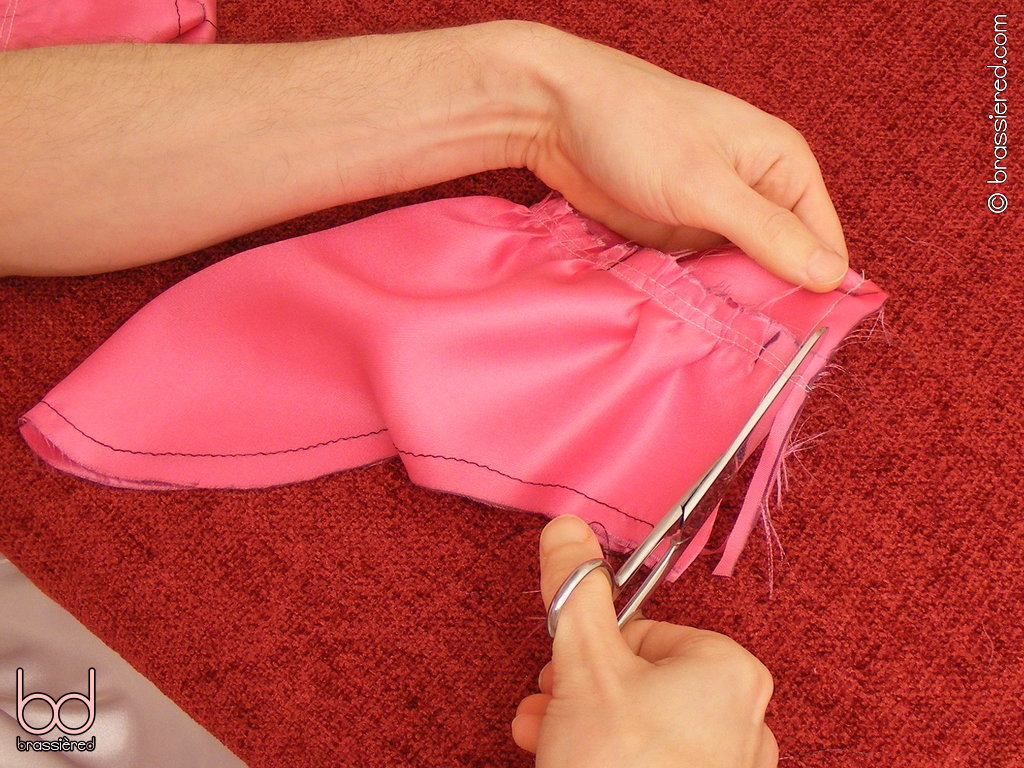
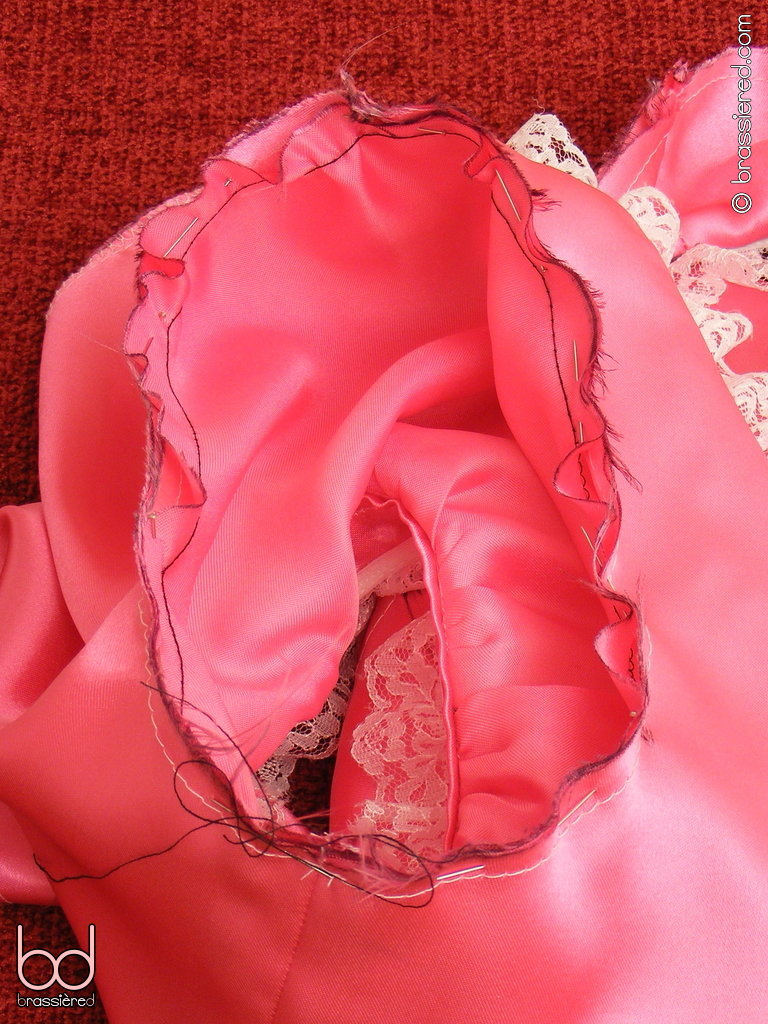
Now do the same along the curved edge of the sleeve piece, again so that the thread you'll pull sits on the wrong side of the fabric. Rather than stitching all the way from one side of the sleeve piece to other, start and stop 2.5cm / 1” from the edge to avoid the gathering threads being subsequently lost in the underarm seam of the sleeve.
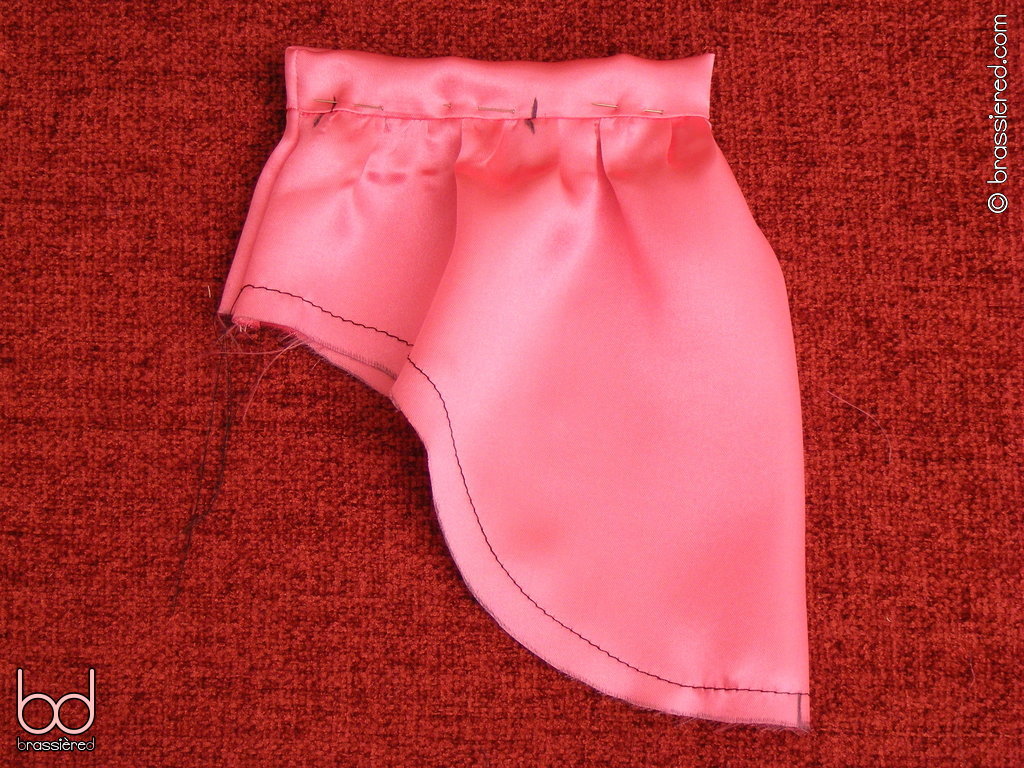
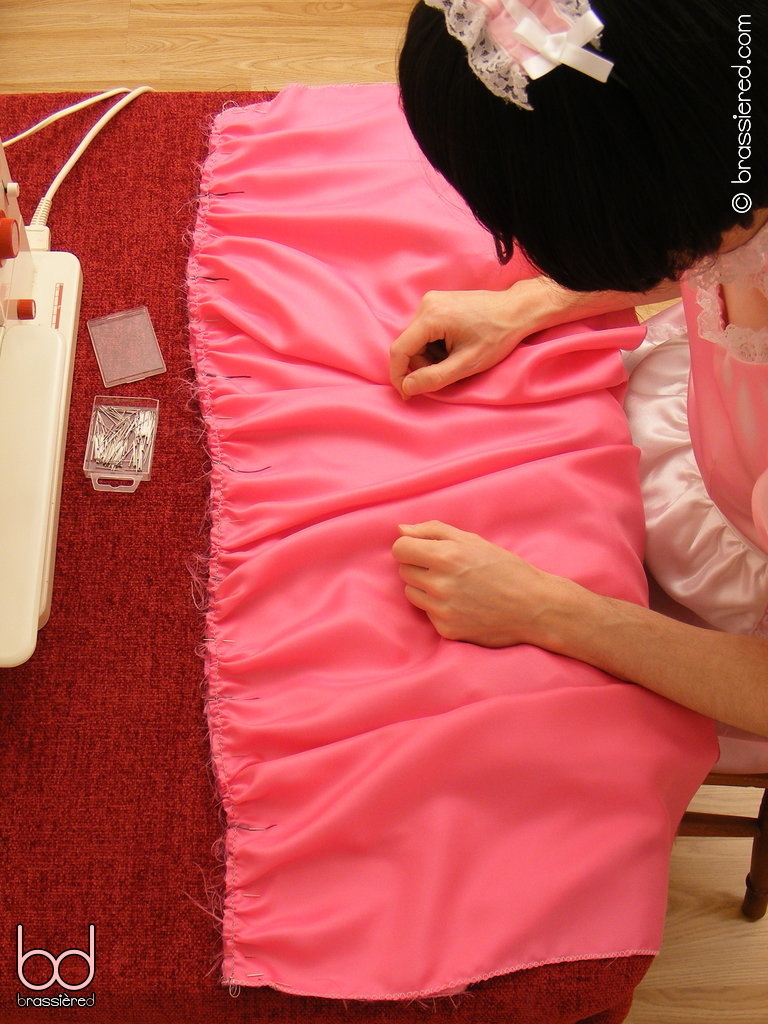
With the right sides together, align the marks on the sleeve band and sleeve piece, pulling the latter to fit before pinning it in place (Figure 7.4).
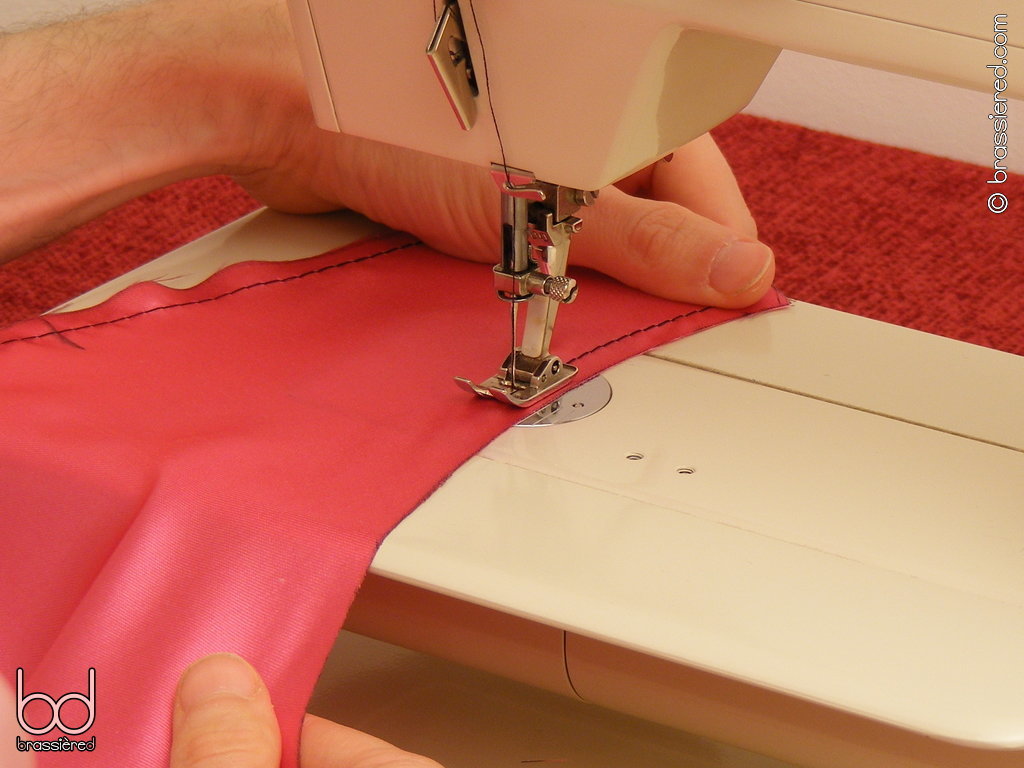
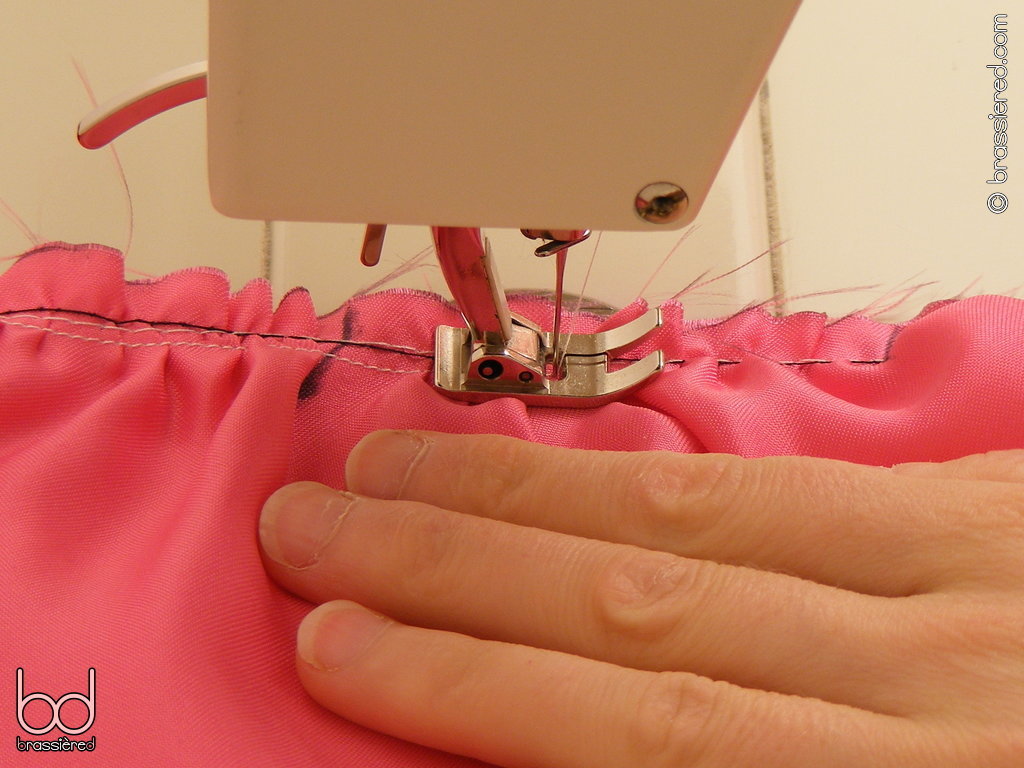
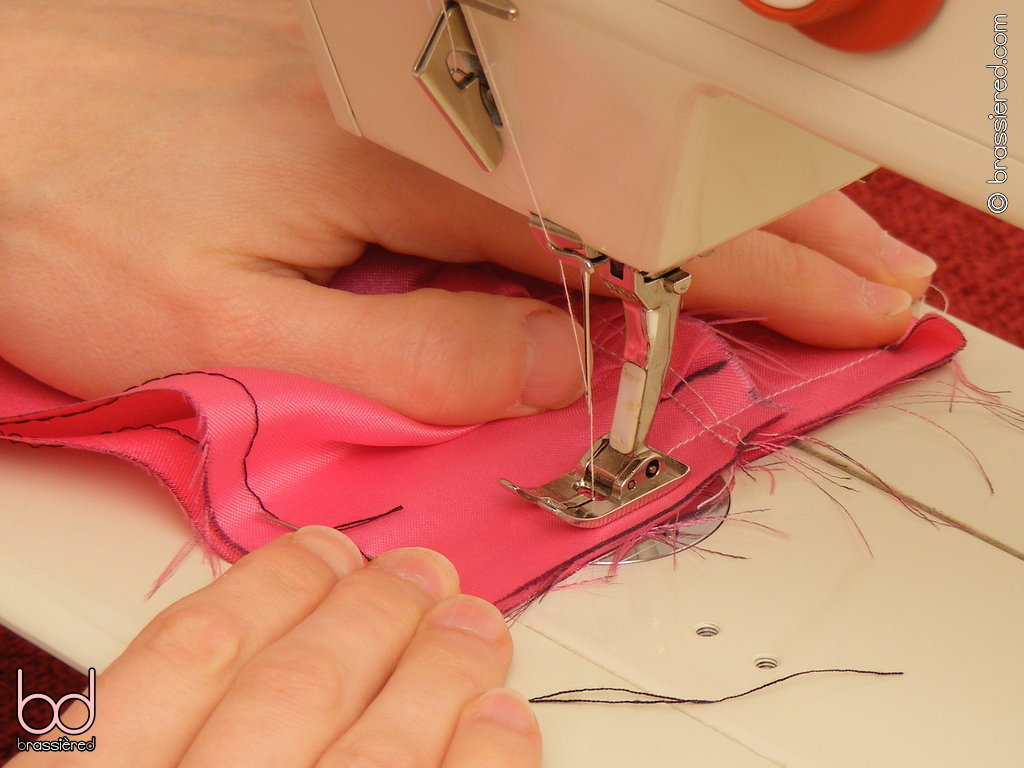
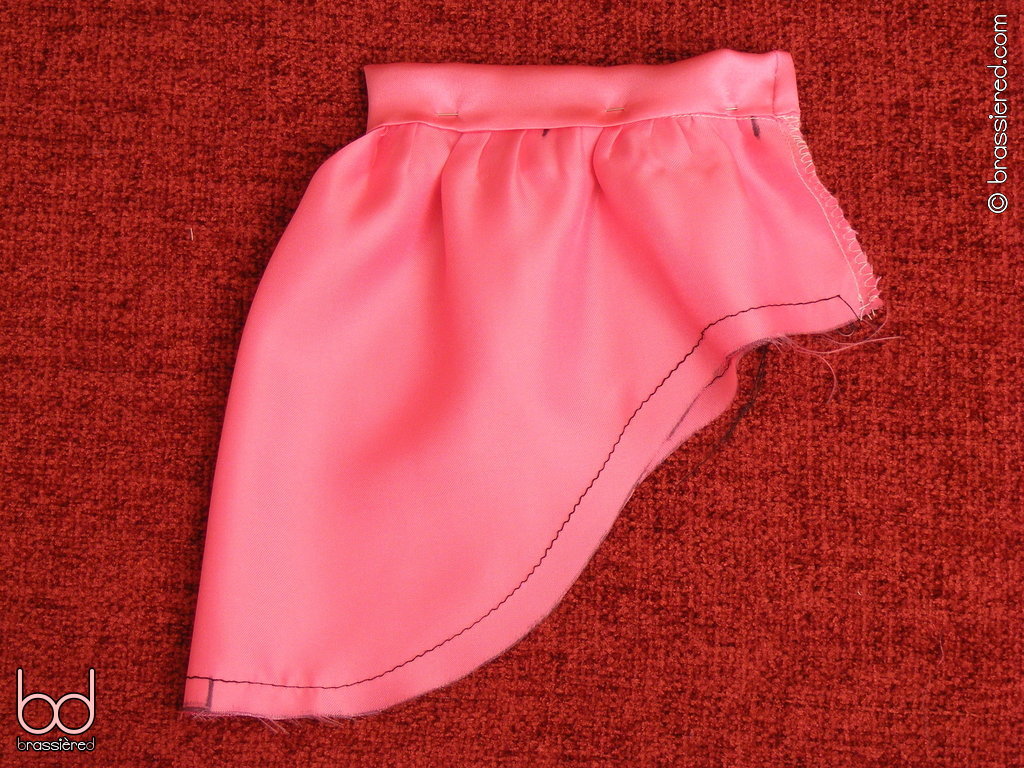
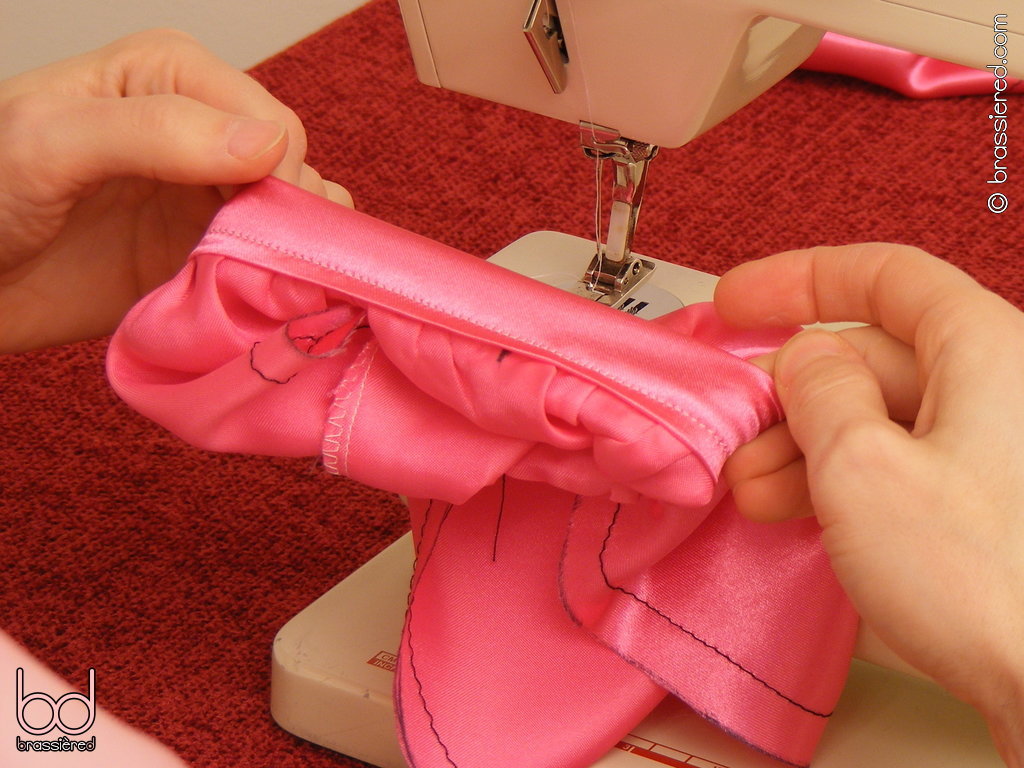
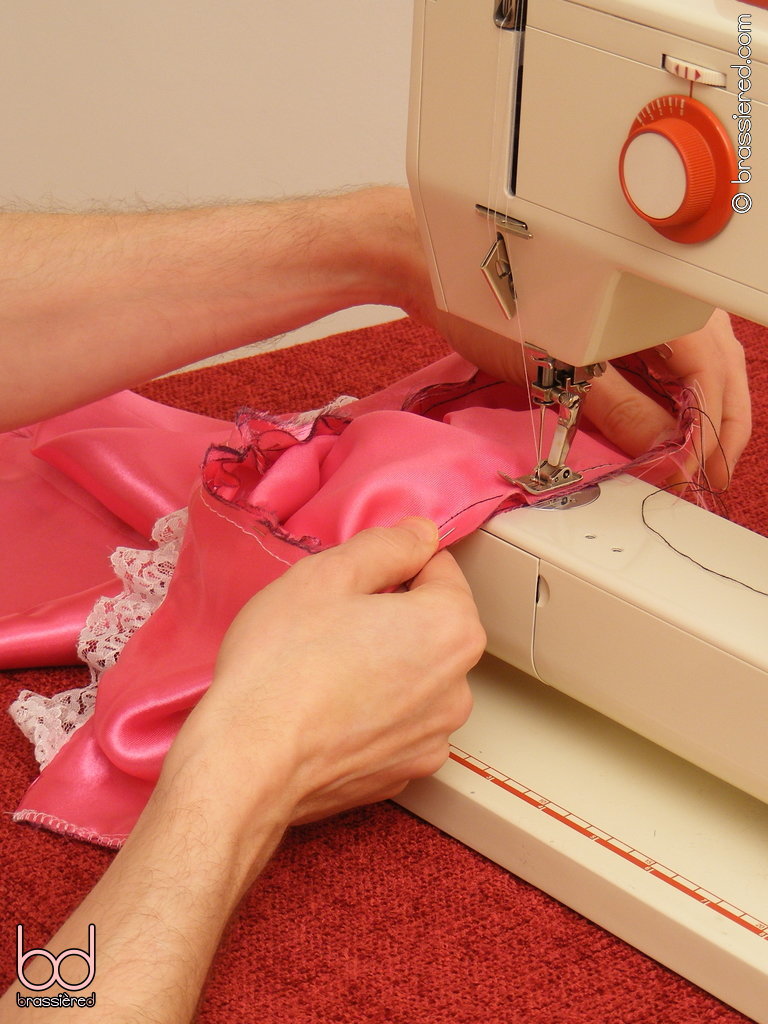
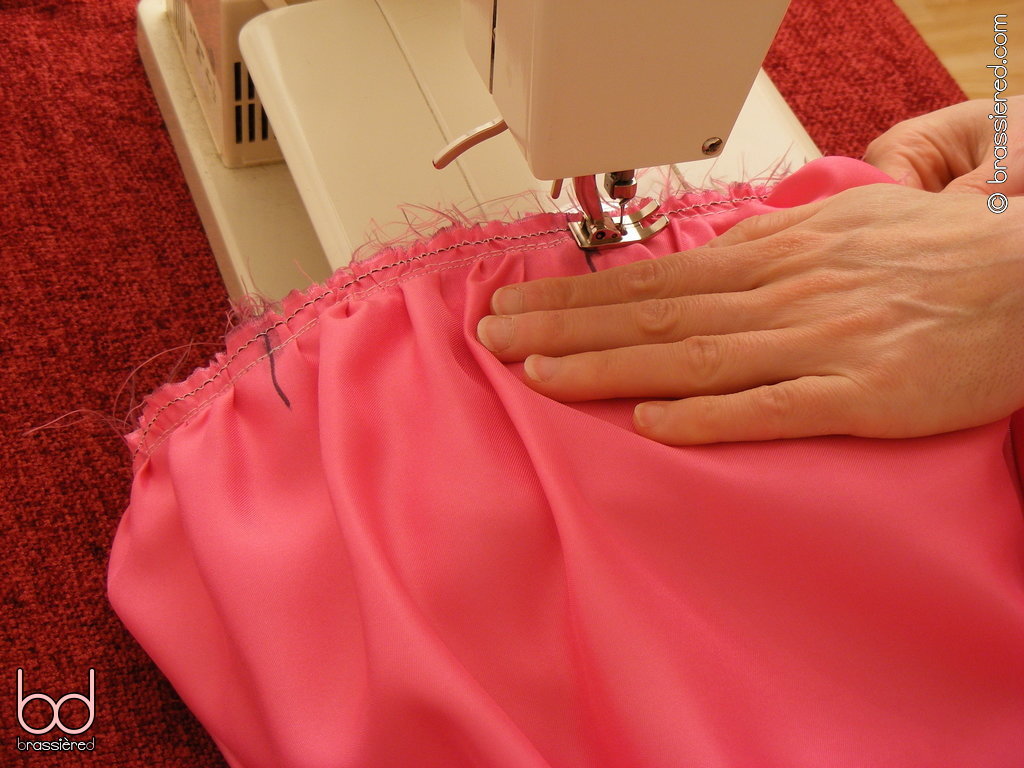
Remembering to reset the tension of your sewing machine if you haven't already done so, baste the sleeve band and sleeve piece together (Figure 7.5). Take a moment to check the resulting join, then sew them together with a regular stitch along your seam allowance.
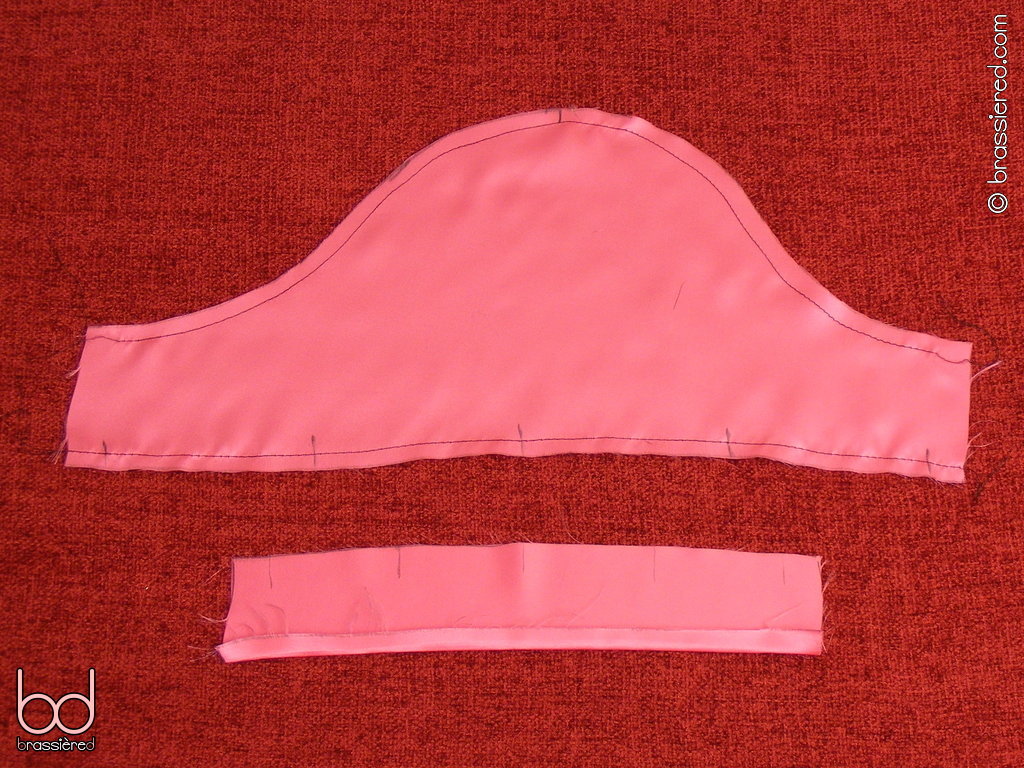
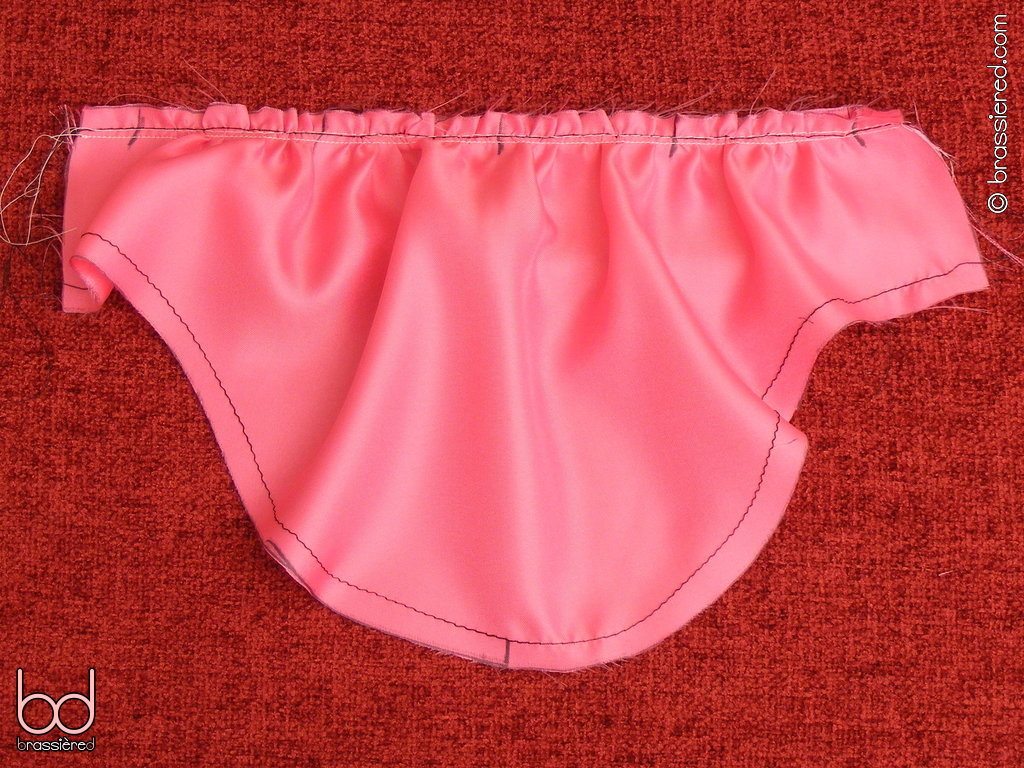
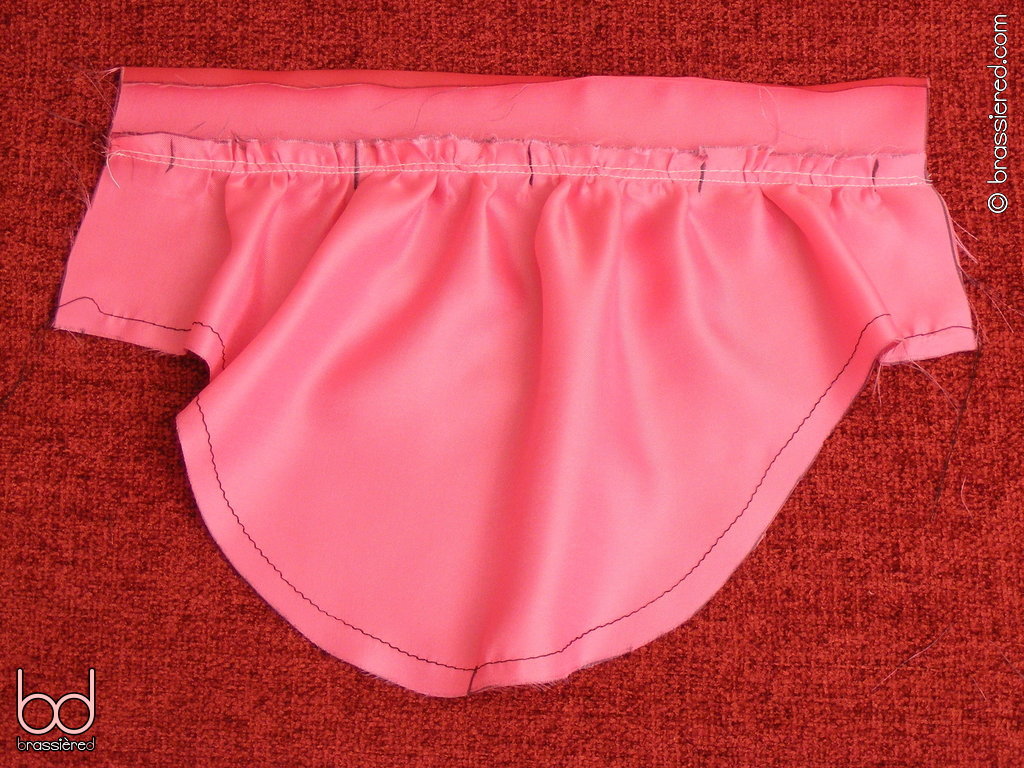
If you fold the sleeve band down, you'll see the sleeve beginning to take shape (Figure 7.6).
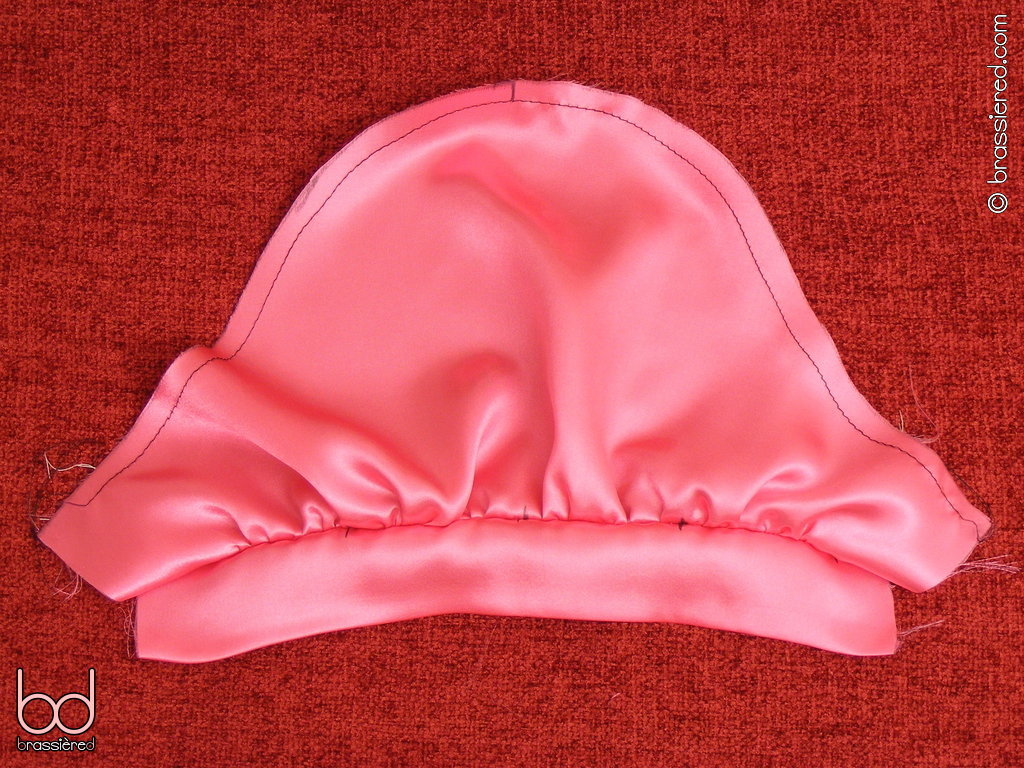
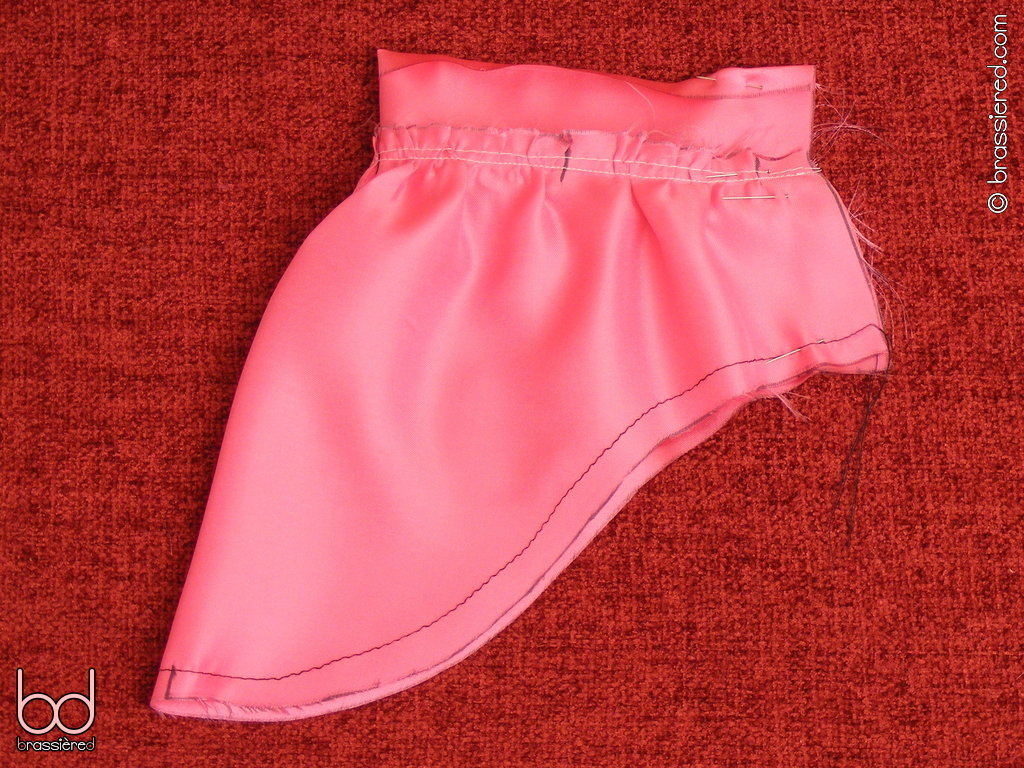
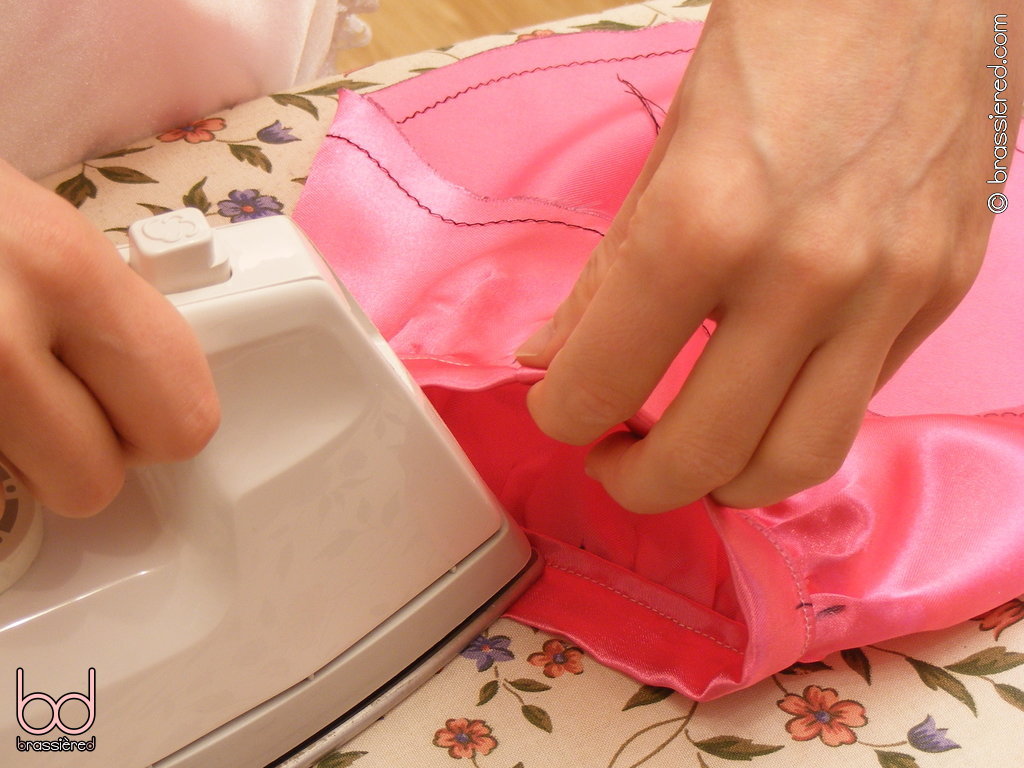
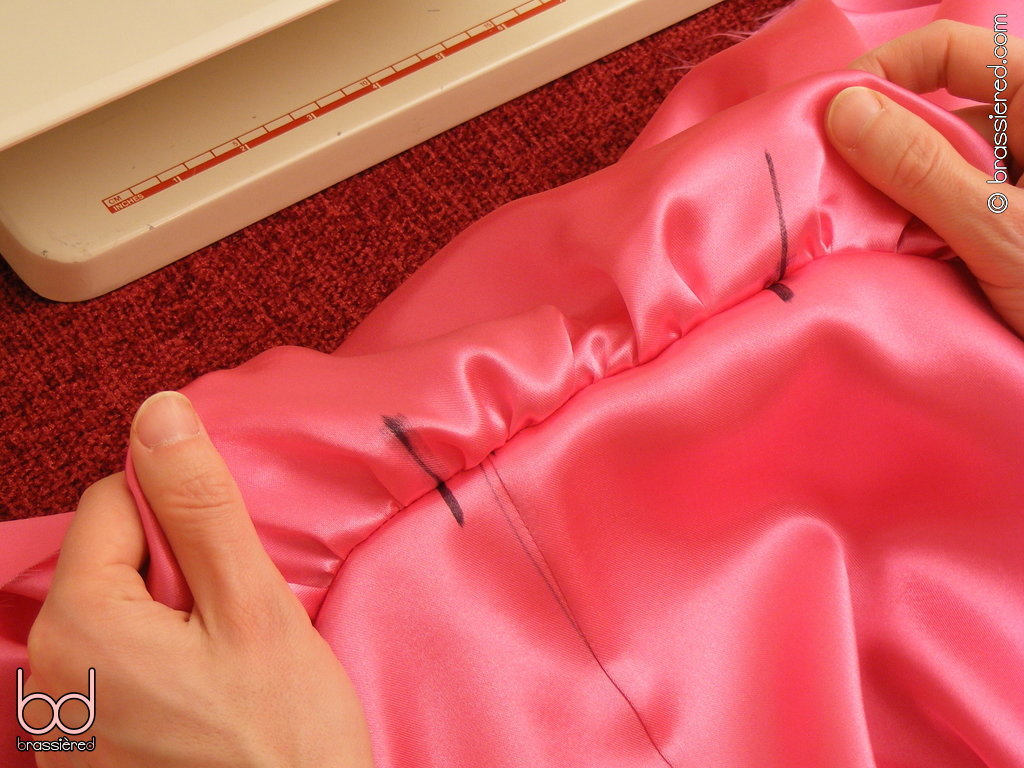
Press the seam so that it points towards the folded edge of the sleeve band. In Figure 7.7, my husband has removed the gathering stitches for neatness - they should be easy to pull out once you're satisfied with your basting, but if yours are the same colour as your fabric, you can leave simply them in place.
Fold the sleeve piece in half so that its right sides are together, and pin along the short side, as illustrated in Figure 7.8. Take care to align the seam and the fold of the sleeve band, ensuring that the latter remains folded down on both sides as you sew a regular stitch along your seam allowance. Keep the loose ends of the other gathering well out of the way while you do this!
Although this underarm seam will be hidden inside the sleeve of your maid's dress, it won't be completely concealed. Trim the fabric to leave 0.5cm / ¼” beyond the stitches, then overlock to prevent it from fraying (Figure 7.9). Again, take care to avoid the other loose ends getting caught.
Turn the sleeve the right side out, then fold the sleeve band back inside so that its two long edges are aligned with one another (Figure 7.10).
You can use pins to help with this, positioning them such that they are the same distance from the edges on both the inside and the outside of the sleeve. Do this all the way around to conceal the rough edges of the sleeve piece, as shown in Figure 7.11.
Starting at the underarm seam, sew all the way around the sleeve band, putting a line of regular stitching just inside the pressed seam. In Figure 7.12, my husband again uses the inside of the presser foot as a ⅛” guide, giving him a little leeway if the two edges of the sleeve band aren't exactly together. He's also removed the attachment table from his sewing machine, allowing him to wrap the sleeve around the free arm. Note how he holds the sleeve stretched as he sews, going around in a circle until his stitching meets where it started.
Turn the sleeve inside out and check that the sleeve band is stitched all the way around (Figure 7.13). It should come as little surprise to you by now to be told that you'll need to unpick and restitch any sections that aren't properly held.
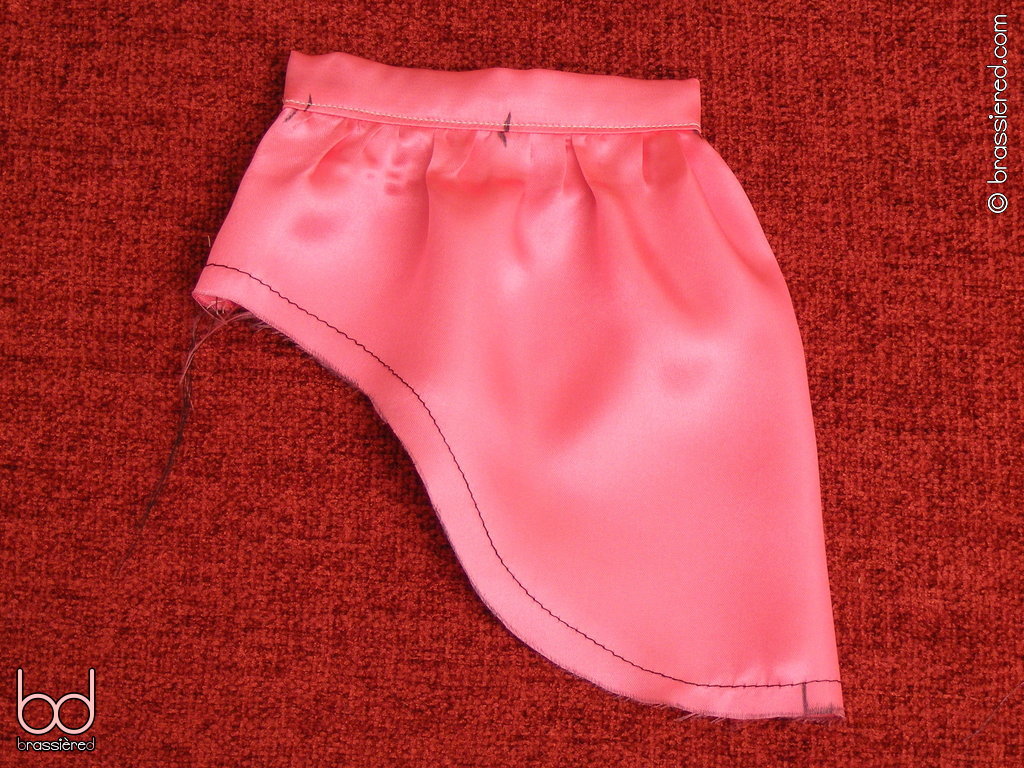
Turn the sleeve right side out again, and press the sleeve band flat (Figure 7.14).
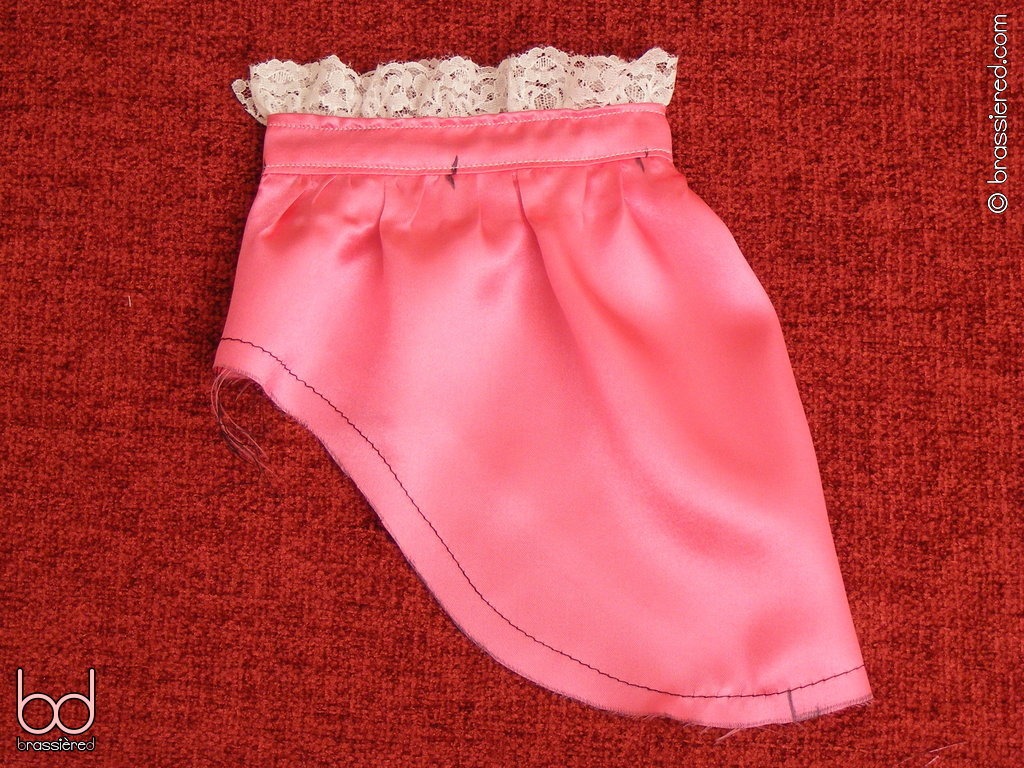
Turn the sleeve inside out one last time, and sew lace along the edge of the sleeve band, as my husband does in Figure 7.15. Again, start at the underarm seam, taking care not to stretch the lace. Unless your trim is likely to fray, there's no need to worry about joining its ends beyond locking your stitching - they'll be hidden under your armpit. If you're using broderie anglaise in place of lace, see Chapter 12. Finally, turn the finished sleeve right side out.
Attaching the sleeves
There's only the subtlest of differences between the two sides of the waistcoat you made in the previous chapter, but it's nonetheless useful to consider the one where the ends of the neckline lace are folded in as the inside. You may wish to mark it more prominently, perhaps drawing on the fabric with your washable pen. With this side facing you, push your sleeve through the armhole so the rough edges meet (Figure 7,16).
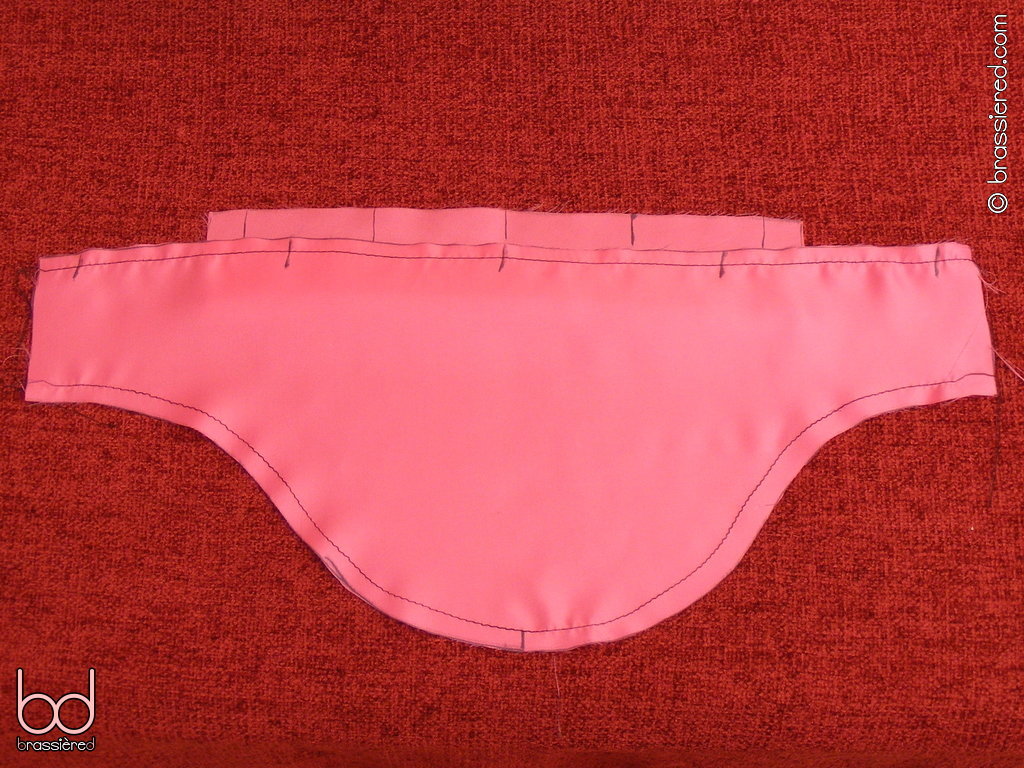
Pin the sleeve to the armhole so that their two rough edges are together, beginning by aligning the underarm seam of the sleeve with the side seam of the waistcoat. Next, align the mark on the middle of the sleeve with the shoulder seam of the waistcoat. Having thus established points at the top and bottom of the sleeve, use the remaining gathering thread to reduce it so that it fits the armhole, but keep the fabric flat between the underarm seam and the marks a third of the way up either side of the bodice. That may sound a bit of a mouthful, but it'll make sense when you do it - giving you a sleeve that looks like that in Figure 7.17 should you turn it the right way out. It's worth doing so, if only temporarily - believe or not, my husband once managed to sew a sleeve on upside-down because he didn't take the time to check he had things right!
Follow what should now be the familiar procedure for gathering, basting the seam before sewing it more permanently (Figure 7.18). Because the sleeve has more fabric than the armhole, it's best to keep it on top as you work your way around, starting as always from the underarm seam and staying within your seam allowance.
Take a moment to check that you've gathered the sleeve rather than the waistband, unpicking and resewing any kinks or folds that might have appeared in the latter (Figure 7.19).
When you're satisfied with your seam, trim and overlock its edge (Figure 7.20).
As Figure 7.21 shows, there's now a much more obvious inside and outside to the waistcoat. When repeating the process for the second sleeve, take care not to confuse the two!
Having attached both sleeves, you can again try the completed bodice on for size (Figure 7,22).
Attaching the skirt
We'll now turn to the last piece of your maid's dress - the large rectangle of fabric that will become its skirt. If you haven't done so already, cut off the selvedges, then overlock the short edges (Figure 7.23).
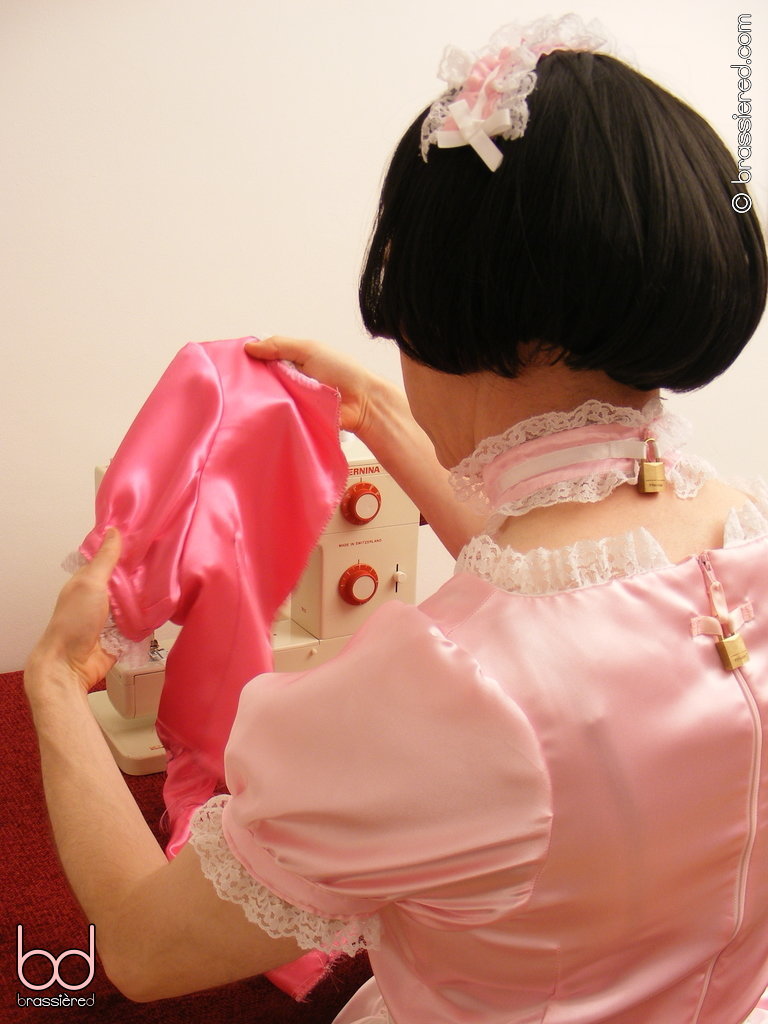
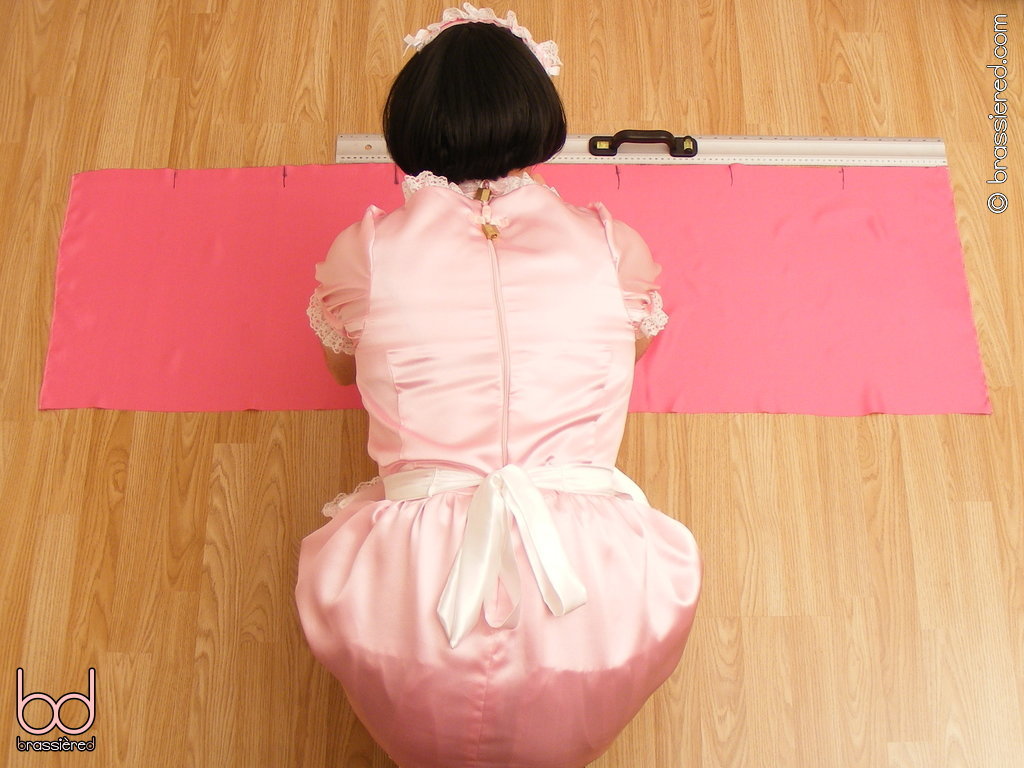
Divide one of the long edges of the skirt into eighths, marking with lines on the wrong side. In Figure 7.24, my sissy maid once again finds himself kneeling on the floor - quite apart from being a satisfying sight for his mistress, this position is the easiest way to work with such a large piece of material.
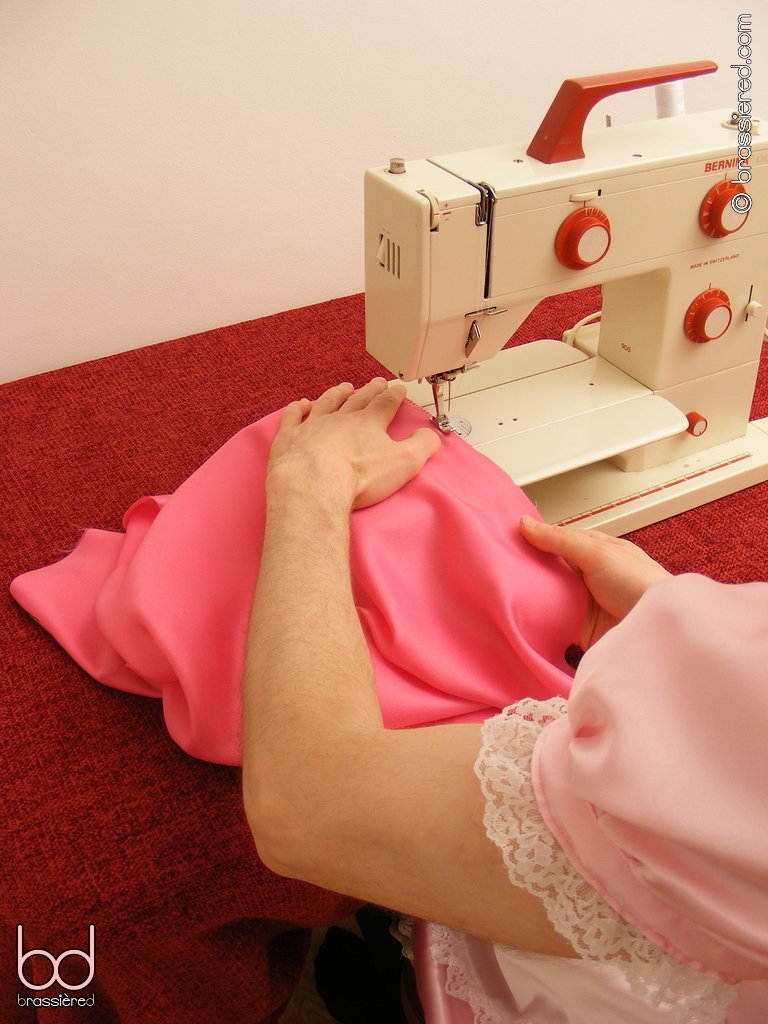
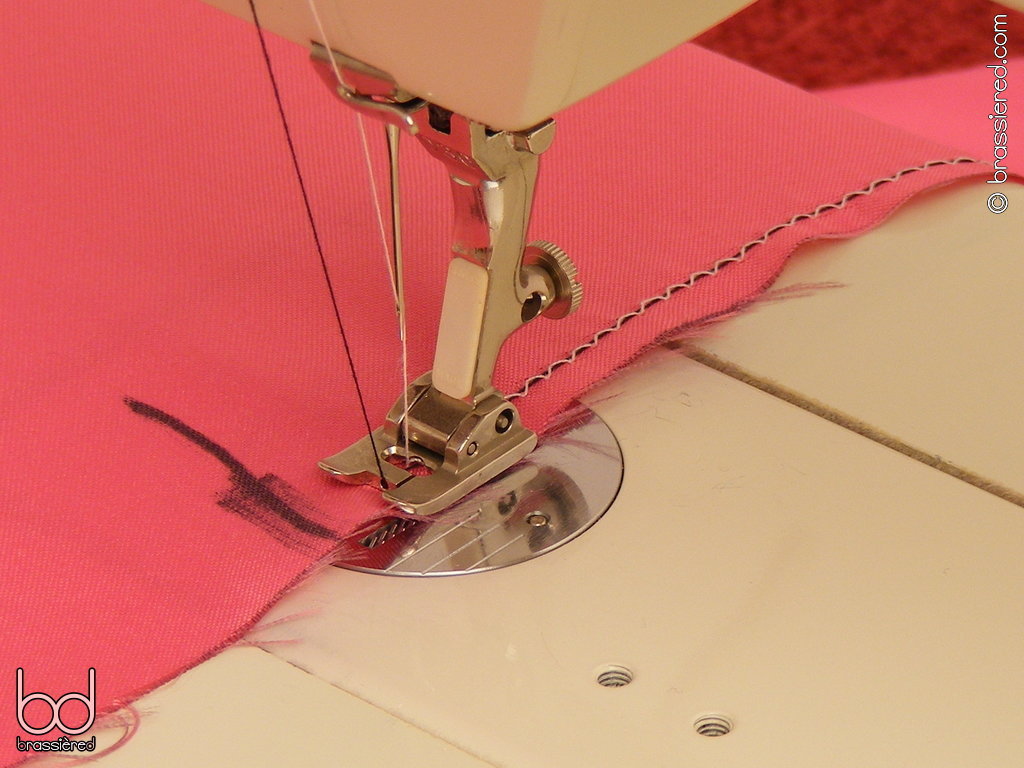
Still working on the wrong side, sewing a gathering stitch all the way along the same long edge. In Figure 7.25, my husband does this a slightly different way than before, using a presser foot that allows two threads to be used at the same time - a white one going through the needle as usual to sew a zigzag stitch which holds the other, black one in place underneath, the latter passing through a hole in the presser foot first. The result is stronger than the previous gathering stitch, making it easier to gather the longer length of the skirt. It's worth checking whether a similar feature is available for your machine, perhaps as part of an optional accessory such as a cording foor or piping foot - if not, simply sew the gathering stitches the same way as you've done before.
On the outside of the bodice, that is, the side where you can see the lace of the sleeves rather than the armholes, divide the bottom edge into eighths, marking with lines as before (Figure 7.26). Depending on your measurements, these lines will be in roughly the same position as the darts and seams, but they're not necessarily identical.
Shortening the gathering to make the skirt fit, pin the two sets of lines together as my husband does in Figure 7.27, leaving around 2.5cm / 1” of ungathered fabric at the very start and the end of the skirt.
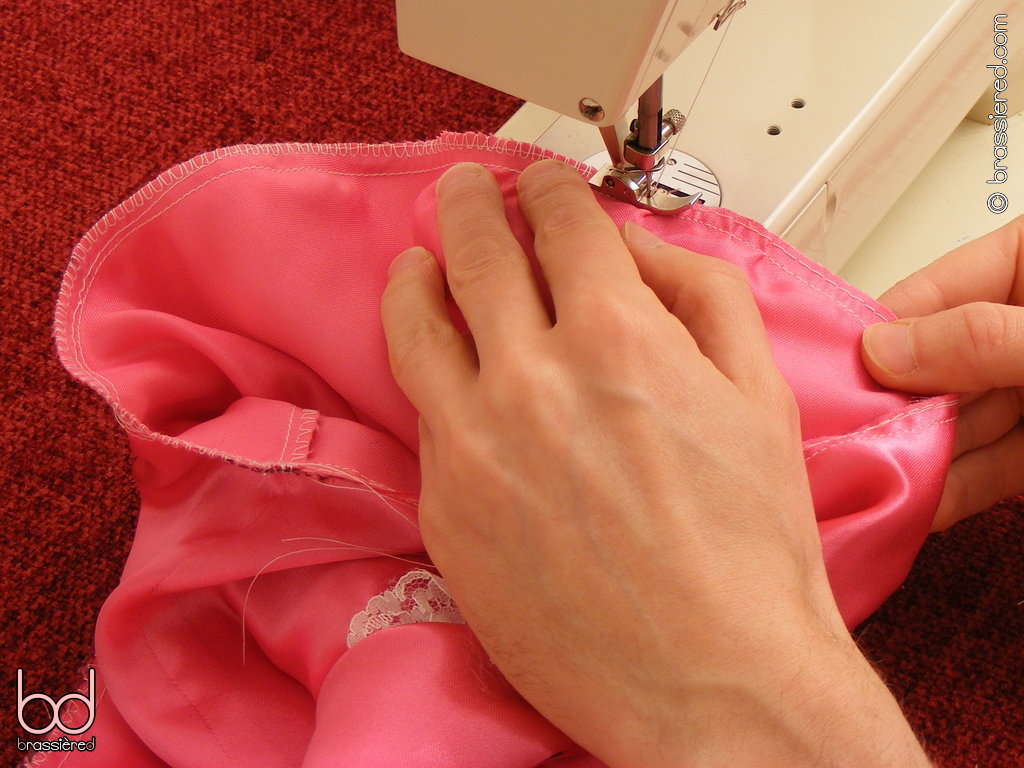
Baste, then sew with a regular stitch along your seam allowance (Figure 7.27). Check the result, redoing any sections that you're not satisfied with. There's nothing new here, simply more of the same - but that's the lot of a maid, in sewing as with anything else, polishing your skills with endless practice.
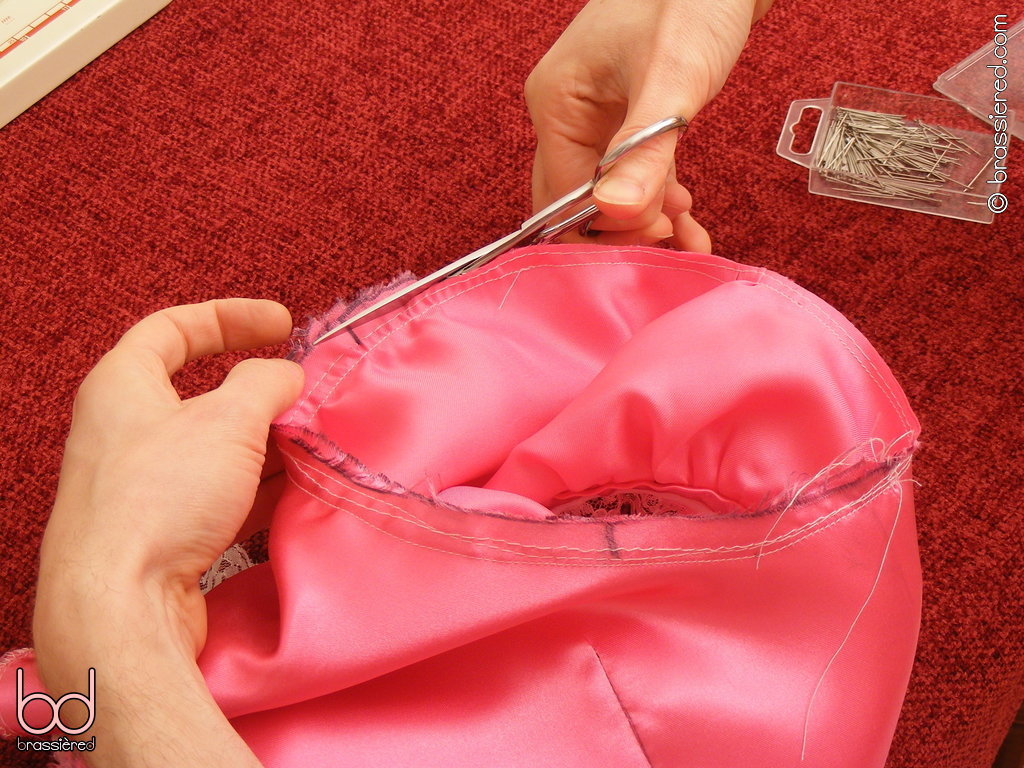
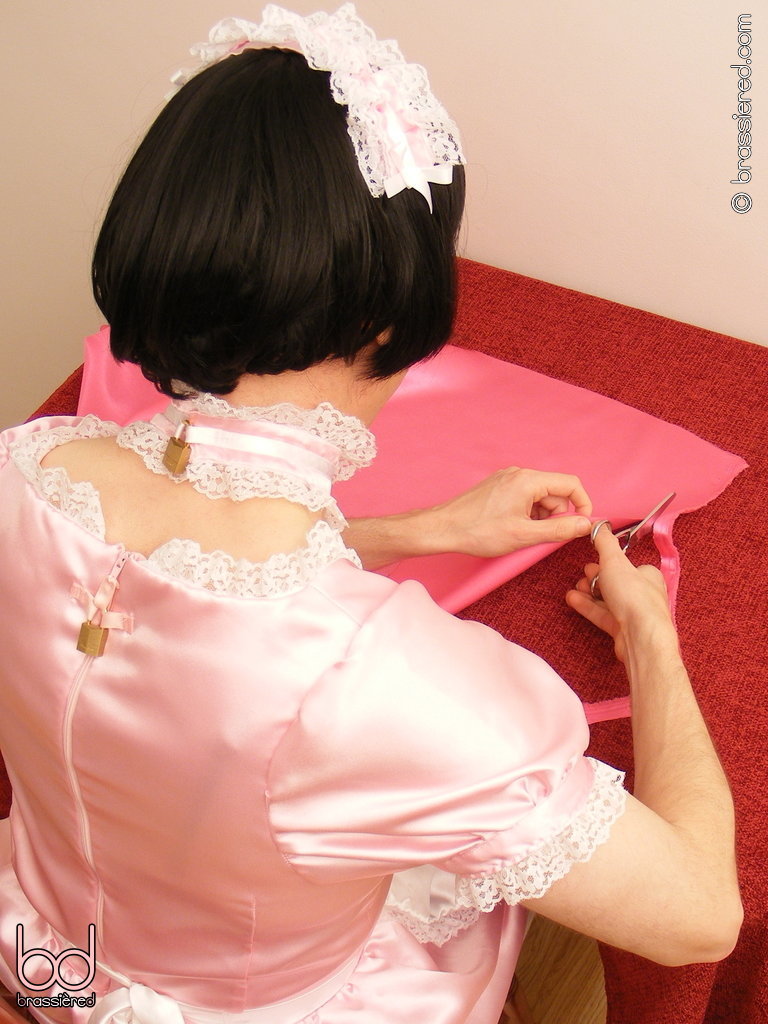
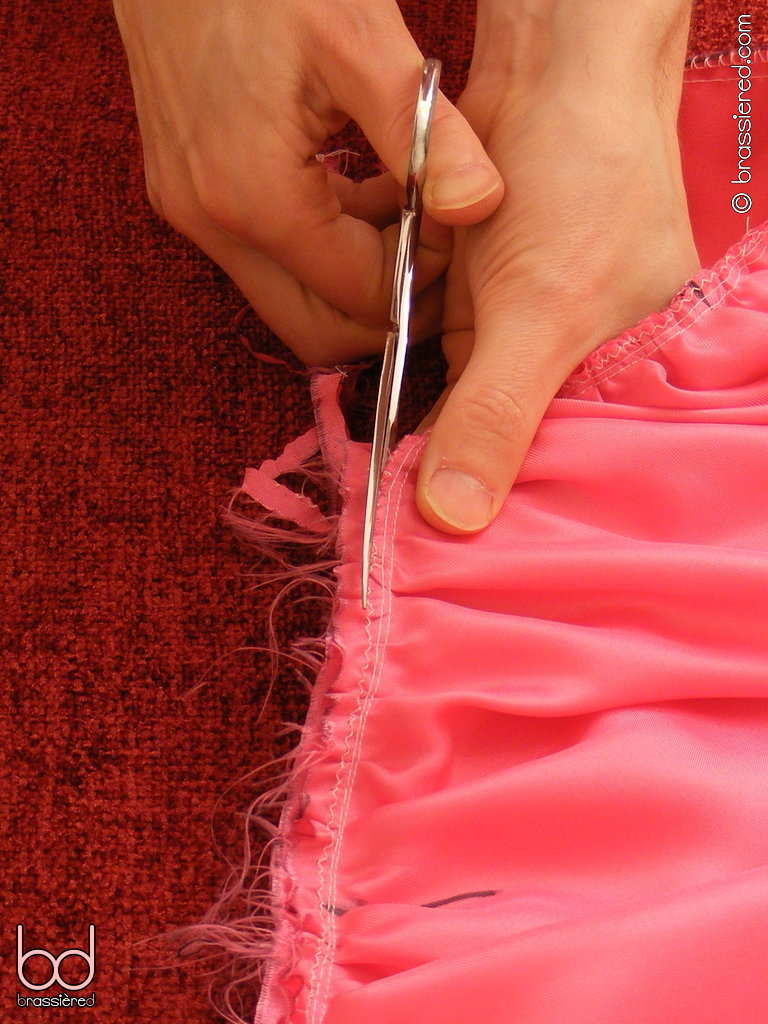
Trim the edge of the seam, taking great care not to cut through anything you shouldn't. A slip with the scissors at this stage could cost you several hours work! In Figure 7.29, my husband puts the thinner skirt on top and the bulkier bodice below in an effort to avoid such errors, running his fingers underneath in advance of the scissors to make sure nothing is where it shouldn't. Even after making so many uniforms, it's something he finds nerve-racking, making him glad to be able to move onto overlocking the edge - just like we did for the sleeves, only on a larger scale.
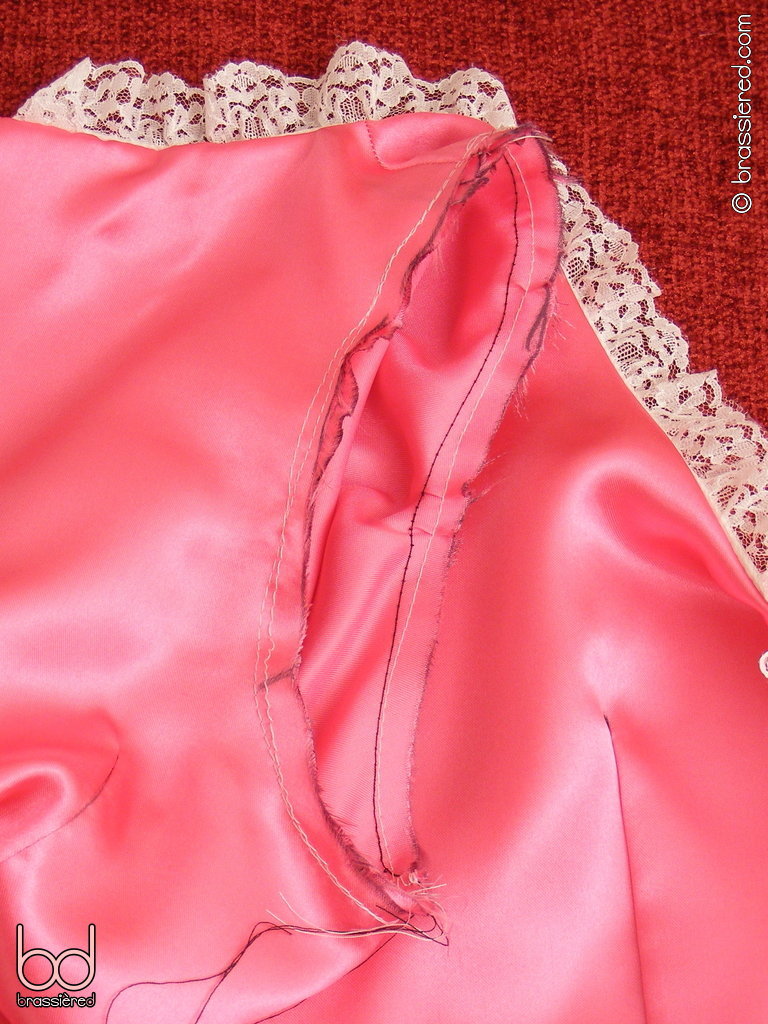
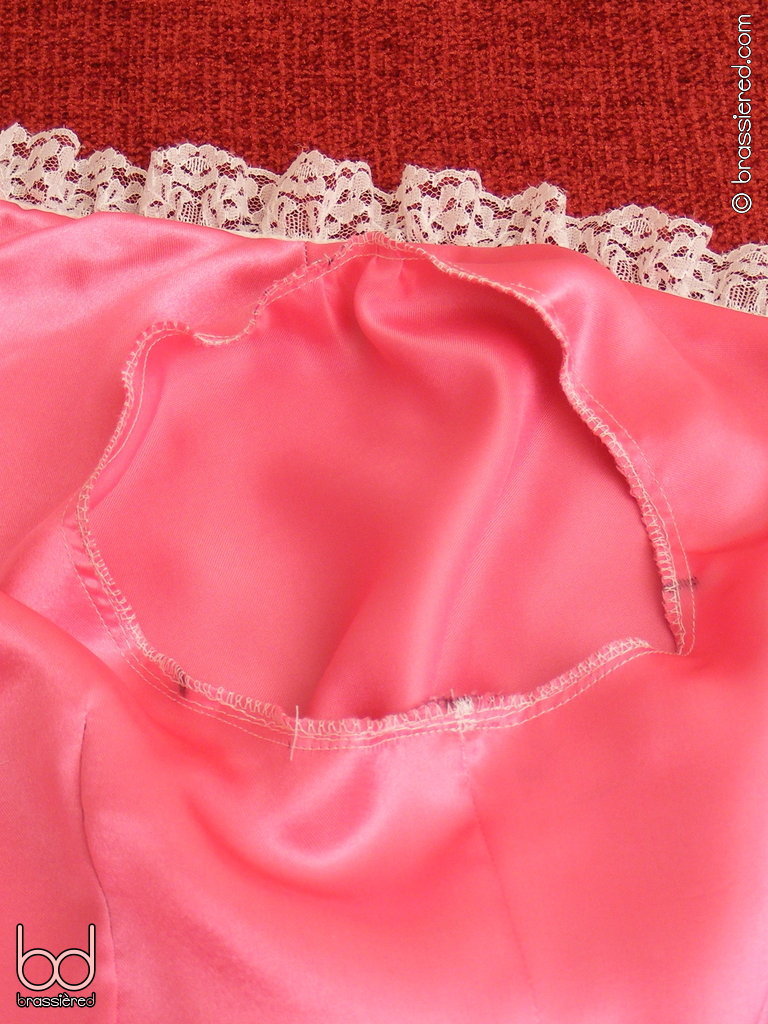
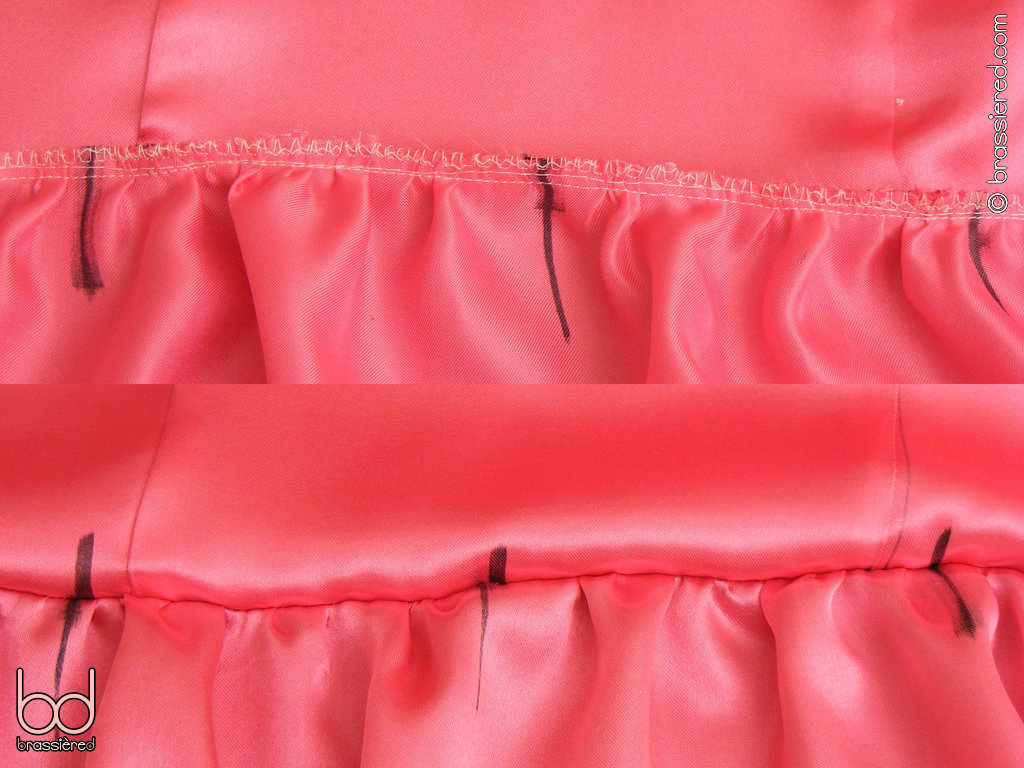
Figure 7.30 shows the finished seam from both sides.
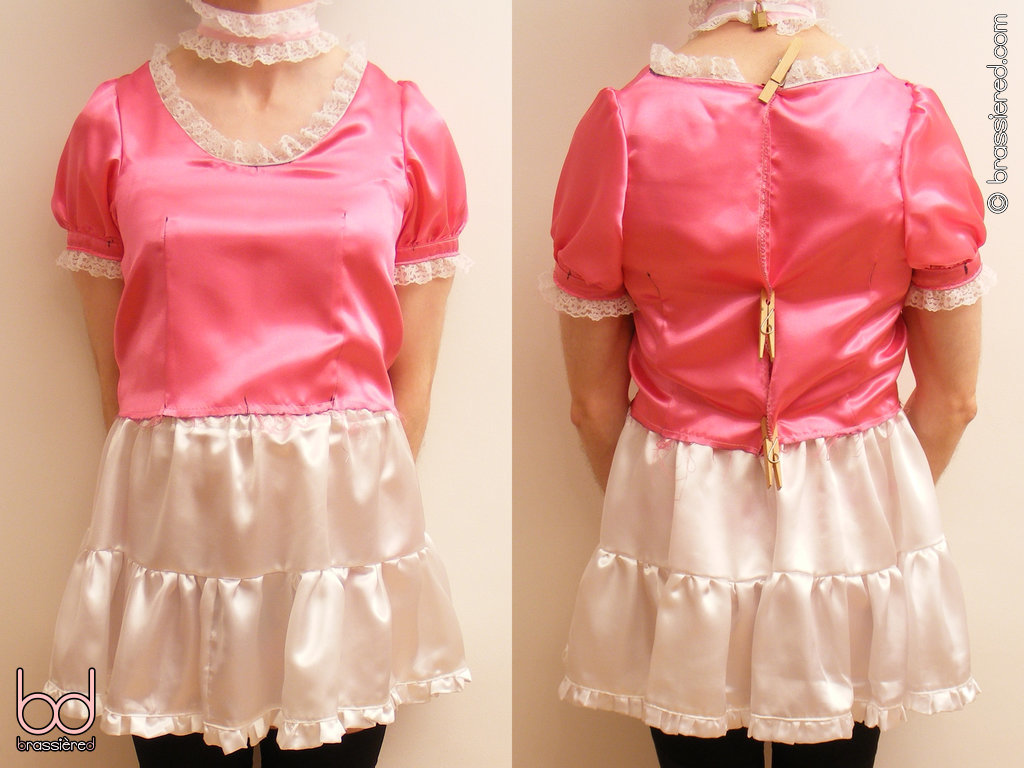
Although my husband still needs to use clothes pegs to fasten his maid's dress in Figure 7.31, its overall shape is now very clear. We need only finish the hem of the skirt and fit suitable fastenings for yours to be ready to wear too - something we'll turn to in the next chapter.