sewing for sissy maids
Chapter 10: How to make a maid's headpiece
To be a sissy maid from head to toe, it's not enough to serve in stockings and heels - you need a headpiece as well, as frilly and feminine as the rest of your uniform. There's no shaking off such a symbol of submission, with a proper maid's headpiece staying firmly in place no matter how much you bow and grovel.
In this chapter, we'll be making a ruffled maid's headpiece that can be slipped over a regular Alice band, using the same satin and lace as your dress. Trimmed with ribbon to complement your choker, it will also be embellished with a pair of bows, making it the perfect adornment for your head as you do the housework.
Pieces for the headpiece
If you've been working your way through the book, you'll have already prepared the pieces for the headpiece along with that for the choker in the previous chapter. As a reminder, the maid's headpiece needs the following:
-
headband
A rectangle. Its width should be 20cm / 8” plus twice your seam allowance, and its length 12.5cm / 5”.
-
ruffle
A rectangle. Its width should be 30cm / 12” plus twice your seam allowance, and its length 12.5cm / 5”.
-
Alice band
See Chapter 1 for details.
Making the ruffle and headband
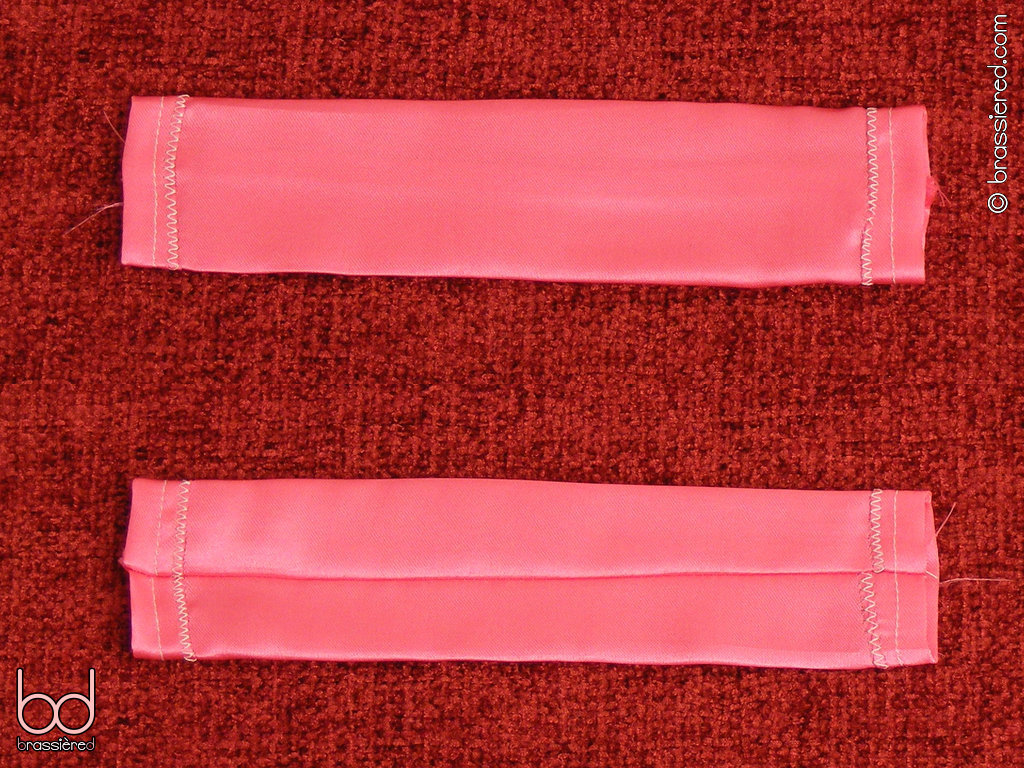
We'll start by turning the ruffle and headband pieces into tubes.
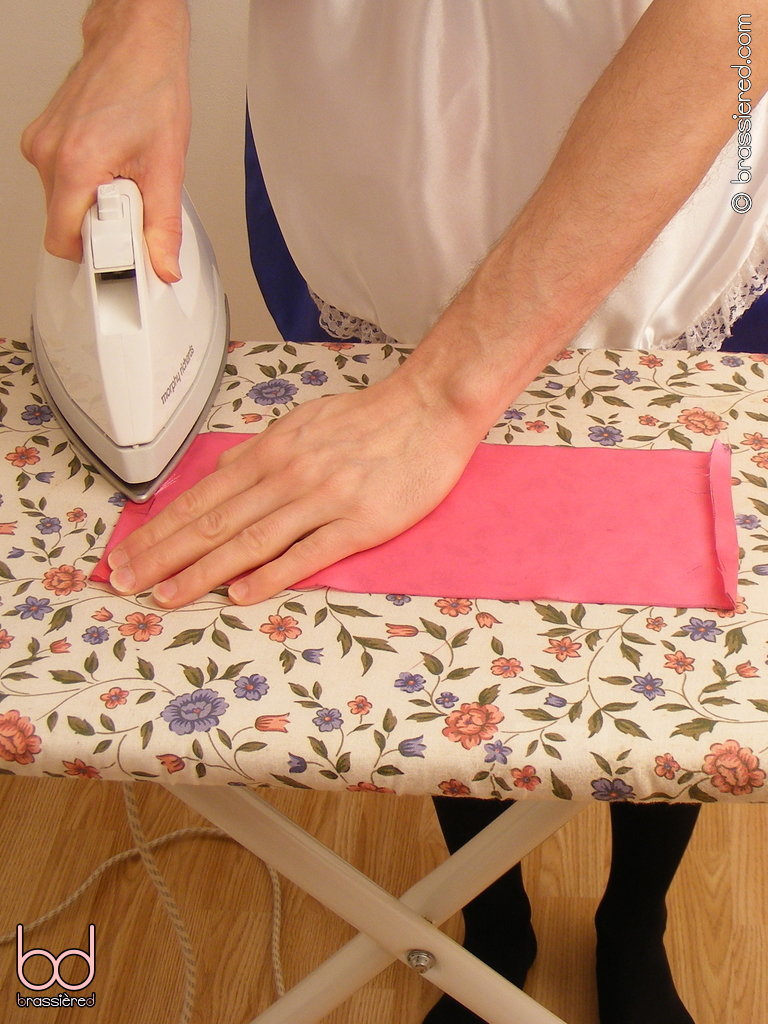
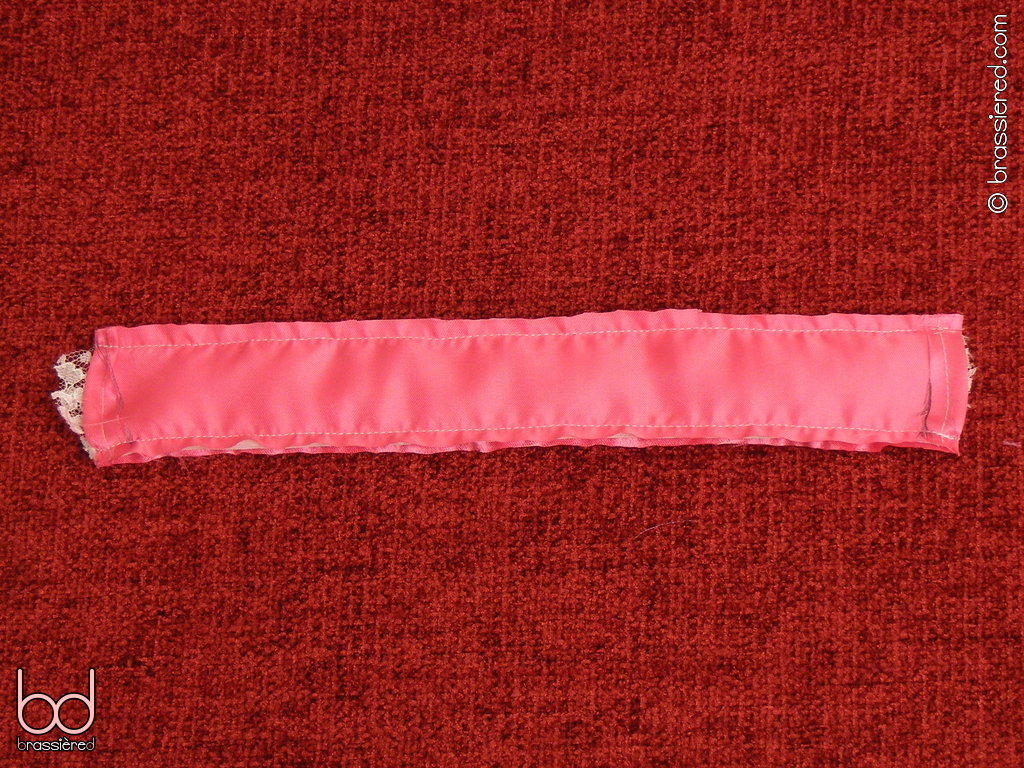
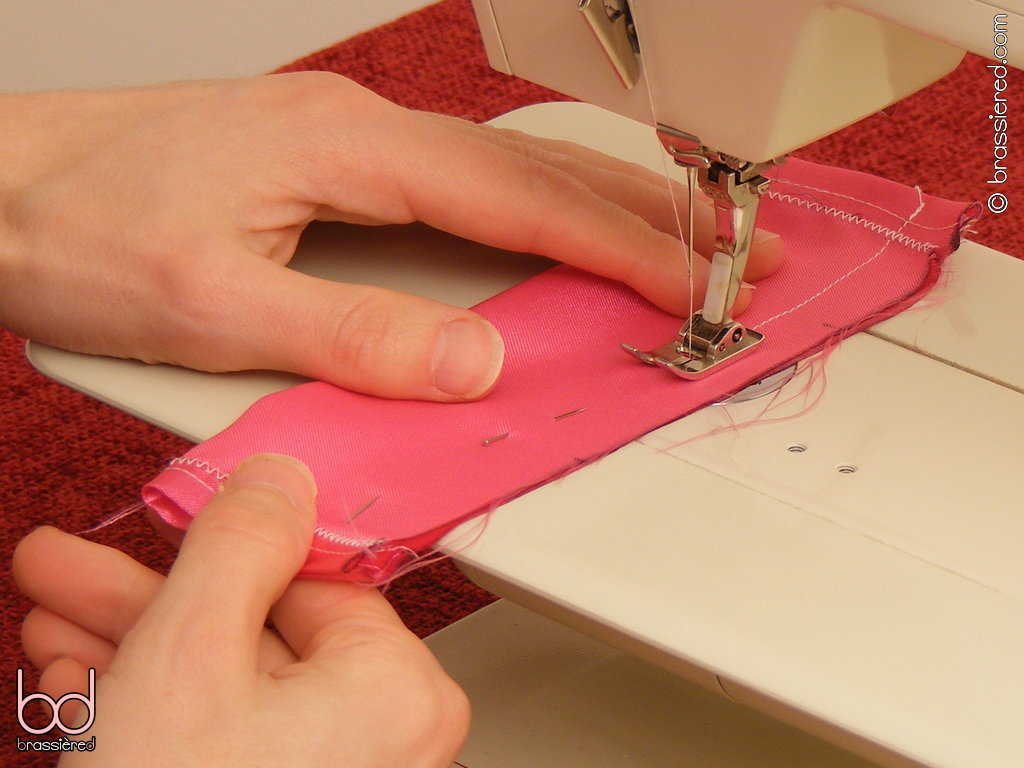
For both the ruffle and headband pieces, fold each of their short edges over by your seam allowance, then press. As you did with the choker piece in the previous chapter, sew these folded sections down with regular stitching (Figure 10.1).
We'll be turning the headband piece into a tube, through which we'll be threading the Alice band. To avoid the teeth of the latter catching the fabric, we'll need to lock the raw edges down. Although we could have overlocked these prior to pressing, we'll instead sew a line of short, wide zigzag stitches overlapping each edge, as these will hold the edges in place inside better. The contrasting thread that my husband uses in Figure 10.2 will make for a small, but visually pleasing feature on the finished headband, although you could quite happily use the same colour as your satin.
Put the headband piece to one side for now - we'll return to it later.
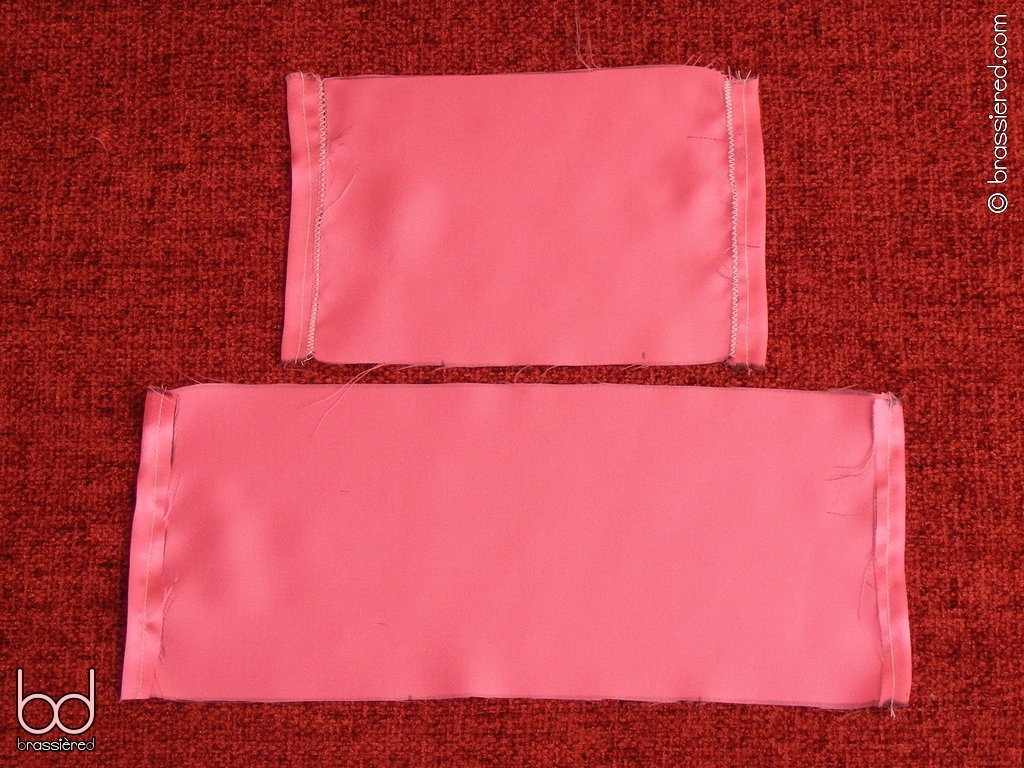
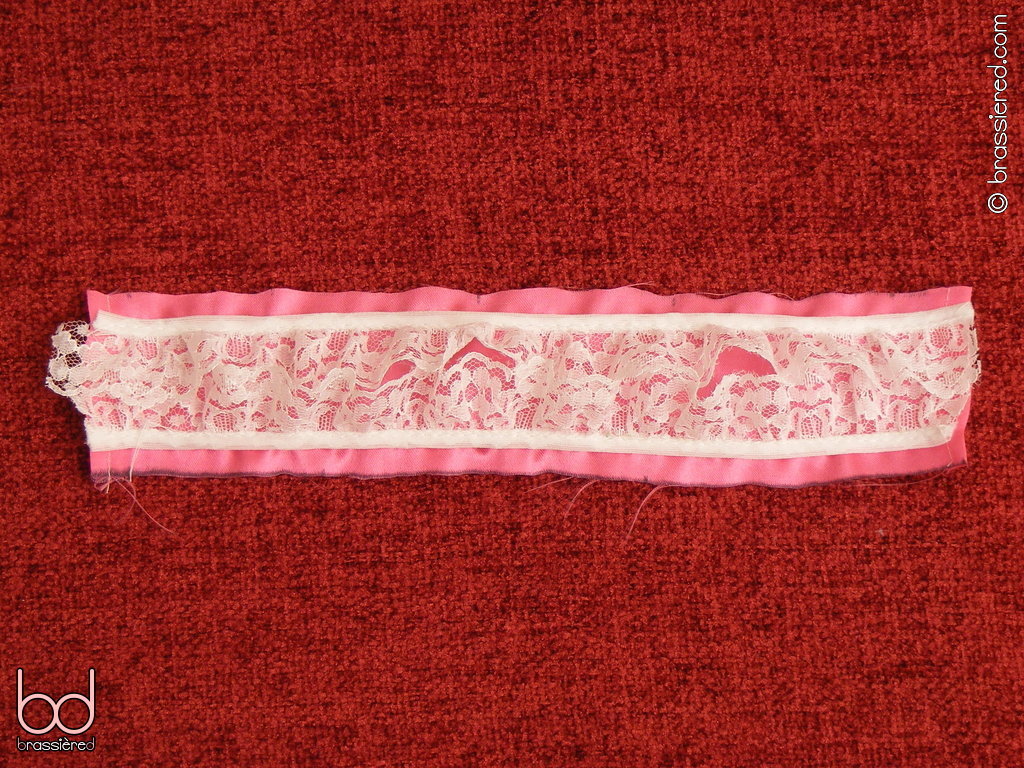
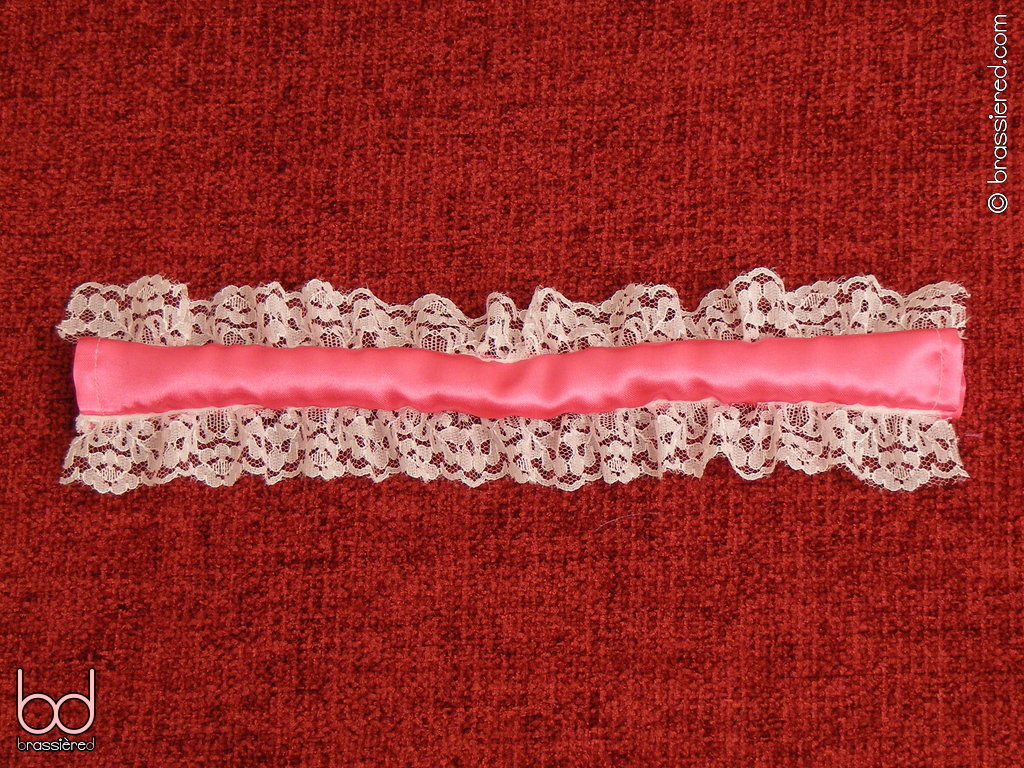
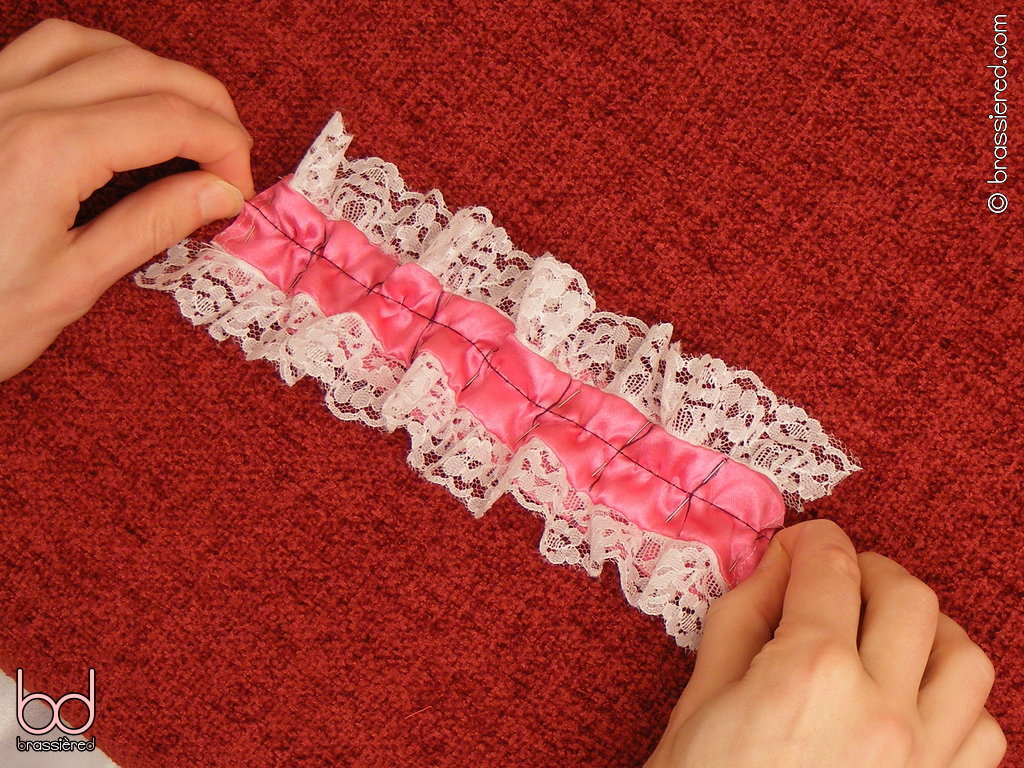
Following exactly the same procedure as you did with the choker piece in the previous chapter, cut the ruffle piece in half lengthwise. On the right side of one of these halves, baste lines of lace along its long edges, pointing the frill of the lace inwards (Figure 10.3).
Put the two ruffle pieces together so that their right sides are facing and the basting stitches are upwards, then pin and subsequently sew along each of the long edges. Having checked that no lace has got caught, trim the seam (Figure 10.4).
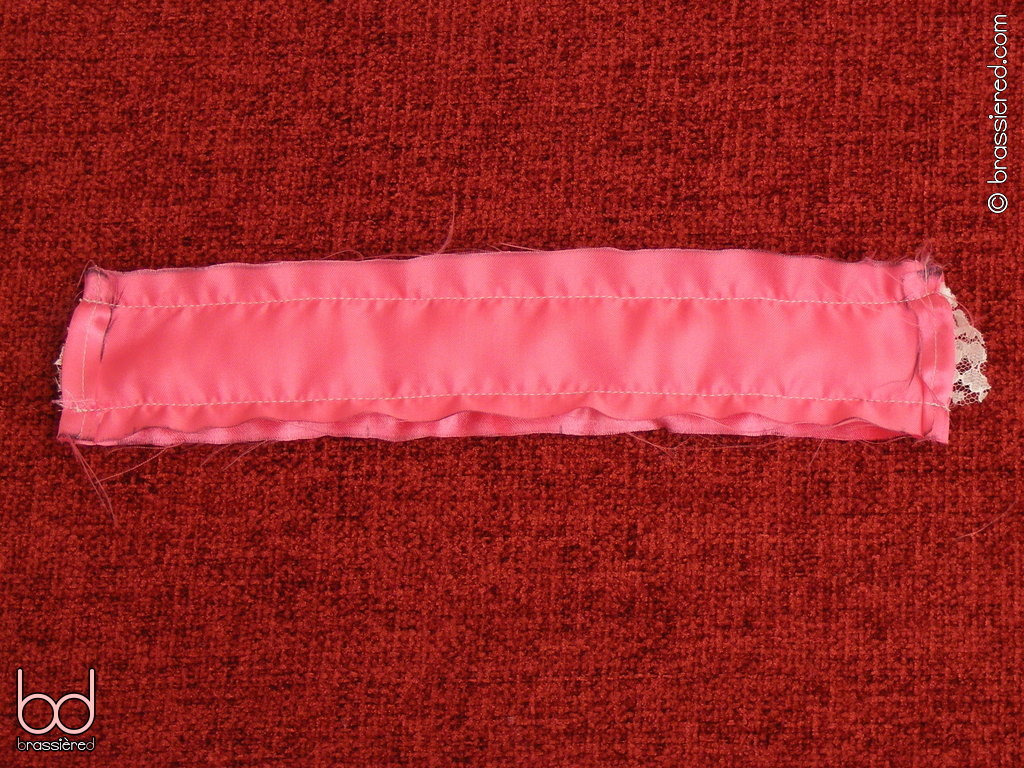
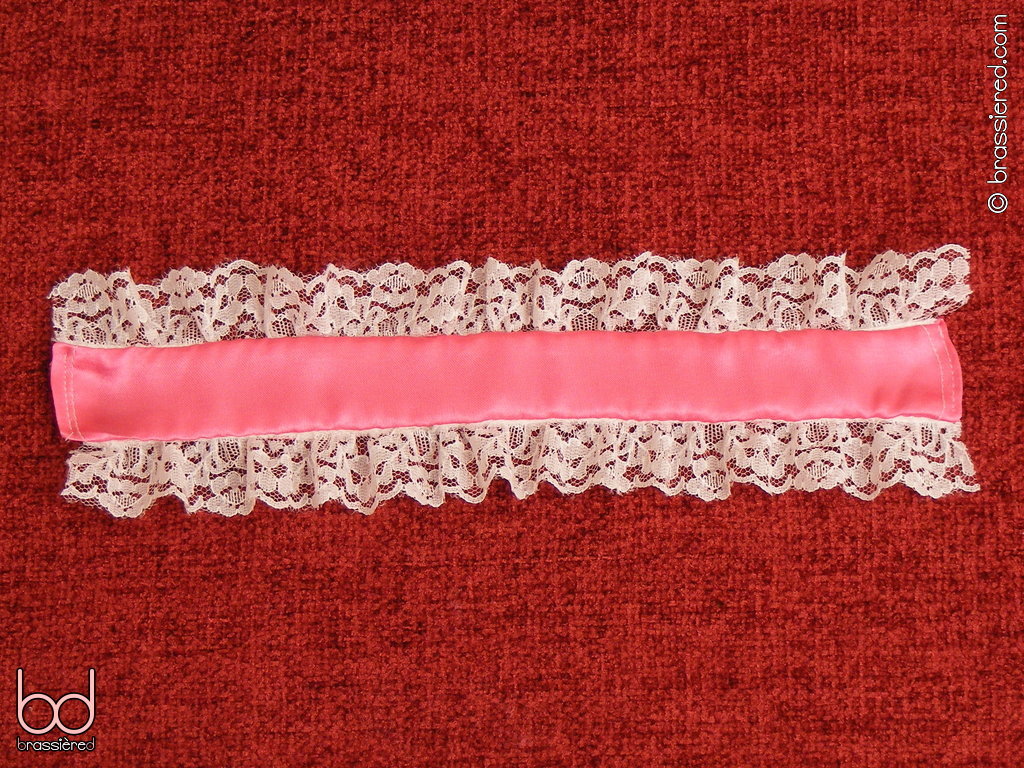
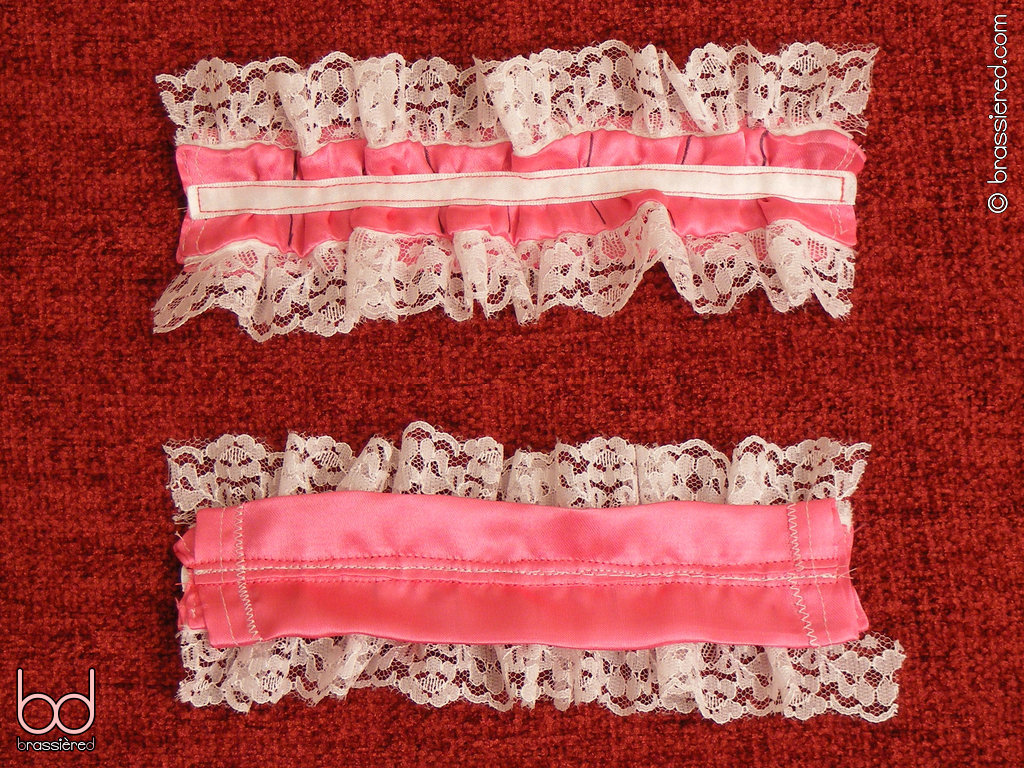
Turn the resulting tube the right way out, and press (Figure 10.5). Sew the short ends closed. You'll be left with a double-sided strip of lace-trimmed satin that's very similar to the one that became your choker in the previous chapter, save that it's lacking any hook and loop tape. Indeed, so similar are the choker and ruffle that you can prepare them together to save time - just be sure to keep track of which is which, something a certain maid pictured once failed to do, finding himself having to make them both again!
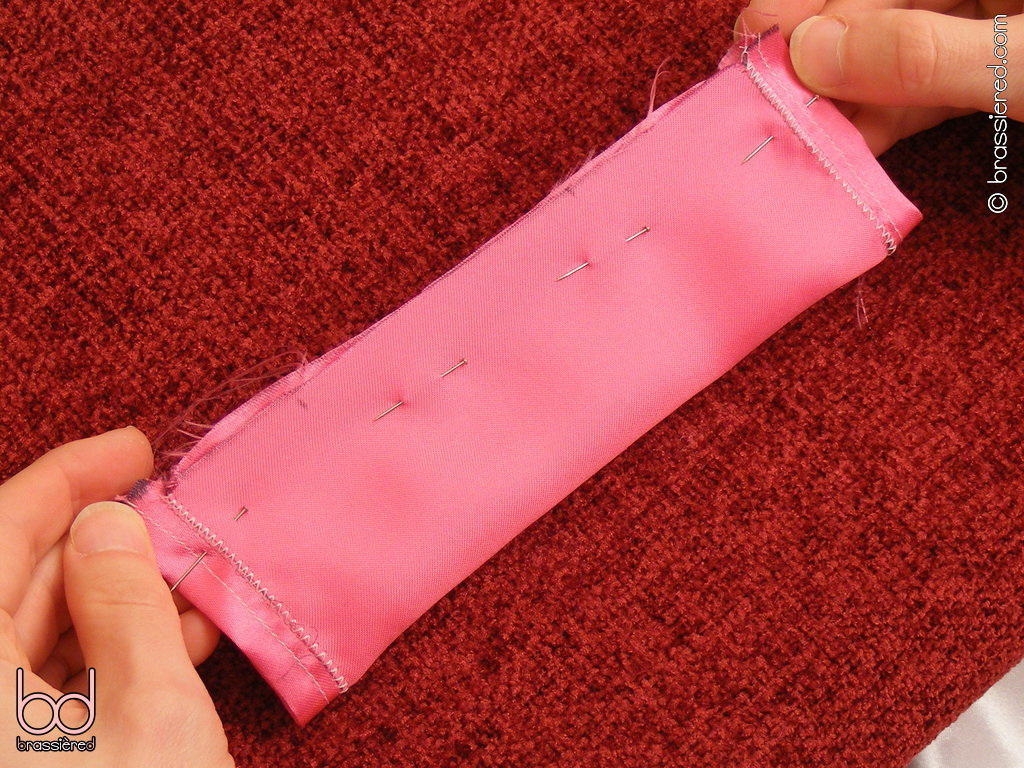
Returning to the headband piece, fold (not cut!) it in half lengthways, right sides touching. Pin the long edges together, then sew a regular stitch along your seam allowance as my husband does in Figure 10.6, taking particular care to lock the stitching at each end.
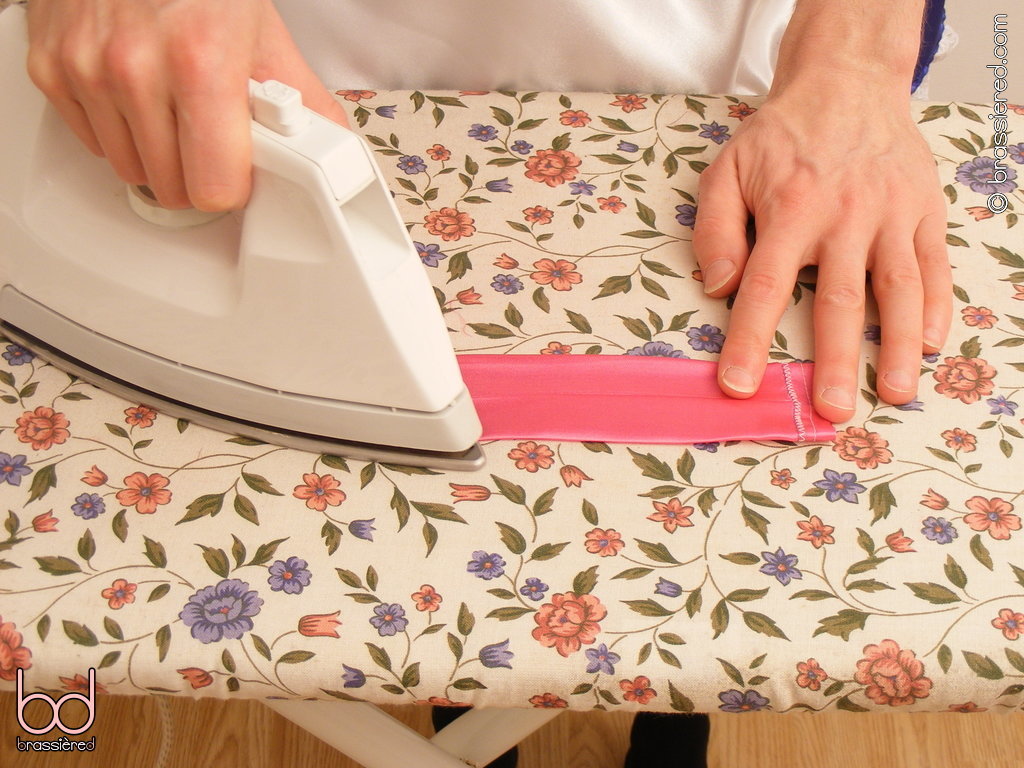
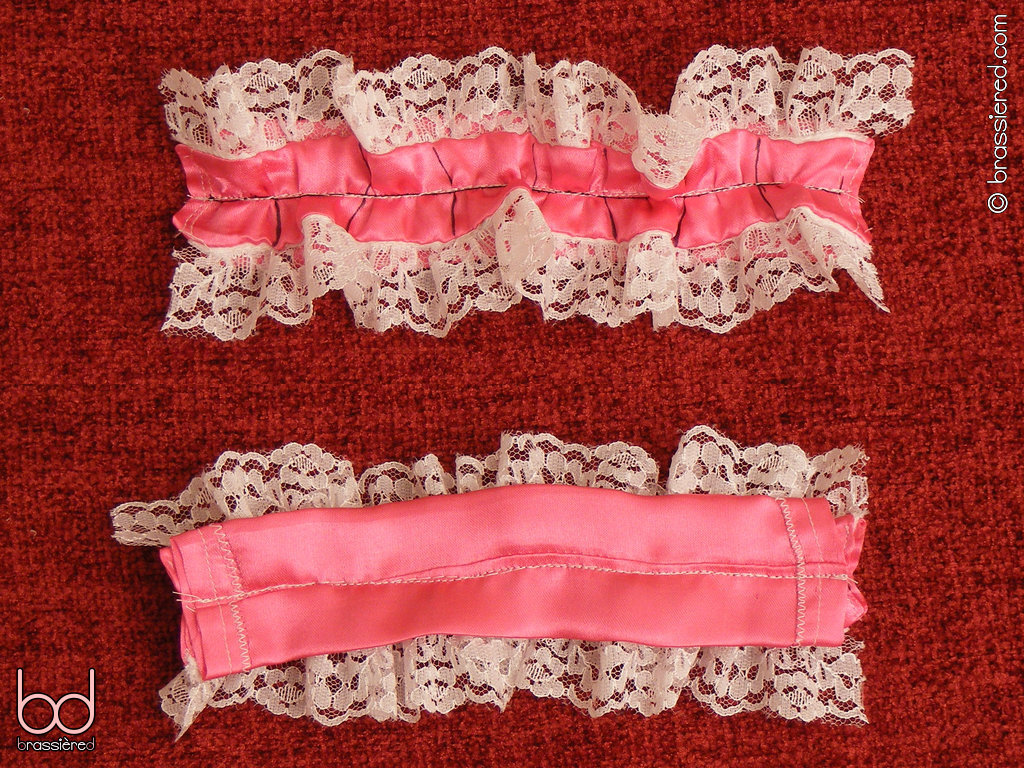
Trim the seam, then turn the resulting tube the right way out (Figure 10.7).
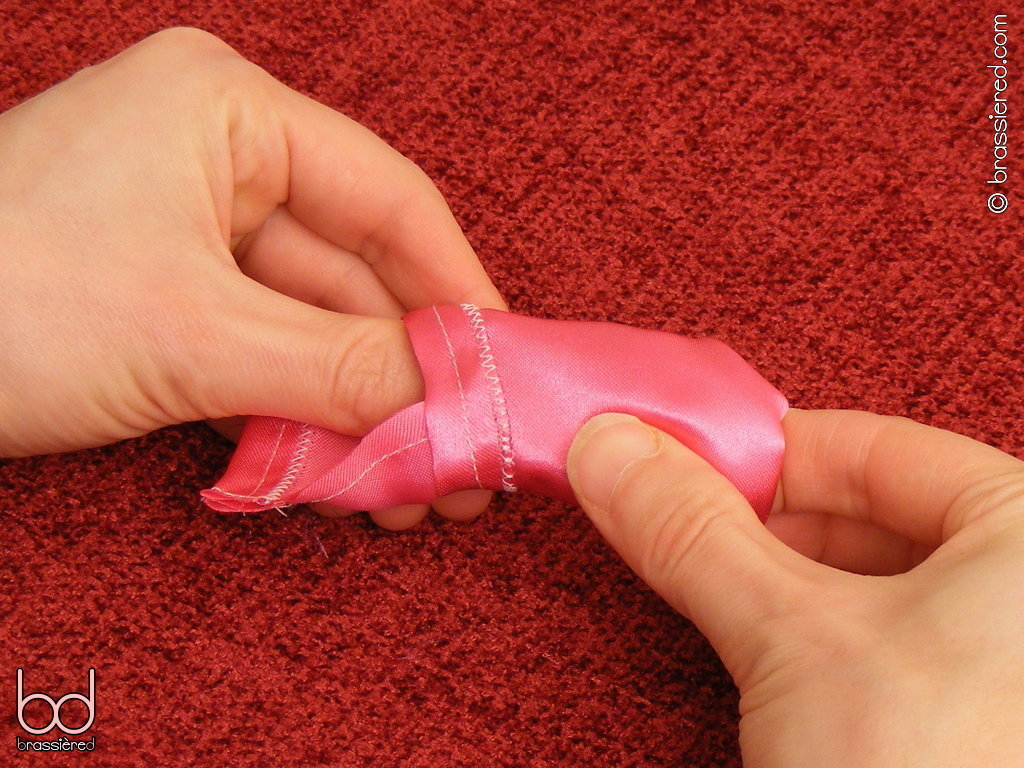
Rather than putting the seam on one of the edges as you press, position it in the middle of the tube, taking care to keep the entire length of the fabric on the same side inside (Figure 10.8). Doing so gives the headband an obvious top and bottom, with the prominent seam along the latter serving as a guide for stitching.
Combining the pieces
We're now going to sew the ruffle to the headband, shortening it by gathering.
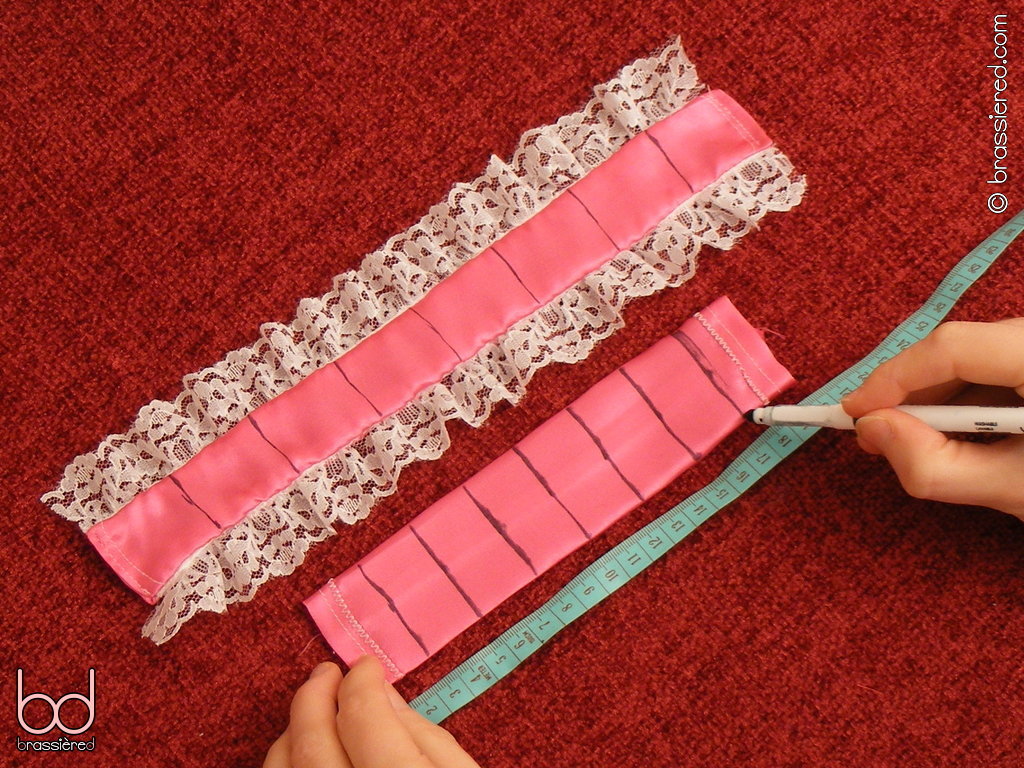
If you've done everything correctly, you should have a 30cm / 12” strip and a 20cm / 8” tube at this stage, both of which can easily be divided into eighths. Mark these with lines along the entire width of the satin as per Figure 10.10, putting them on the top side of the headband (the one without the seam) and whichever side of the ruffle looks best (as this too will become the top).
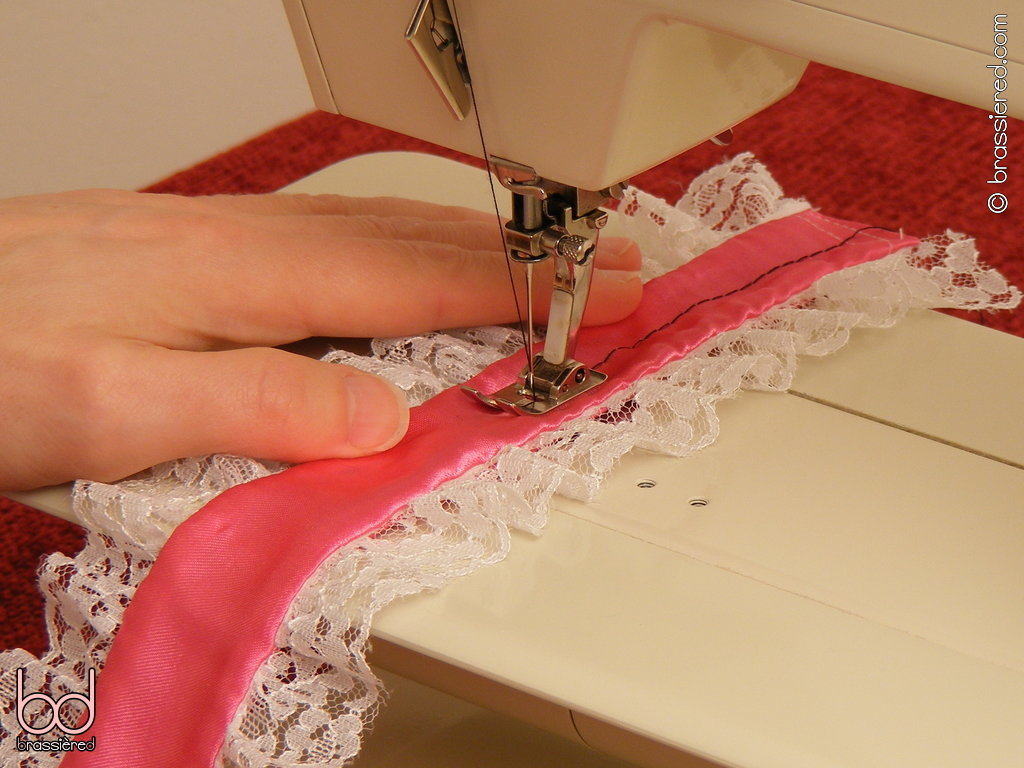
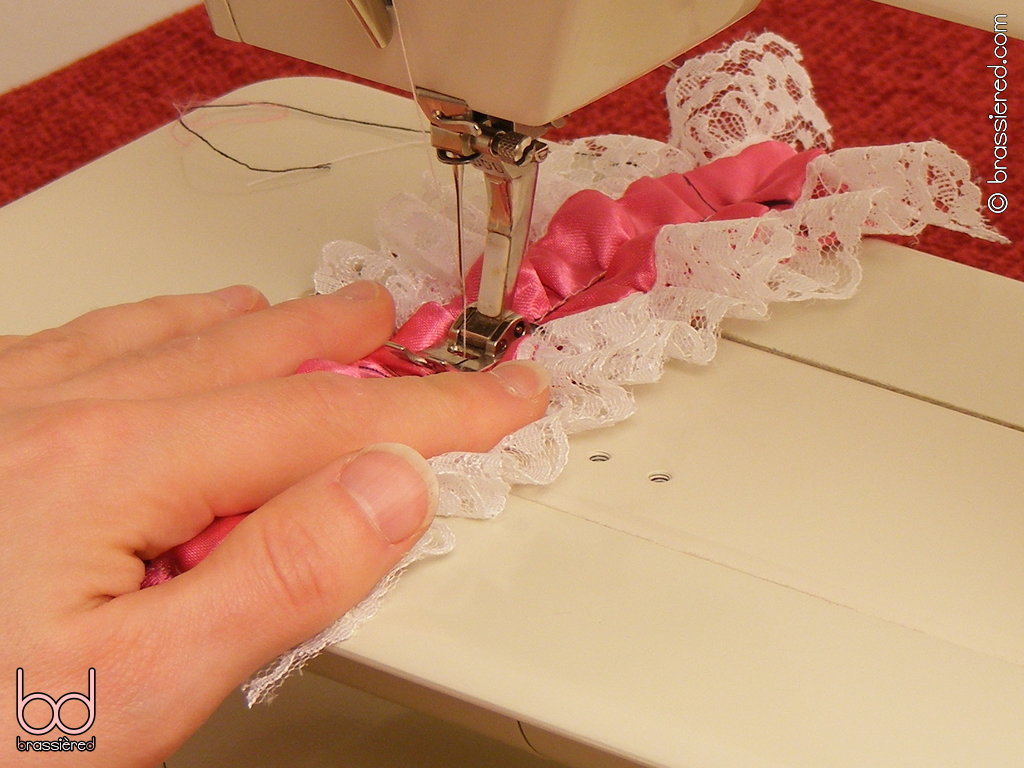
Adjusting the tension of your sewing machine, sew a gathering stitch all the way down the middle of the ruffle. In Figure 10.11, my husband does this on the side without the marks, so as to put the thread he will pull on the marked side. Don't forget to reset the tension afterwards.
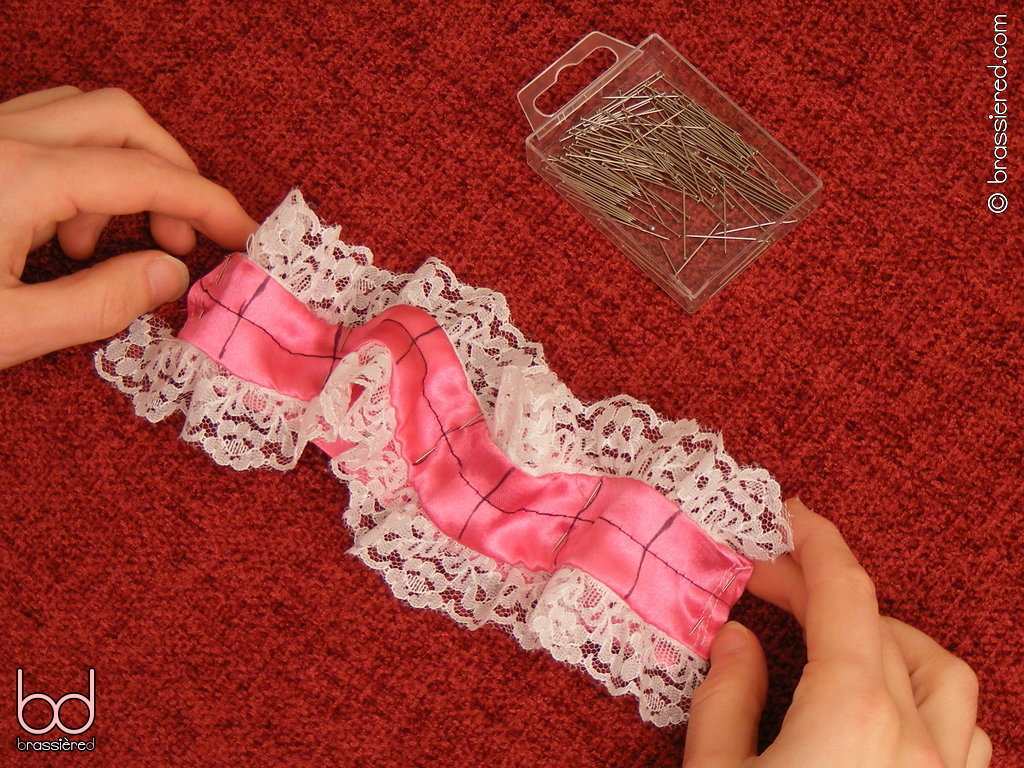
You should be fairly familiar with gathering by now. As before, it's simply a case of aligning the marks, albeit made a little more difficult here by the shortness and bulk of the pieces we're working with. In Figure 10.12, my husband pins every other line to the corresponding one on the other piece before returning to pin those in between, going on to pull the thread taut at the end.
Now we need to baste the two together. Note how my husband uses his fingers to stretch the ruffle to each side in Figure 10.13, ensuring that it stays centred on the headband. The widths of the two pieces are such that you should be able to see the lines and edges through the lace. The end result should have the line of basting stitches close to the seam on the bottom of the headband, so as to allow enough space for the Alice band to be threaded through - if yours doesn't, unpick and resew.
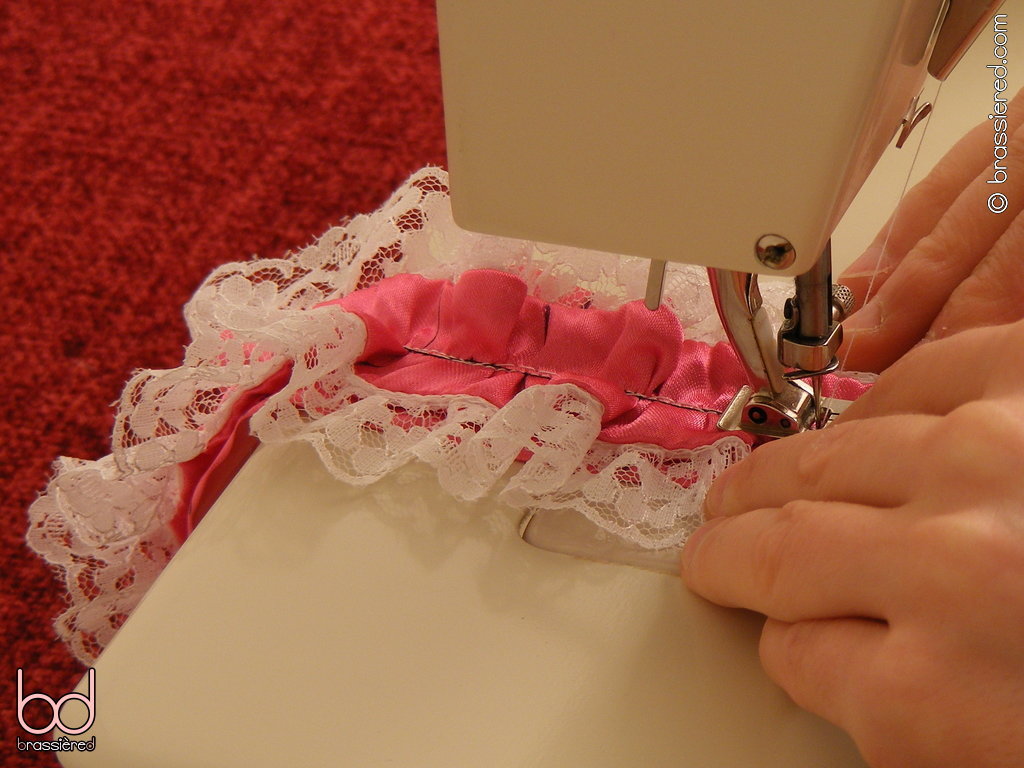
Repeat the same process, sewing over your basting with a regular stitch. In Figure 10.14, this similarly follows the seam on the bottom of the headband, but the top of the ruffle is still a bit messy. Even if my husband were using similar coloured thread, the stitches would still stand out more than they should.
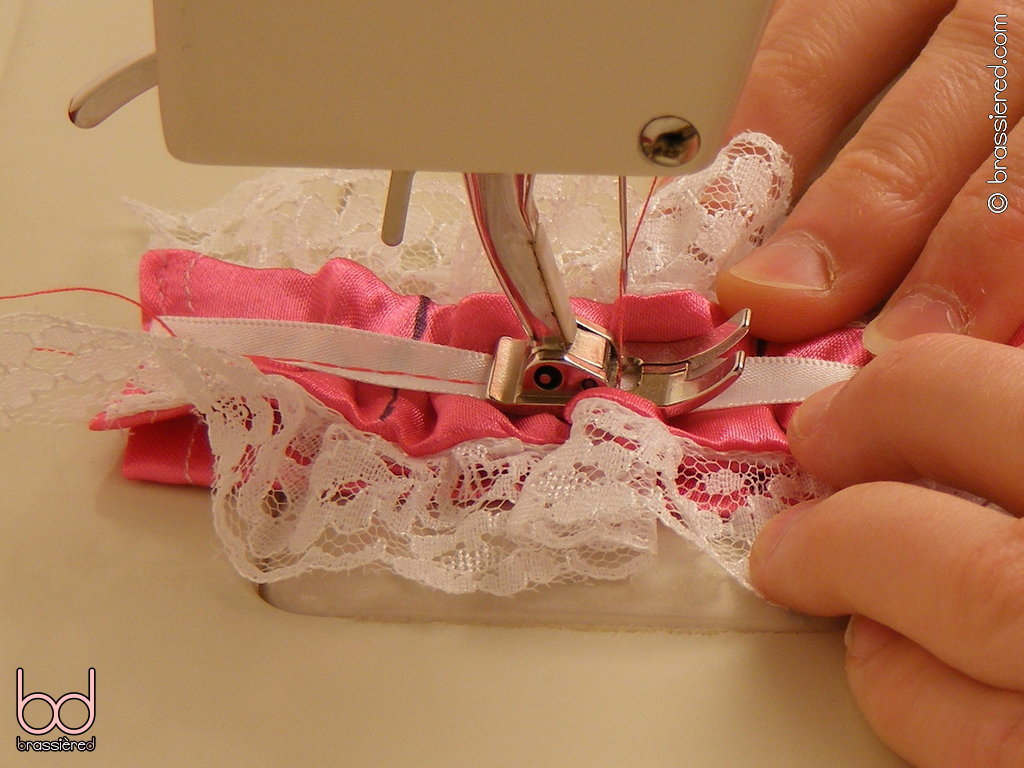
We'll hide the stitching by sewing a length of ribbon on top, in doing so making the headpiece complement the choker. As you did in the previous chapter, baste this roughly along the middle to begin with, once again taking care to keep the sides of the ruffle stretched so that the stitches follow the bottom seam (Figure 10.15).
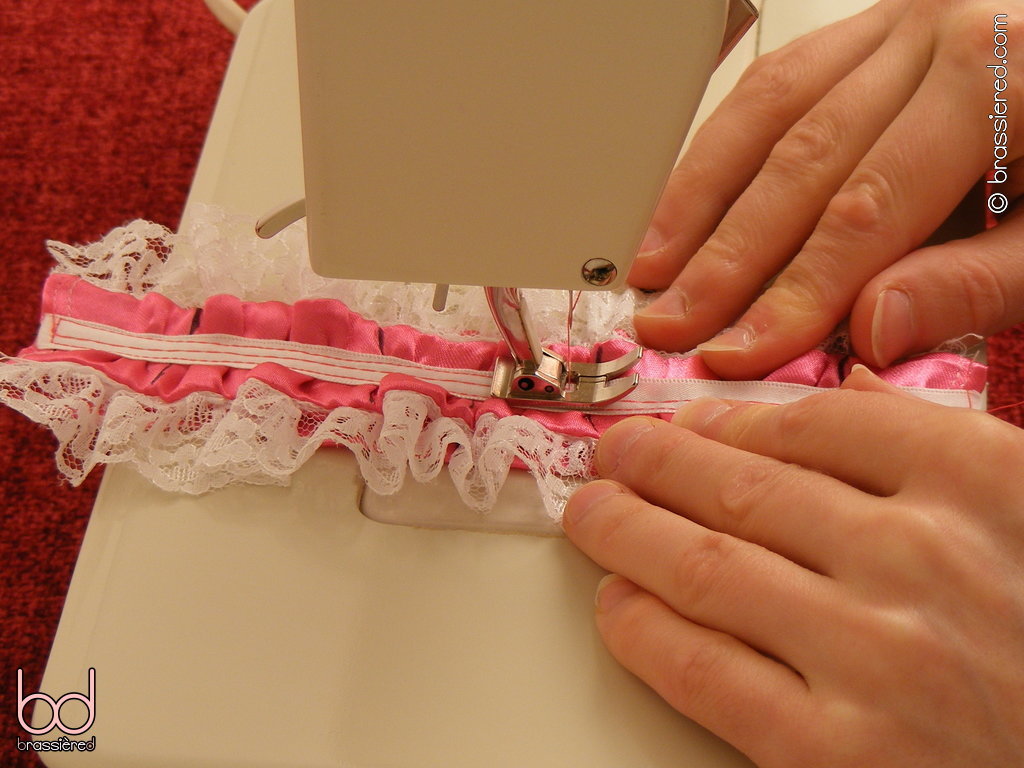
With the ribbon temporarily secured, sew around it with a regular stitch, just inside its edges. As before, my husband is using a contrasting colour so that you can see what he is doing, but you would want to use white here - as you can see in Figure 10.16, the ridges of the ruffle make it difficult to keep a consistent distance. A picky mistress could choose to make an issue of this!
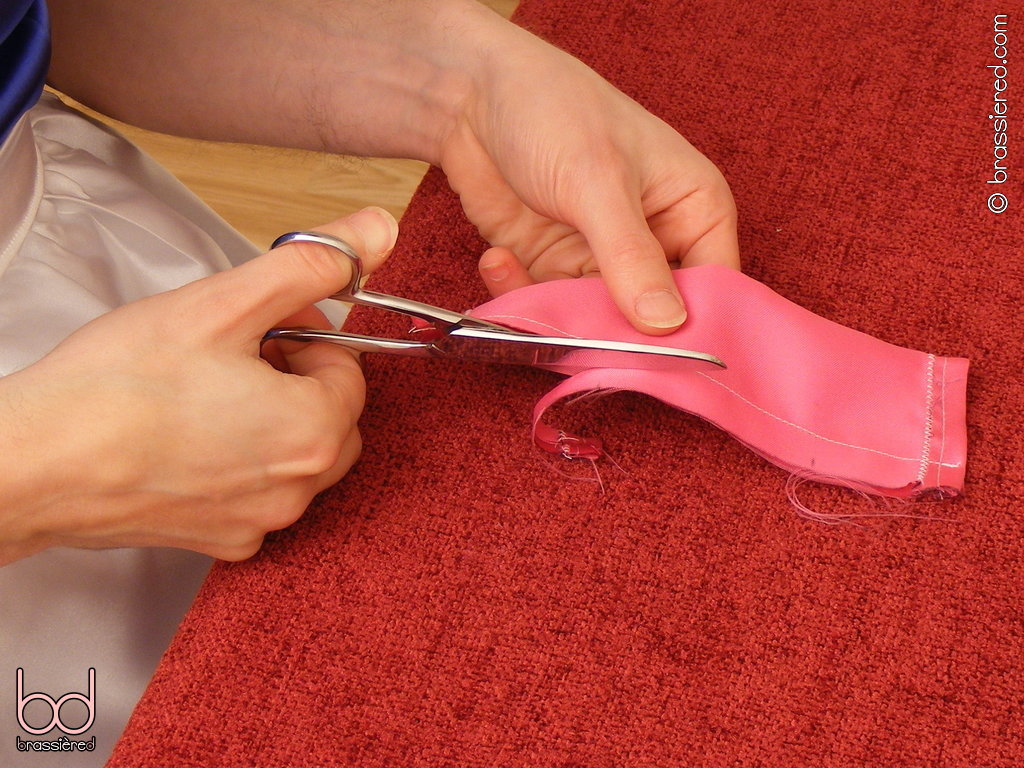
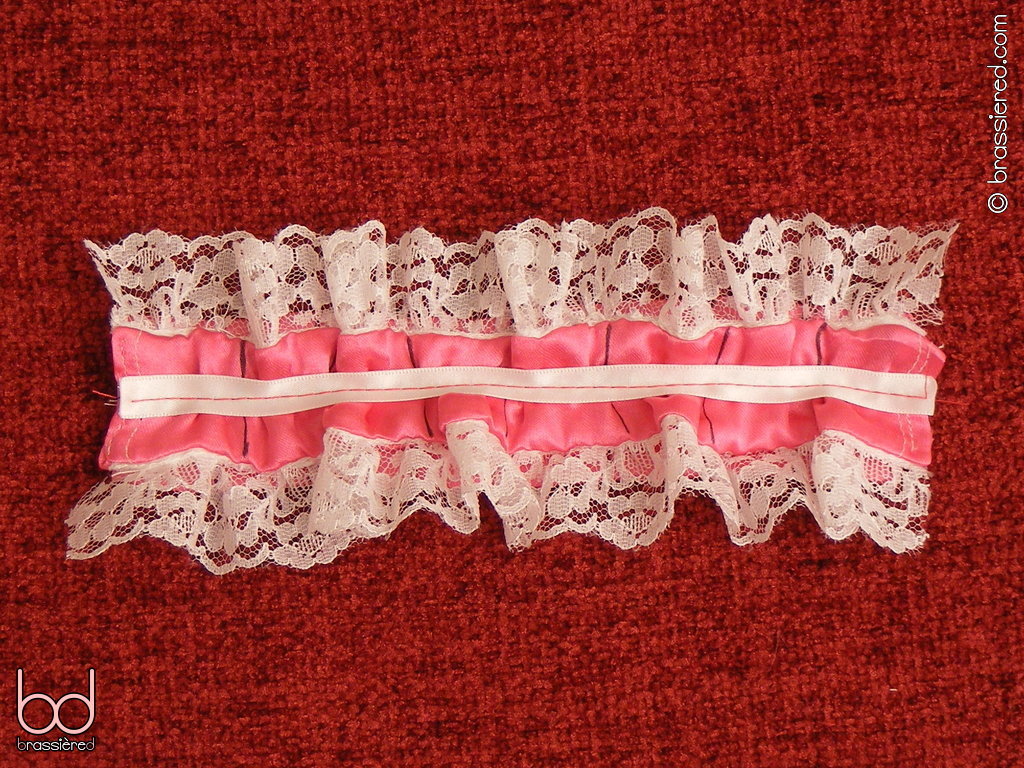
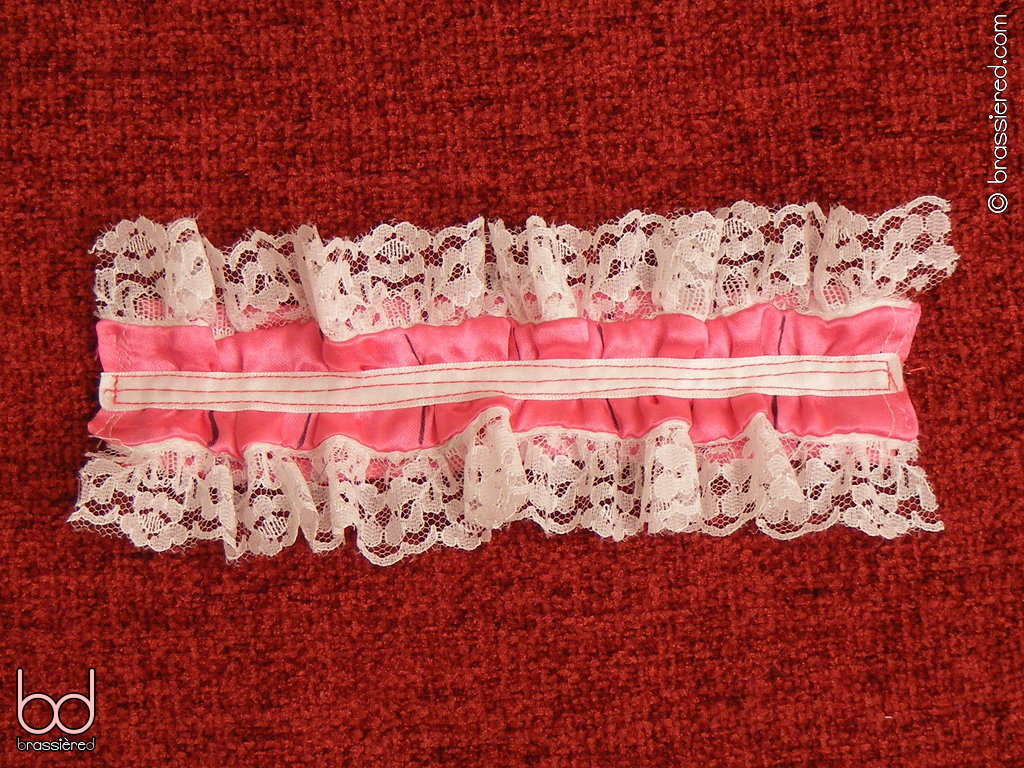
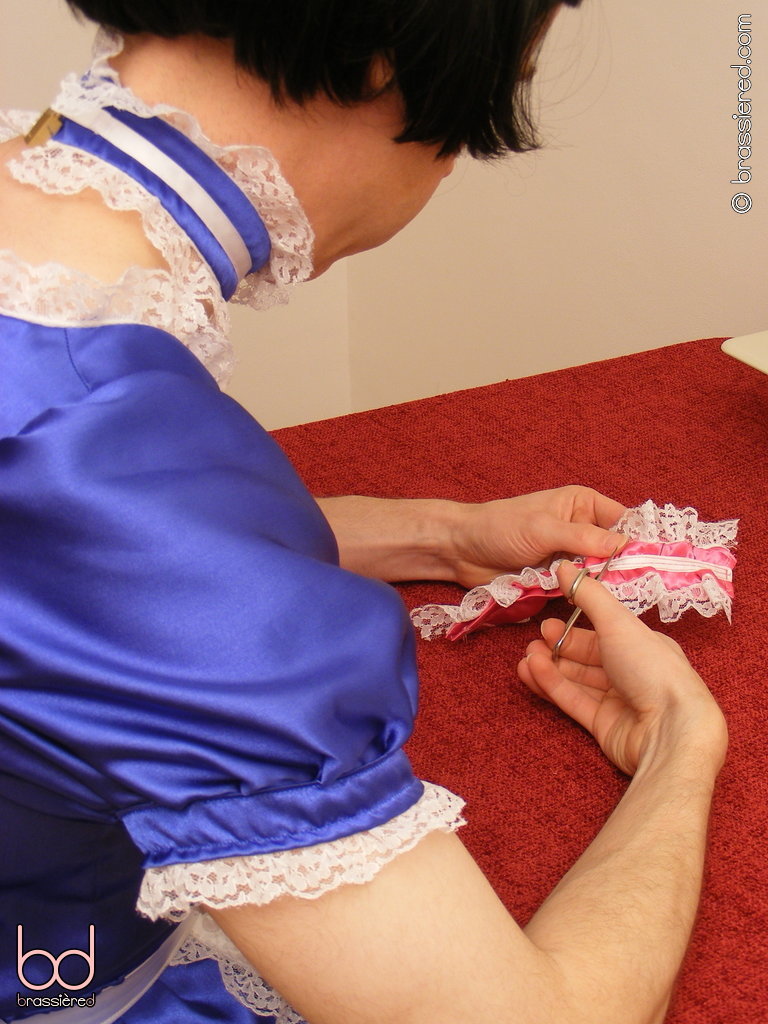
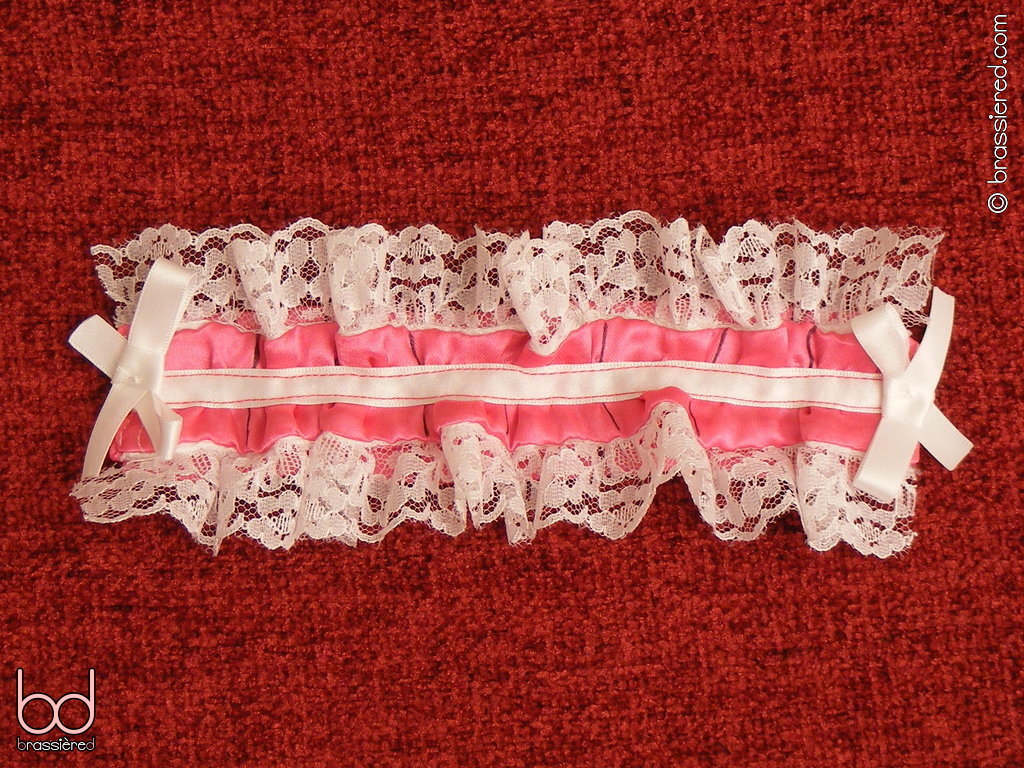
Using a pair of fine-pointed scissors, carefully unpick the basting stitches, just as you did with the choker in the previous chapter. In Figure 10.17, note how all the stitching remains close to the bottom seam of the headband, leaving sufficient space for an Alice band to be threaded through above or below it.
Embellishing with bows
The ends of the headpiece are still a little messy, however, so we'll embellish them with a couple of bows - neatly hiding the rough ends of the ribbon, while simultaneously making an already frilly little number even more feminine.
Cut two pieces of white ribbon, 20cm / 8” in length (Figure 10.18). As always, use your lighter to stop their ends from fraying.
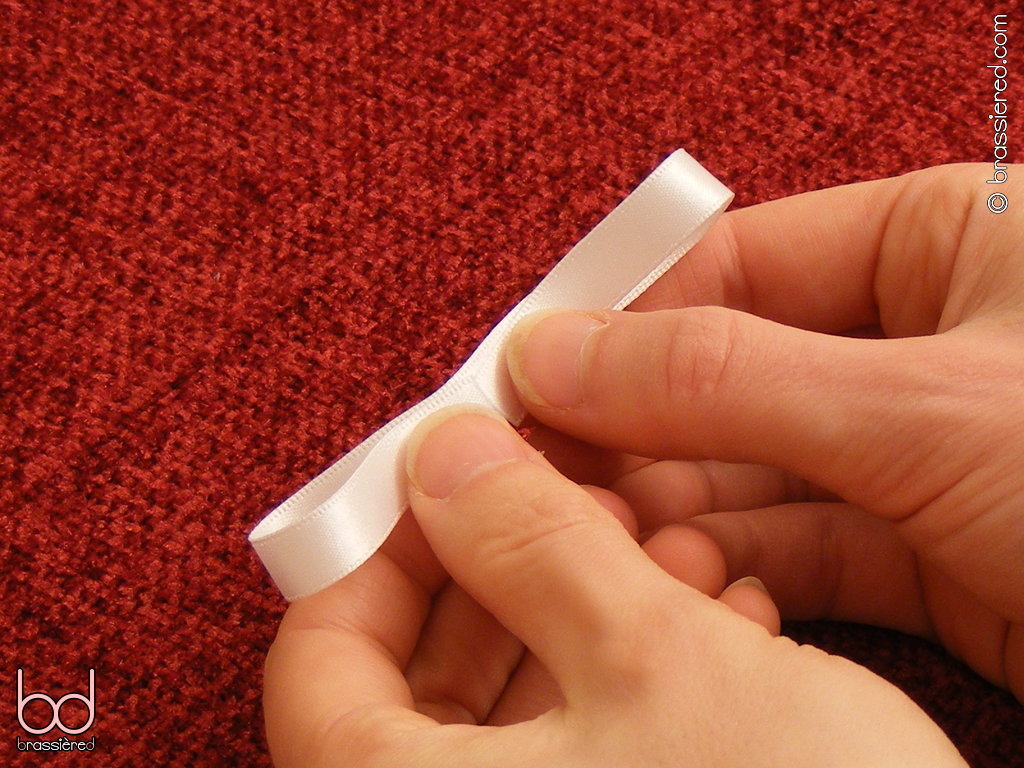
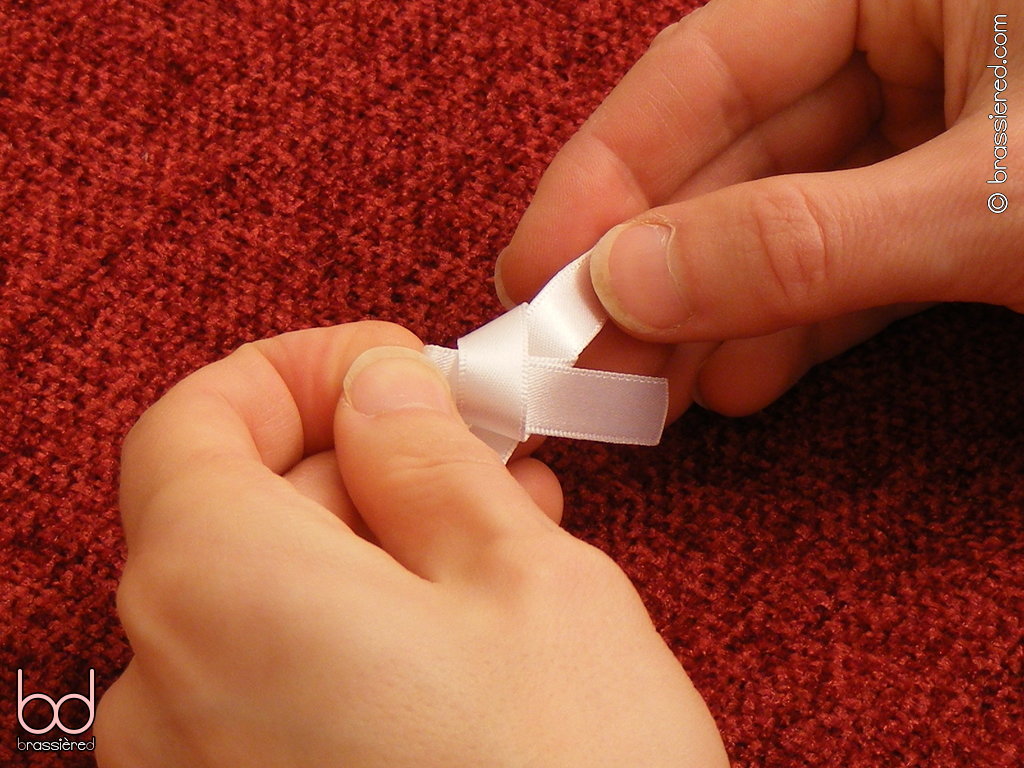
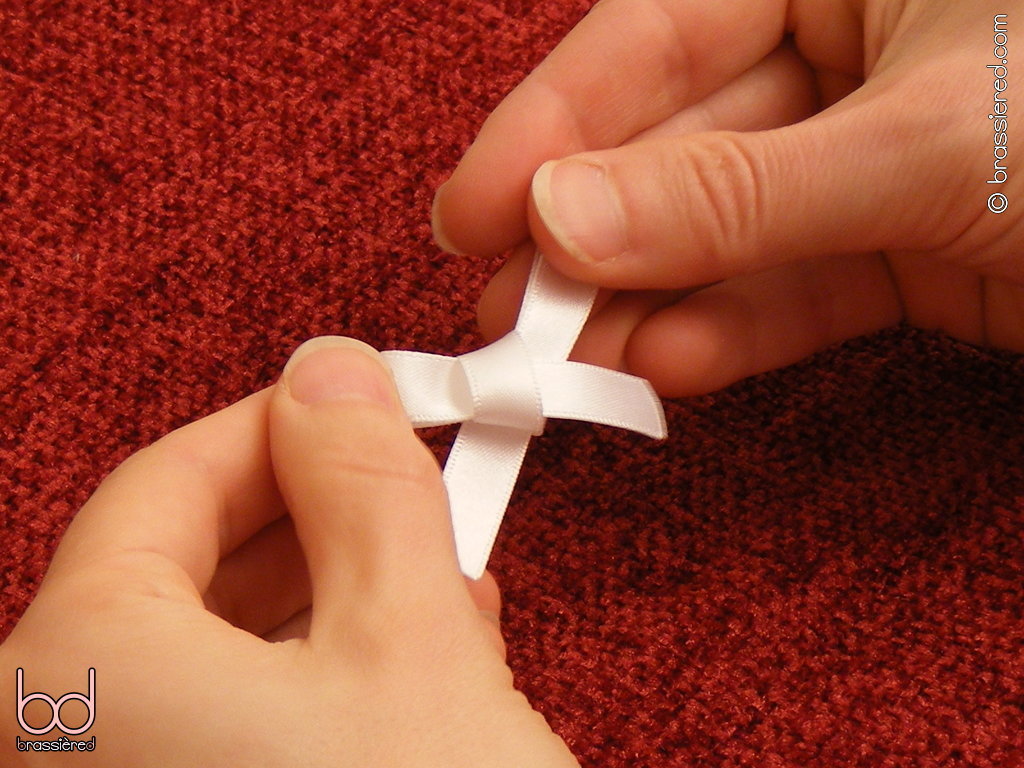
Make a bow out of each. There's a knack to this that's difficult to capture with pictures, with my husband first folding each end of the ribbon into the middle, then tucking one of the resulting loops under the other, pulling it through to make a knot that he then goes on to equalise the ends of. If Figure 10.19 is difficult to make sense of, then searching for “how to tie a bow” will find you videos of people doing so online - although my husband found they generally did so far too quickly to be helpful! In the end, you may have to resort to trial and error like he did, repeating until you're able to produce a bow that you're happy with.
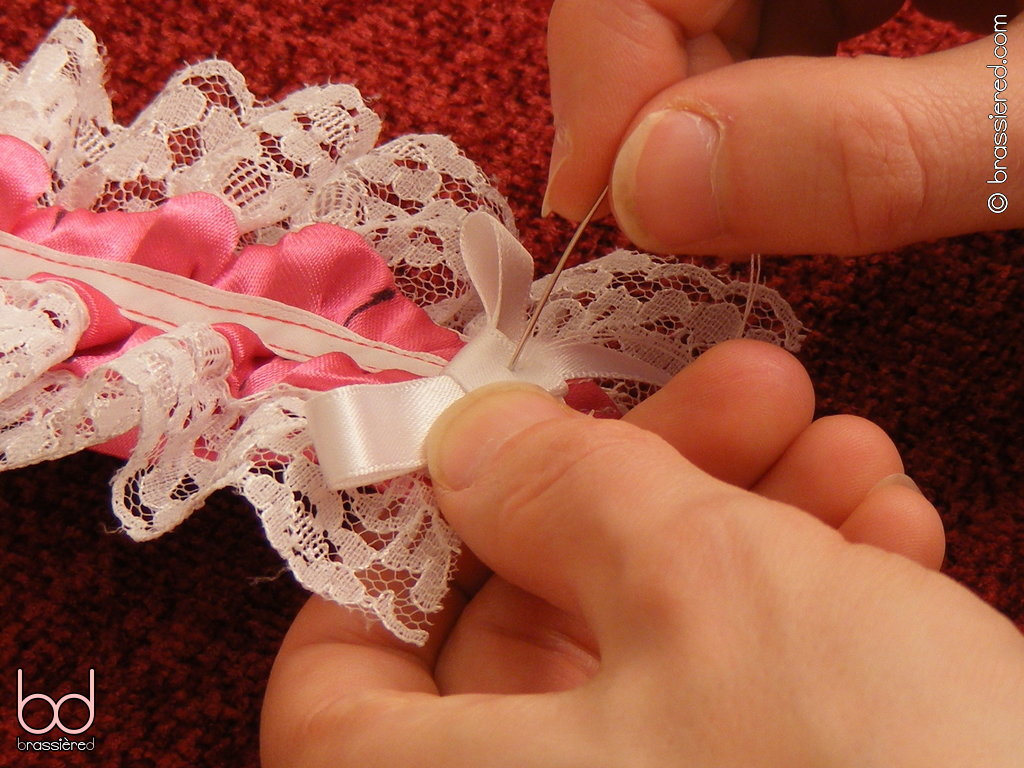
Thread a hand needle, and attach the bows to the ends of the ruffle, putting the stitches on top of one another in the middle of the knot of ribbon (Figure 10.20).
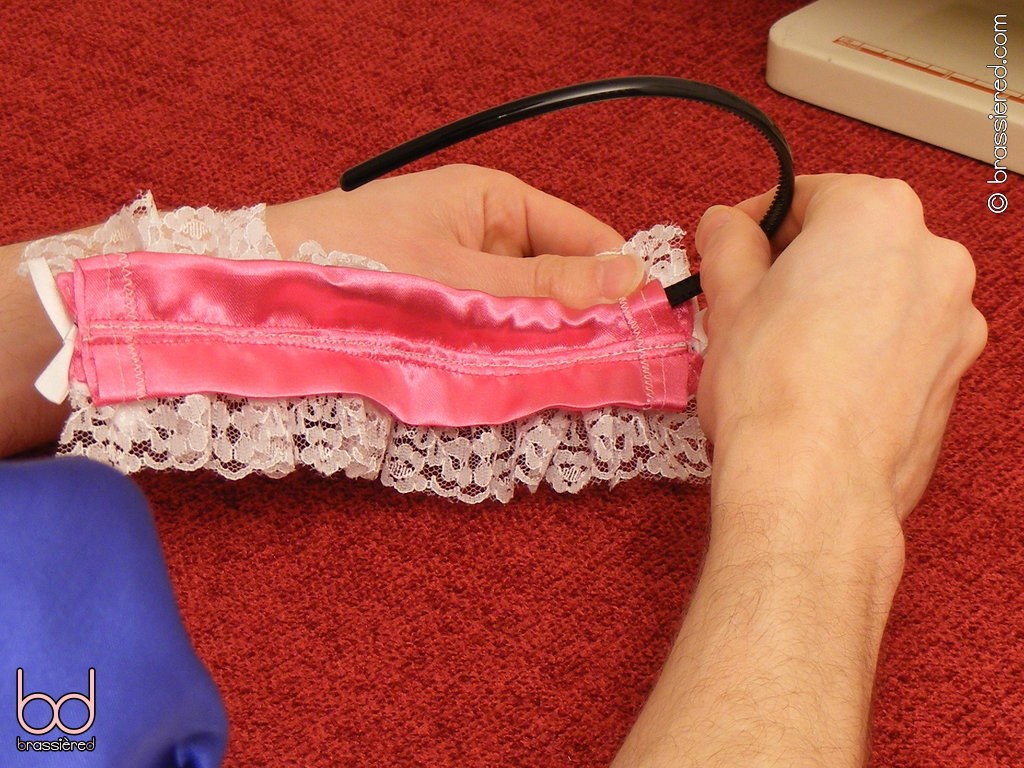
All that is left to do is to thread an Alice band through the headband as my husband does in Figure 10.21, and then to put your finished maid's headpiece where it belongs - on your head!