sewing for sissy maids
Chapter 6: How to make a maid's dress, part one: the bodice
While you could wear a maid's apron over regular clothes, to really look the part while you're doing the cleaning requires a certain kind of dress - one whose every aspect speaks of service and submission. With a fitted bodice that follows the figure before flaring out in a suggestively short skirt, as well as puffy little sleeves and a lacy neckline, the stereotypical French maid's dress is just the thing, leaving little doubt about your subordinate status as you go about your domestic duties.
Over the course of the next three chapters, we'll be making just such a garment, starting with the bodice before moving on to the sleeves and skirt, then finishing with the fastenings. By the time you're done, you'll have a satin and lace maid's dress that not only matches your apron, but fits your body too, capable of being locked to ensure you stay suitably dressed until every last chore is finished.
Pieces for the dress
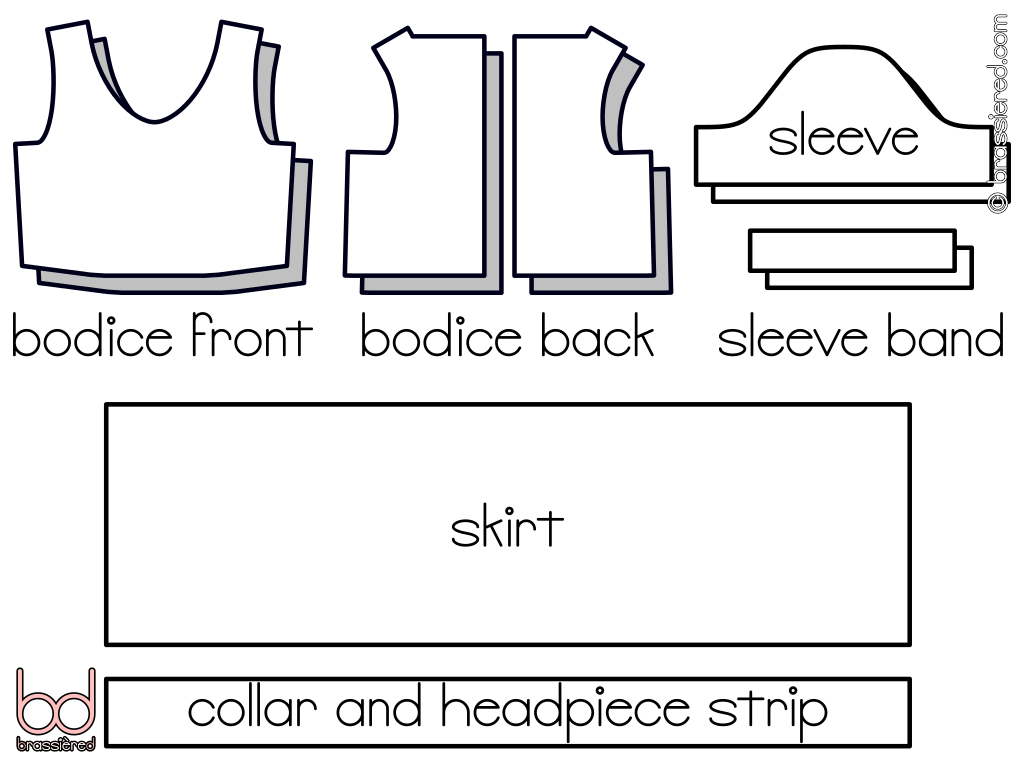
To make the maid's dress, we'll need the following pieces:
-
front bodice
A symmetrical piece, using the pattern you drafted in Chapter 2. We'll need to cut two of these. If you've chosen a thicker fabric than the satin my husband will be using, you may wish to cut the second from a thinner lining material.
-
back bodice
Two mirrored pieces, using the pattern you drafted in Chapter 2. Again, we'll need two sets of these, flipping the template over to produce a left and a right in both fabric and lining. This is especially important if, like satin, there's an obvious difference between the right and the wrong side of your material - be careful if you're trying to be clever when positioning the pieces.
-
sleeve
Two identical pieces, using the pattern you drafted in Chapter 2.
-
sleeve band
Two identical pieces, using the pattern you drafted in Chapter 2.
-
skirt
A long rectangle. Its width should be your waist to mid-thigh measurement plus three times your seam allowance (once for the waist, and twice for the hem), and its length should be somewhere between one and half times and twice your waist circumference. There's a lot of leeway in the latter, because we'll be gathering the top of the skirt. If your fabric is the standard 150cm / 60” width, then you can simply use a strip from selvedge to selvedge. If you're using significantly narrow fabric, cut three identical pieces, each approximately 50cm / 20” wide and sew them together to make one - an approach that we'll discuss in further detail in Chapter 12.
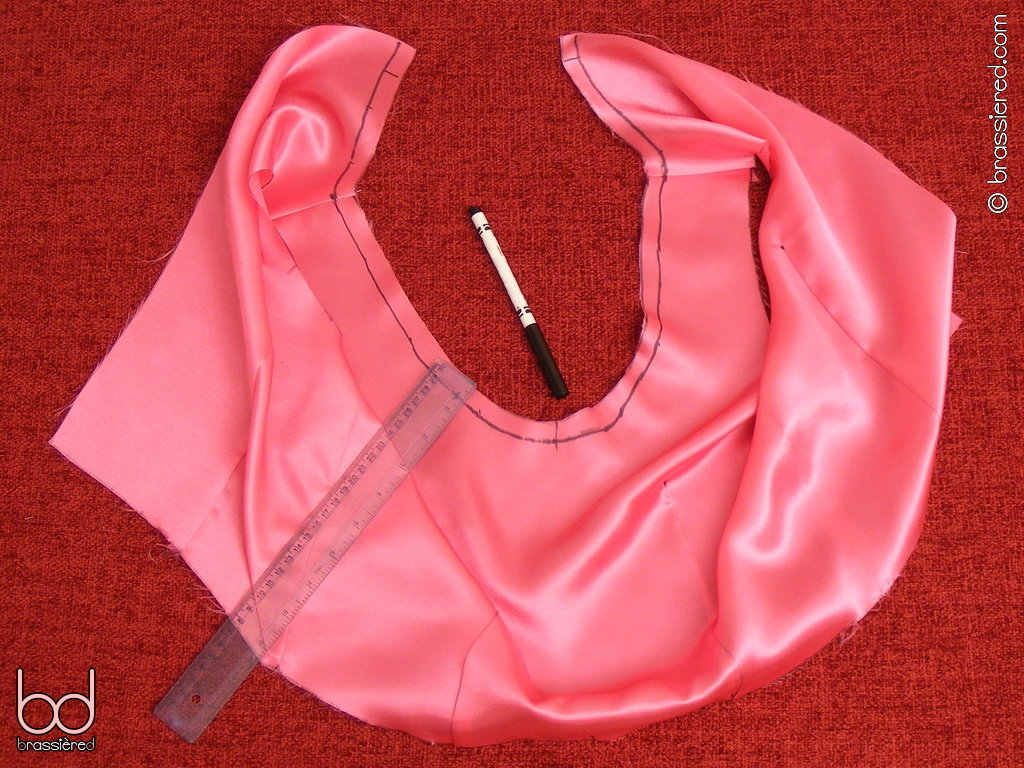
We'll also be cutting a second strip of the same fabric, which we'll be using to make the maid's collar and maid's headpiece in subsequent chapters. Cutting this along with the skirt saves having to straighten everything again! The width of this second strip should be 12.5cm / 5”, and its length should be from selvedge to selvedge - even with a 112cm / 44” roll, this should be sufficient.
Cutting out the pieces for your maid's dress
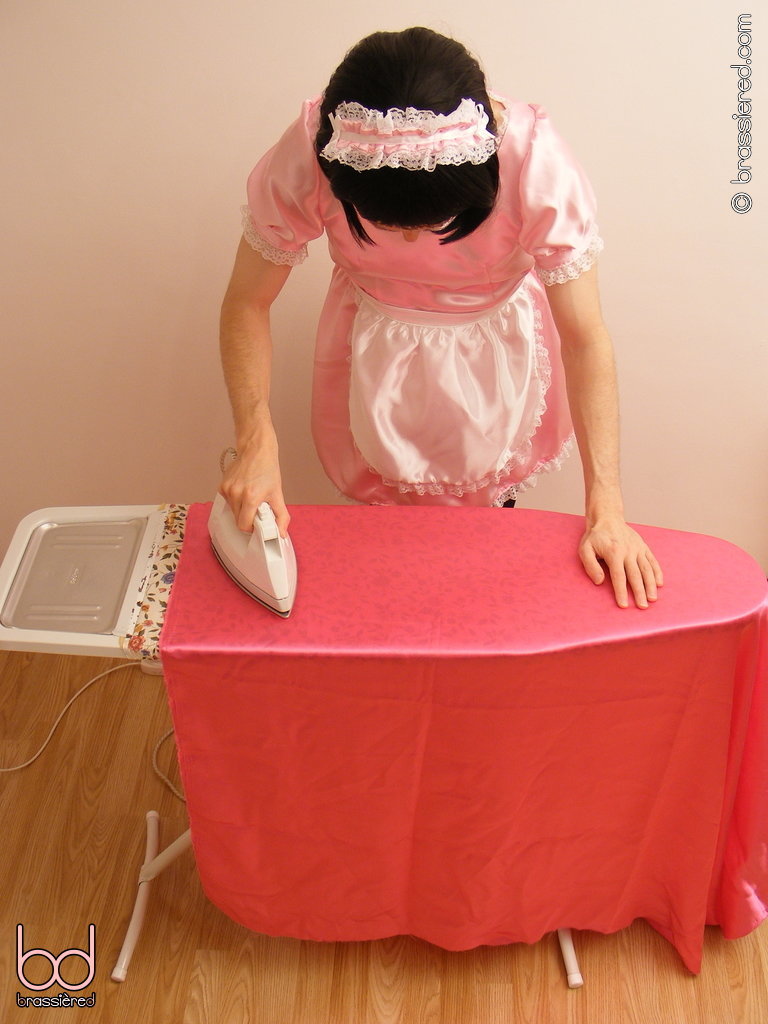
Following the same procedure as previously, wash and iron your fabric, then lay it out flat (Figure 6.2).
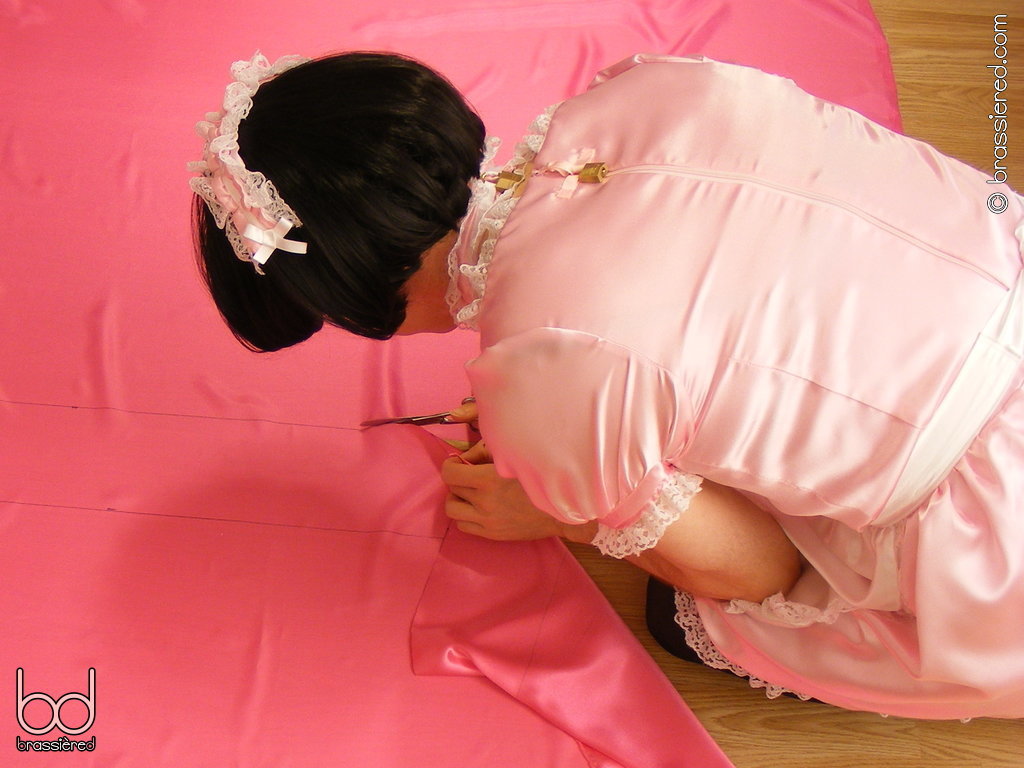
Start by marking and cutting the two strips, just as you did before (Figure 6.3).
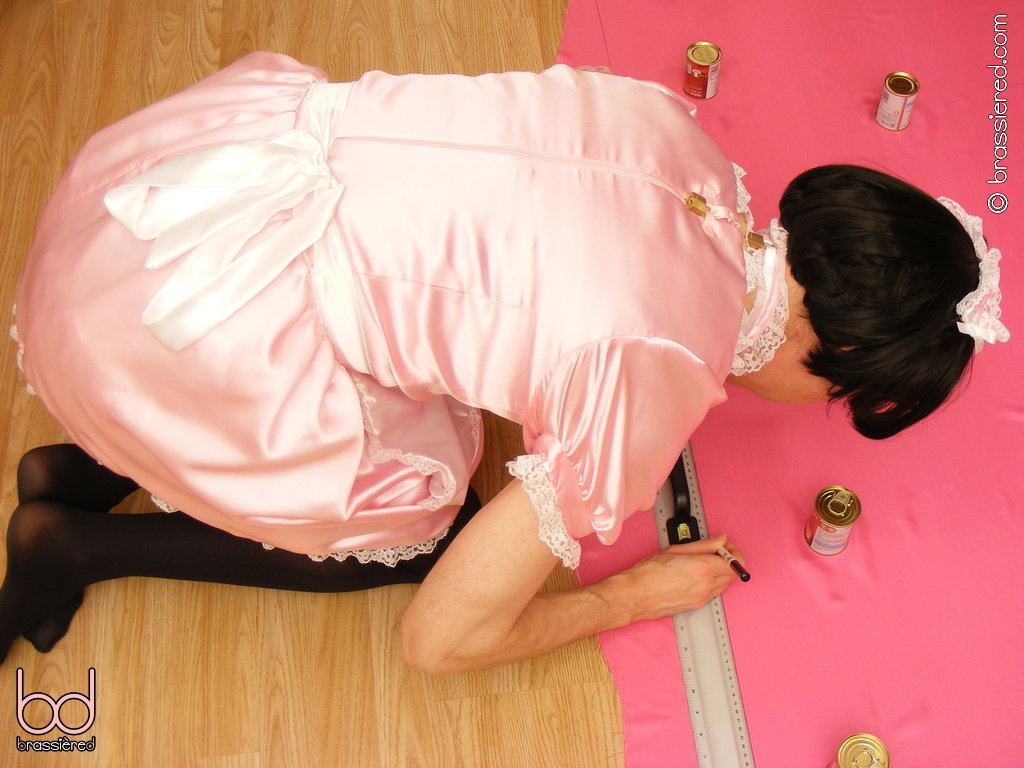
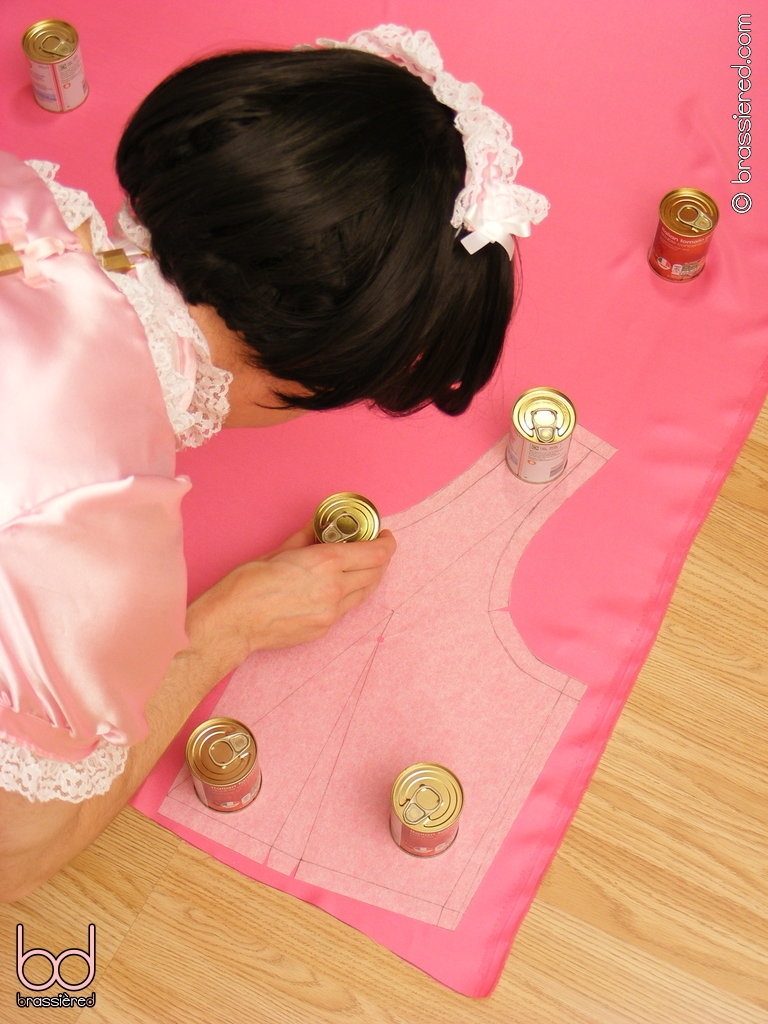
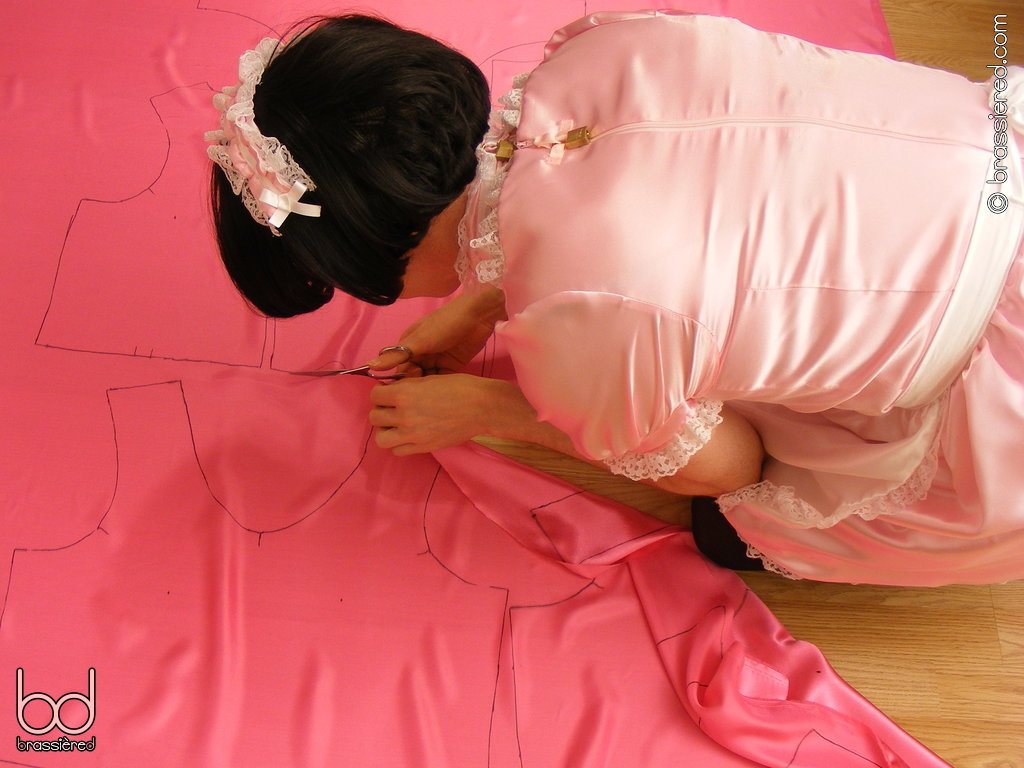
We'll now lay out the pieces for the bodice. If necessary, straighten the fabric again. Place one of your pattern pieces near the corner, weighing down both the template and the surrounding material with tins, then carefully trace around the edges. In Figure 6.4, my husband is somewhat flustered at having me stand over him, and thus makes the mistake of not considering how he'll flip the pattern for the second half of the bodice front. There's certainly no need to come as close to the bottom edge of the fabric as he does - leave yourself plenty of space between pieces. Remember to mark the holes at the point of each dart, as well as the small triangles at their base - a line drawn into the latter is sufficient for this.
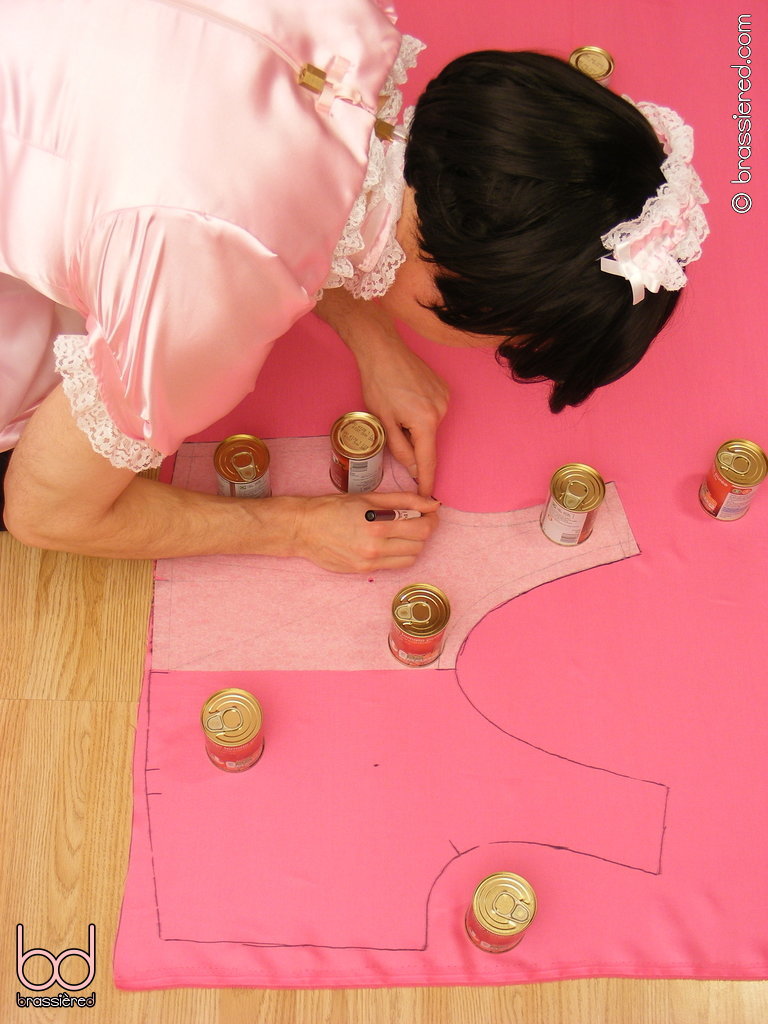
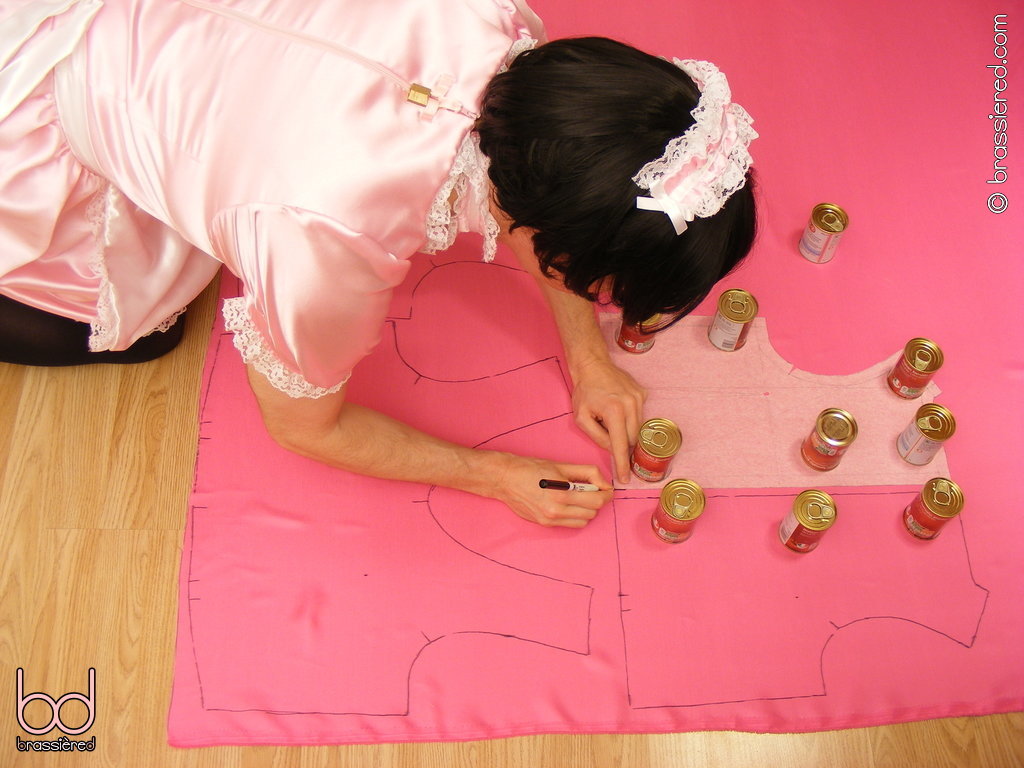
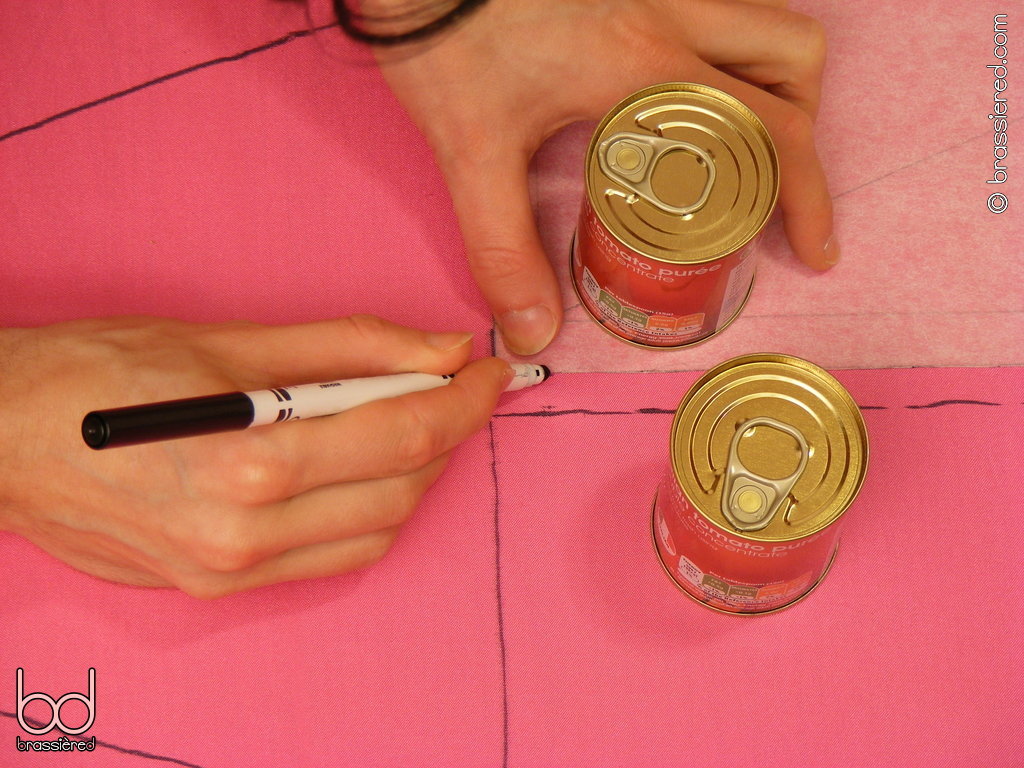
It's now simply a case of continuing until you've marked out all the pieces you need. To make sure the fabric doesn't shift as you move your pen, mark the corners of each piece first before drawing around the edges, pressing them down with your fingers as my husband does in Figure 6.5. His collection of tins will follow him around the floor until he's finished, keeping the section of fabric he is working on straight as he marks out the bodice backs, sleeves and sleeve bands in a similar way.
When you've got everything marked out, roughly divide the fabric into smaller sections prior to cutting out the individual pieces more carefully (Figure 6.6) - preferably somewhere more comfortable than the floor! In doing so, you'll reduce the large sheet you started with into a much smaller pile of pieces, along with a whole load of scraps. You can use the larger of these for practising your sewing if you're still unfamiliar with your machine, or keep them in a rag bag in case they might later come in useful.
Finally, on each of the bodice pieces for which there'll be darts, use a ruler to draw lines for them as my husband does in Figure 6.7, connecting their points with the lines you marked earlier. Do this on the wrong side of the material, then turn the pieces over and mark the armhole lines on the right side too. Mark the middle of the bodice front on the waist and neckline in a similar way - these lines will help align the bodice and its lining when we sew them together.
Sewing the darts and seams
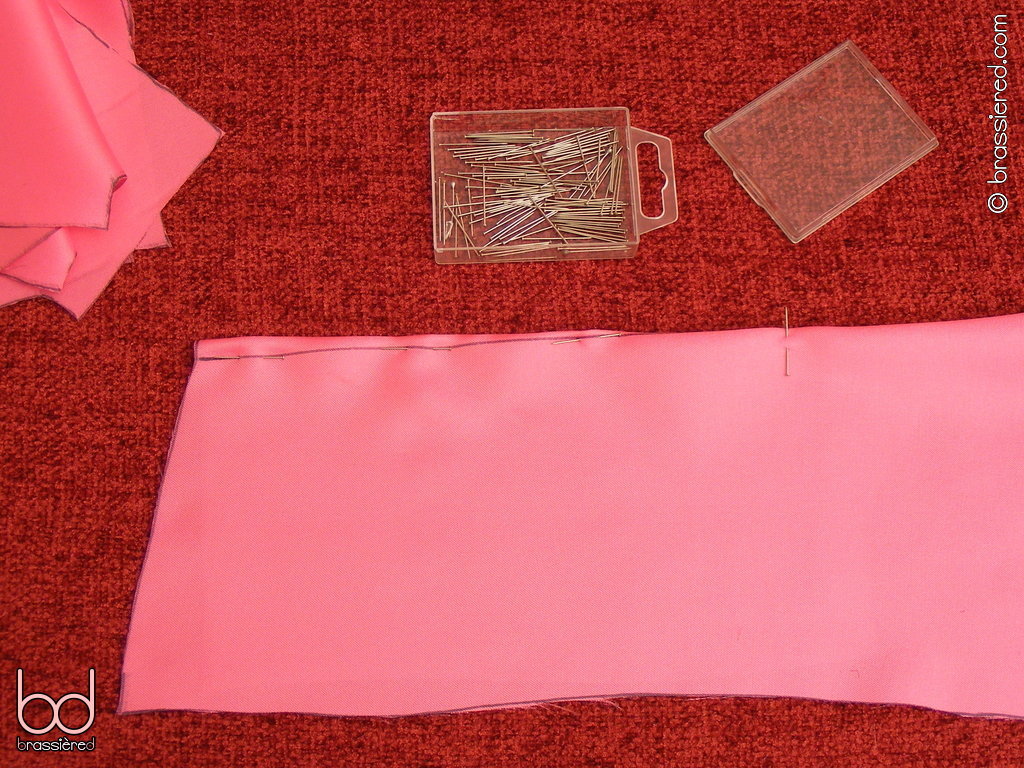
For each of the bodice pieces for which there'll be darts, pin the lines you've drawn for them together, with the right side of the fabric sandwiched inside. In Figure 6.8, my husband has put the pins pointing from bust to waist, along the drawn line. This not only allows him to easily remove them as he sews up from the bottom of the bodice piece, but provides a means of checking that the dart lines are indeed together - the pins should pass through them on both sides. He's used a vertical pin at the point of the dart to mark where his stitching should finally leave the fabric. Do the same yourself with a regular stitch, locking it as usual where it starts at the waist, but leaving its ends at the point of the dart loose.
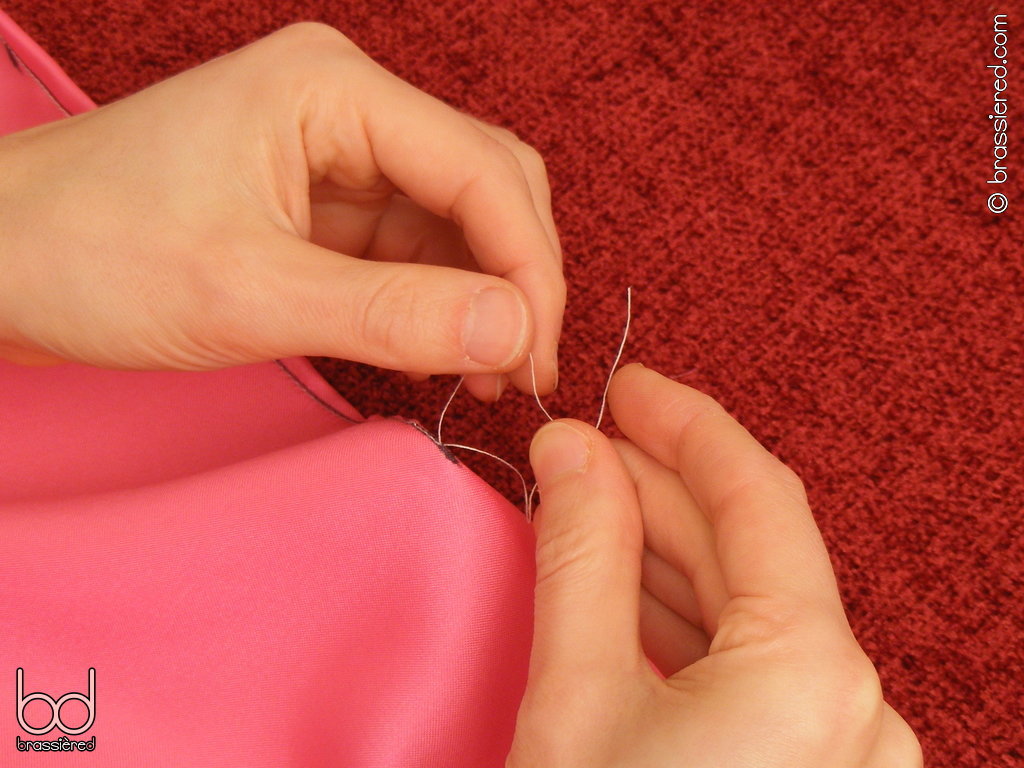
After checking that your stitching does indeed follow both dart lines, tie off the threads at the end (Figure 6.9). Knotting them rather than locking them helps avoid an unsightly bubble, instead bringing the dart to a neat little point.
Iron the darts flat as my husband demonstrates in Figure 6.10, pressing them towards the centre of the bodice. For the bodice back pieces, that's the longer edge, where the zipper will go in due course. Do so first on the wrong side, then on the right side of the fabric.
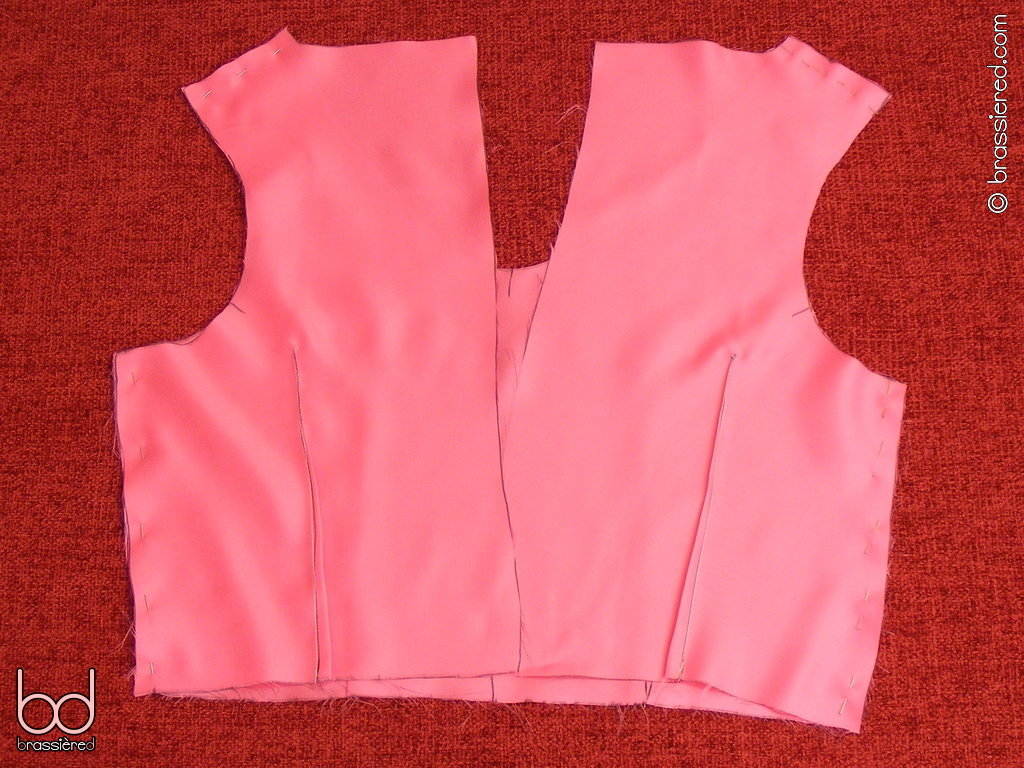
With the right sides together, pin each set of bodice front and bodice back pieces together at the shoulders and sides (Figure 6.11). In doing so, you'll make a kind of waistcoat, albeit one that's inside out at this stage.
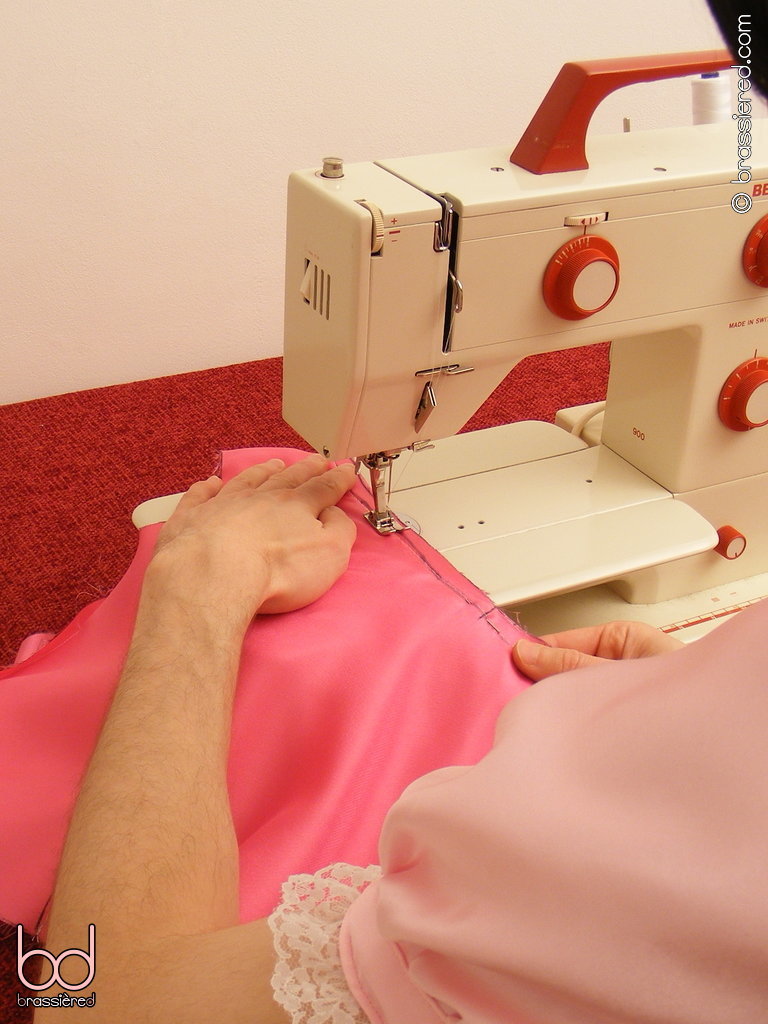
Sew the shoulders and sides of this waistcoat together, using a regular stitch at your seam allowance (Figure 6.12).
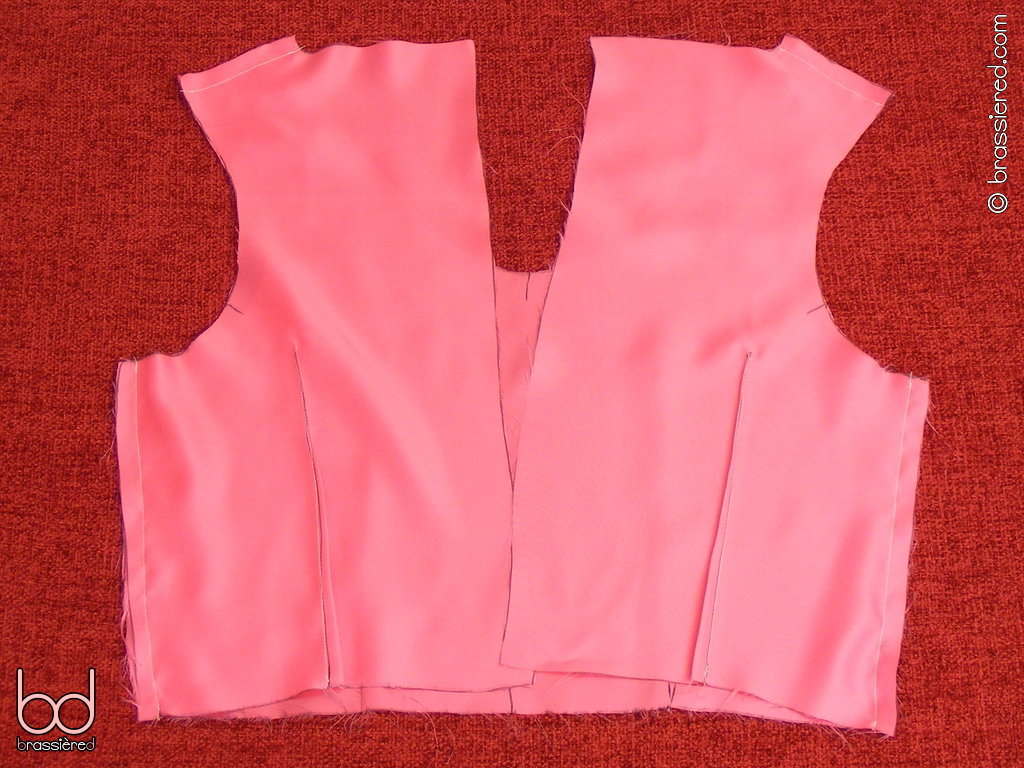
Open the resulting seams, and press them flat (Figure 6.13).
Making a lace-trimmed waistcoat
On the right side of one of the waistcoats, draw a guideline that's your seam allowance in from the neckline, as my husband has done in Figure 6.14. If this seems familiar, that's because it is - we're doing much the same as we did for the apron in in the previous chapter.
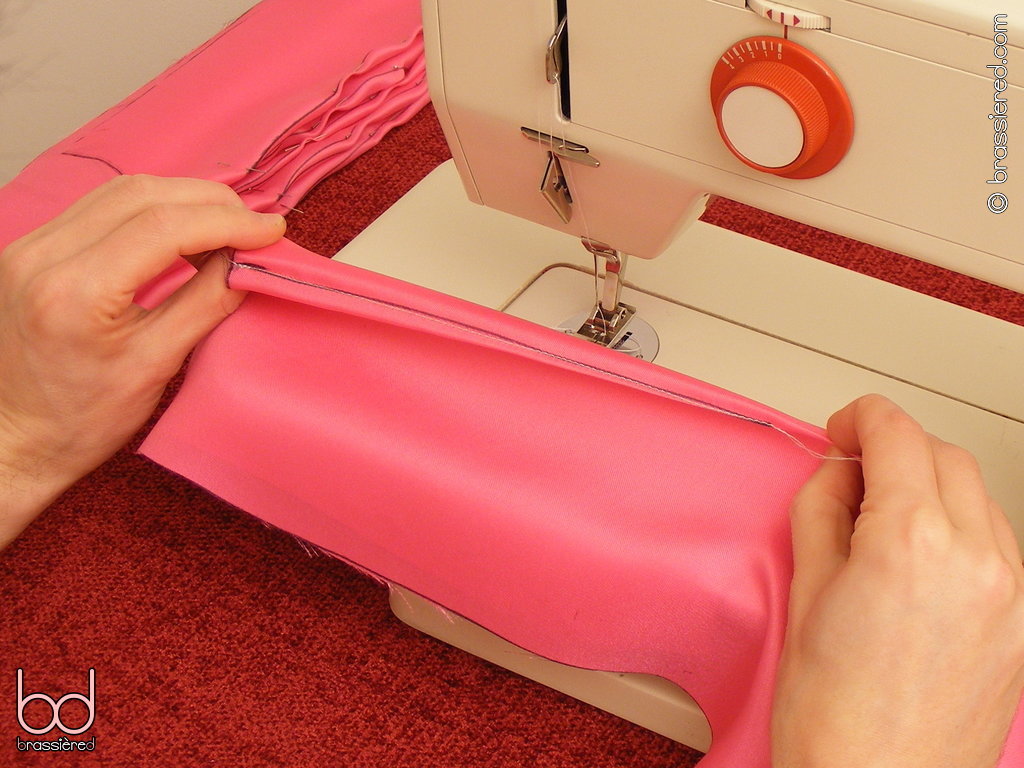
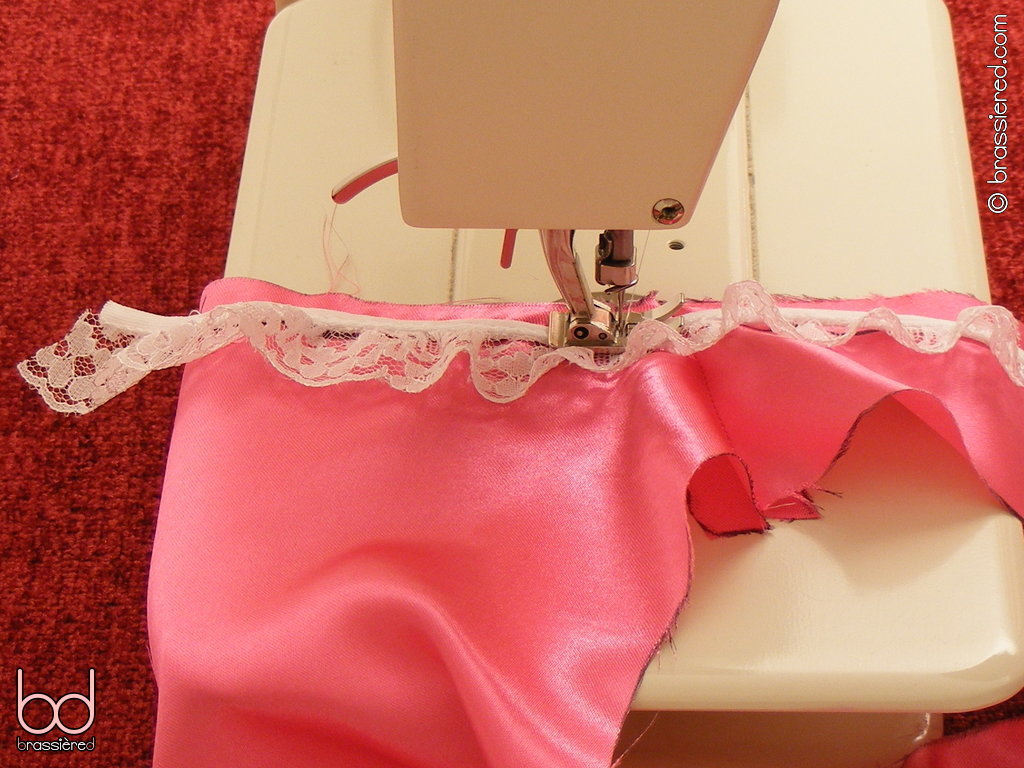
Rather than sewing from the edge of the fabric, however, leave a 2.5cm / 1” length of unattached lace before beginning to baste it - frill facing inwards, as before (Figure 6.15). Once again keeping the material taut while avoiding stretching the lace, follow your guideline around the top of the waistcoat, taking care to ensure that the shoulders seams between the pieces stay pressed flat. Stop 2.5cm / 1” from the end, but don't cut here - leave a similar length of unattached lace at the end.
Fold each of the loose ends of lace at right angles, so that they meet the neckline of the waistcoat, then baste them in place, as illustrated in Figure 6.16. Once we sew the two waistcoats together, this will see the ends of the lace concealed inside the seam.
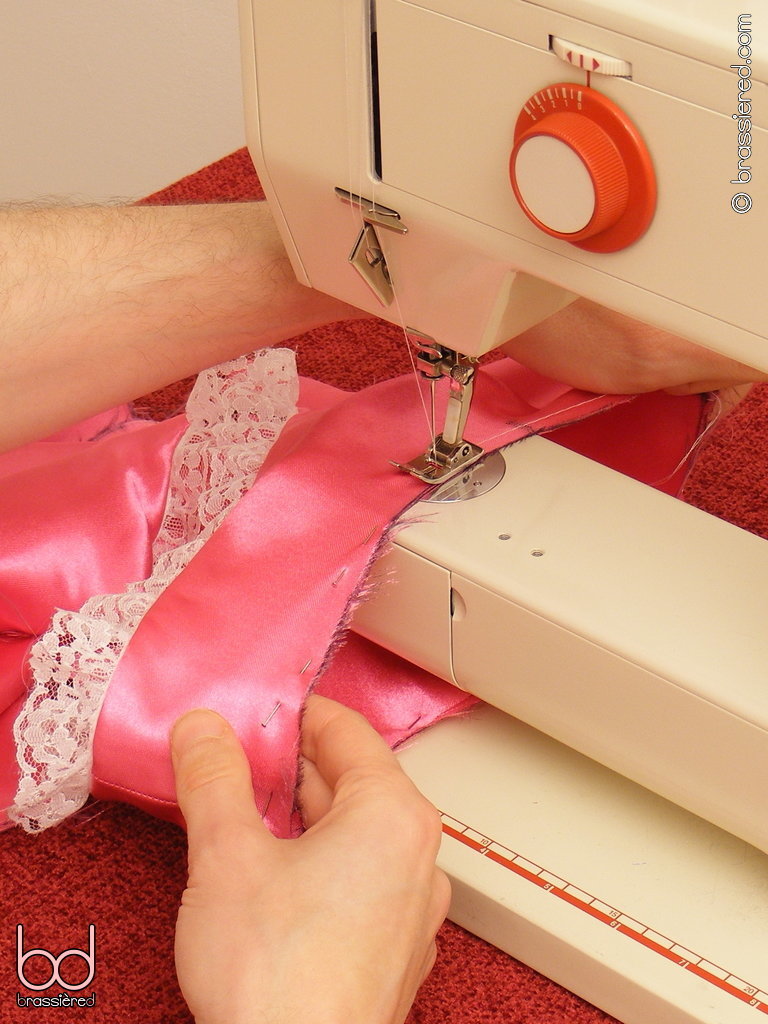
With the lace trimmed waistcoat uppermost and the right sides facing, pin the two waistcoats together as my husband does in Figure 6.17, aligning the shoulder seams and centre marks.
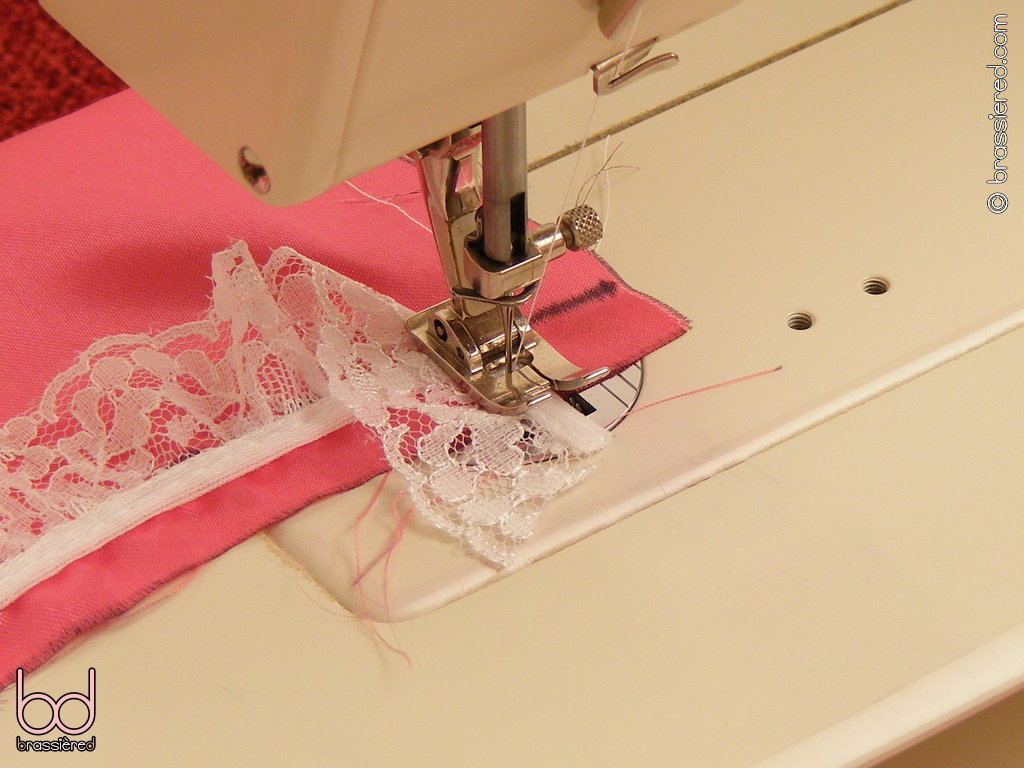
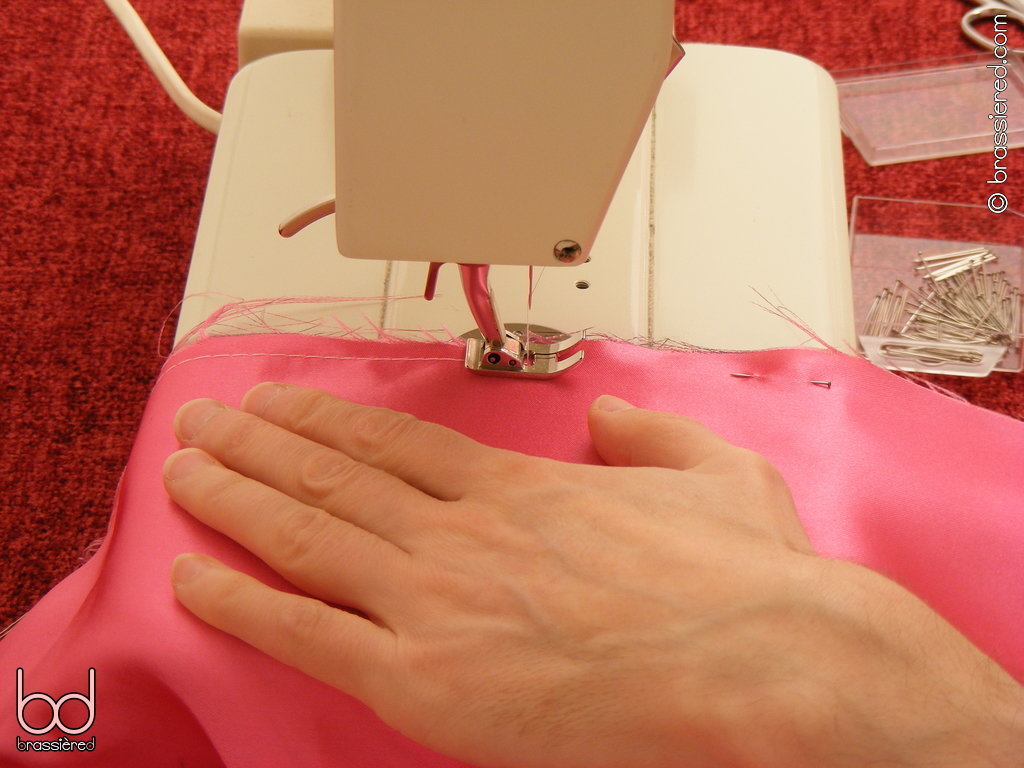
Starting at the side edge, sew the two waistcoats together with a regular stitch, following the line of your basting all the way to the other side edge (Figure 6.18). Again, take care to keep the seams between the pieces flat as you do so, sewing over the ends of the lace near the start and the end.
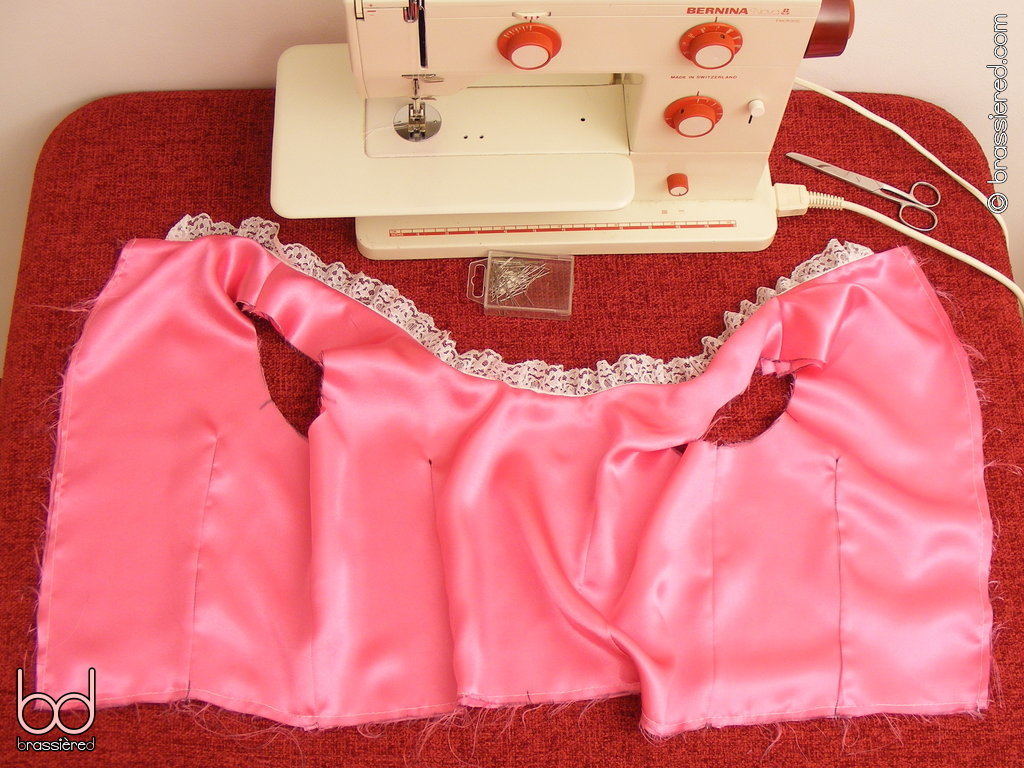
Doing exactly the same as you did for the apron bib, temporarily turn the resulting double-sided waistcoat right side out, and check that none of the lace has got caught in the stitching. In Figure 6.19, my sissy maid husband is relieved to discover he doesn't need to unpick and restitch this time - but he would if he had to, knowing that he needs to get the neckline of his dress right.
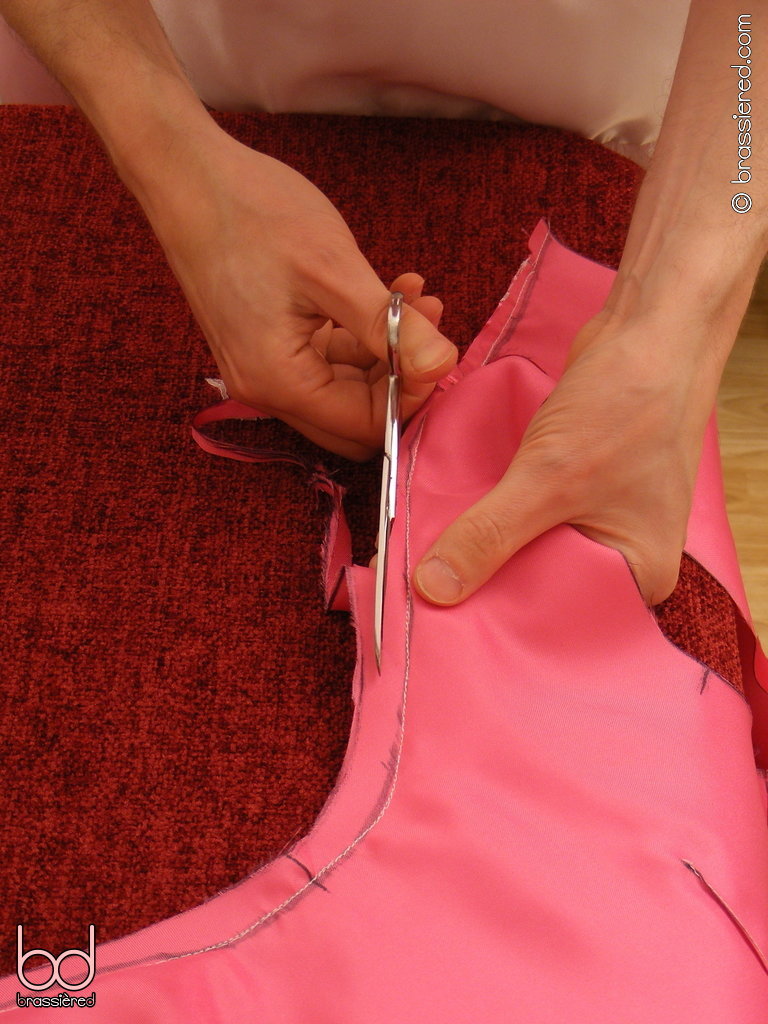
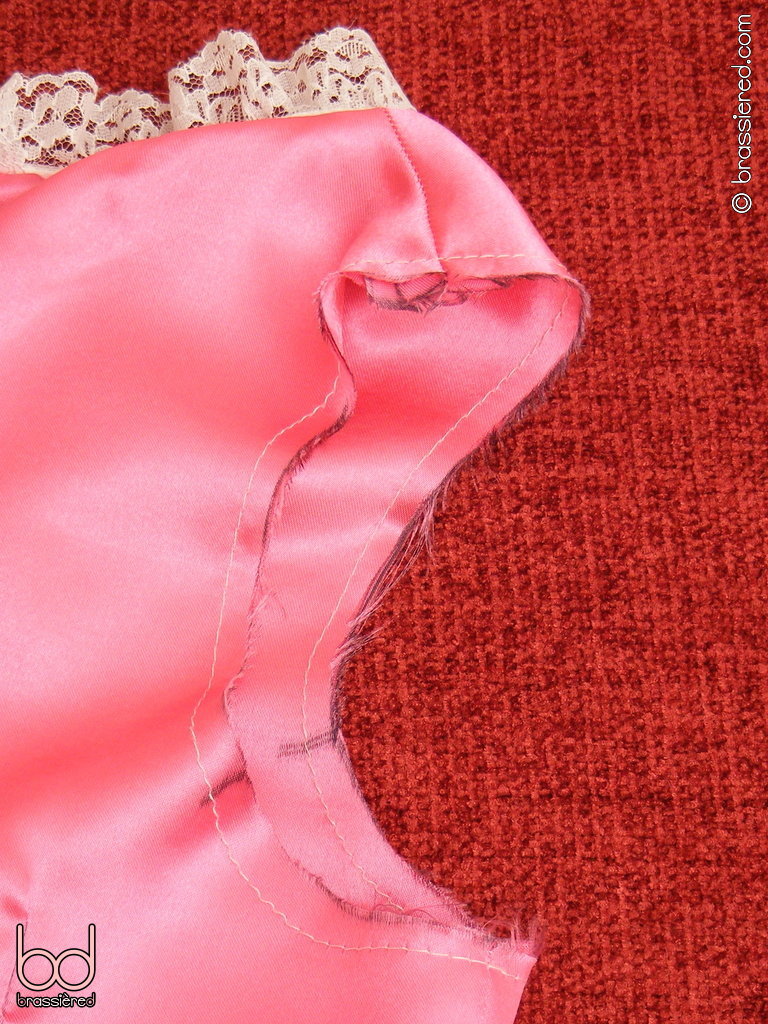
Turn the waistcoat inside out again, and trim the seam (Figure 6.20). In doing so, you'll also trim the loose ends of the lace.
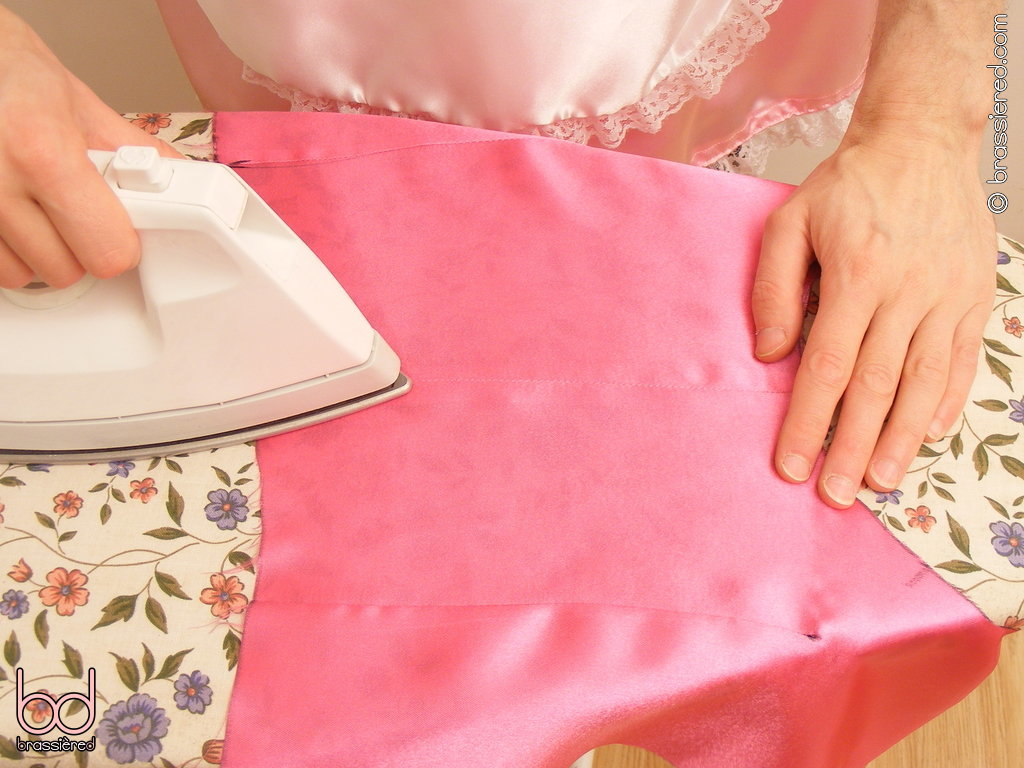
Finally, turn the waistcoat right side out once more, and press the seam (Figure 6.21).
Finishing the waistcoat
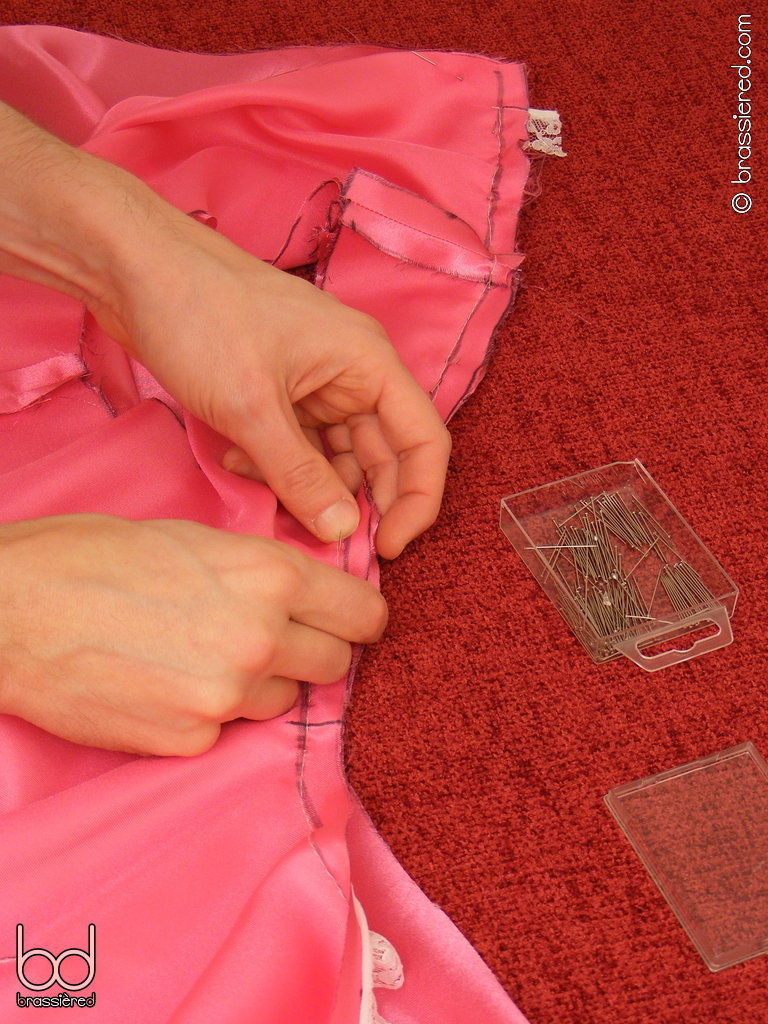
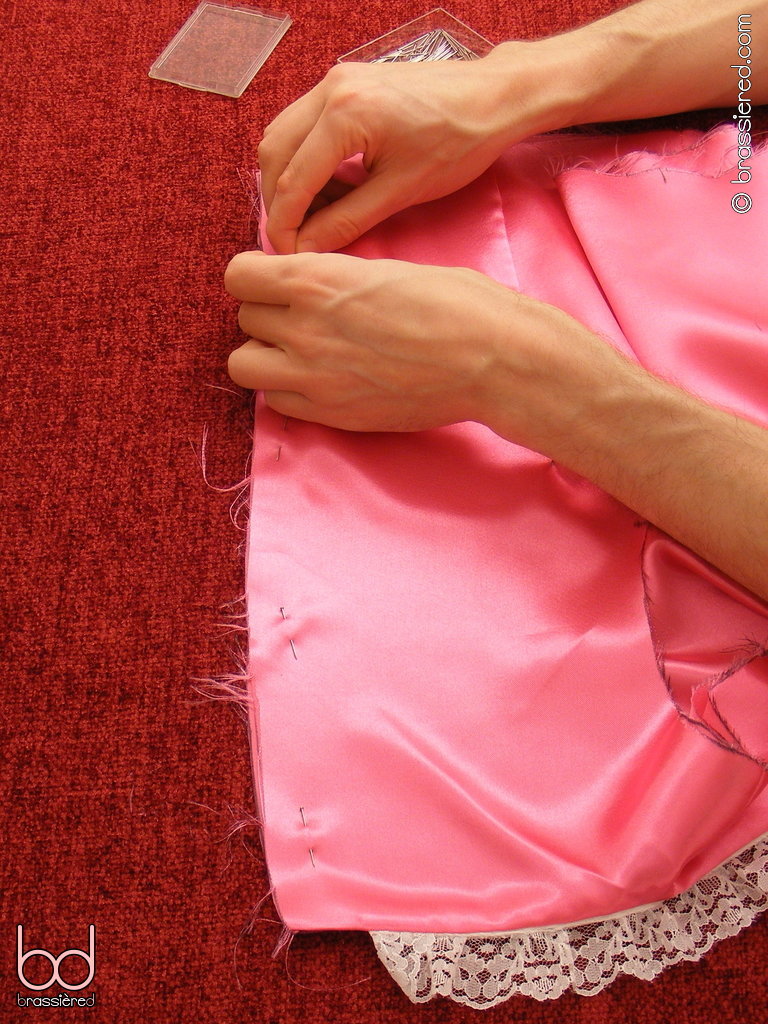
Pin the two parts of the waistcoat together, first along the side edges, then along the long bottom edge, aligning the seams, darts and centre marks (Figure 6.22).
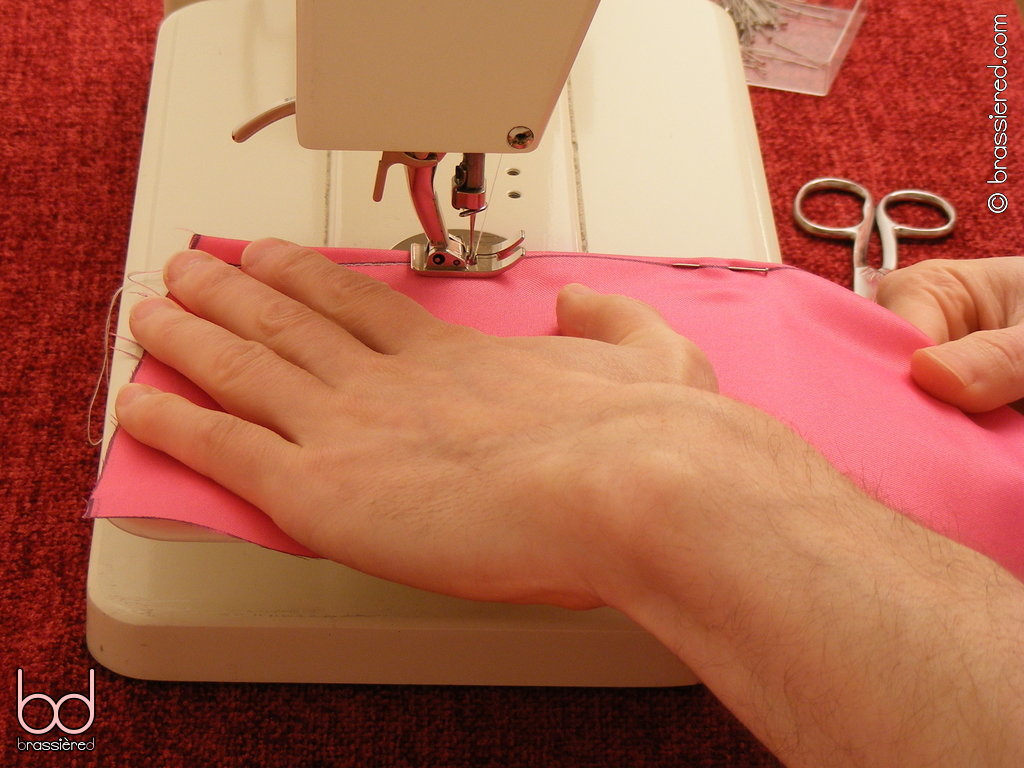
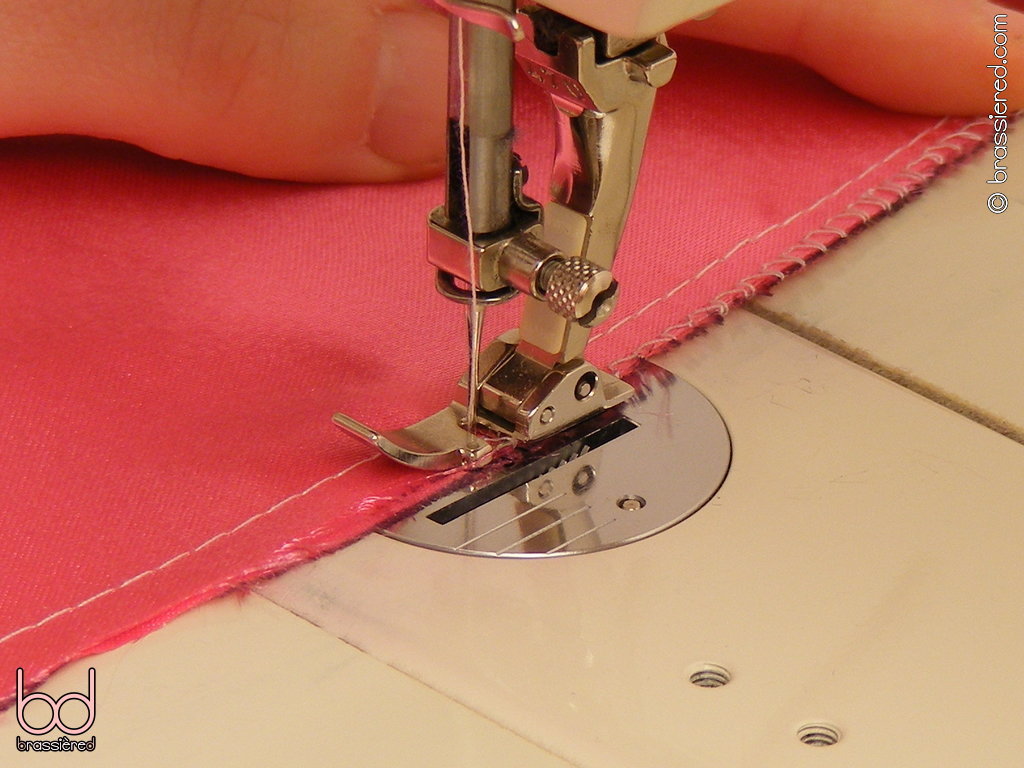
Baste the side edges together, stitching close to the edge. In Figure 6.23, my husband uses the side of the presser foot as a ¼” guide, just as he did for the top of his apron bib. Having done the same yourself, baste the bottom edge of the waistcoat similarly, keeping the fabric under tension and taking advantage of the pins in order to even out any differences between the two pieces.
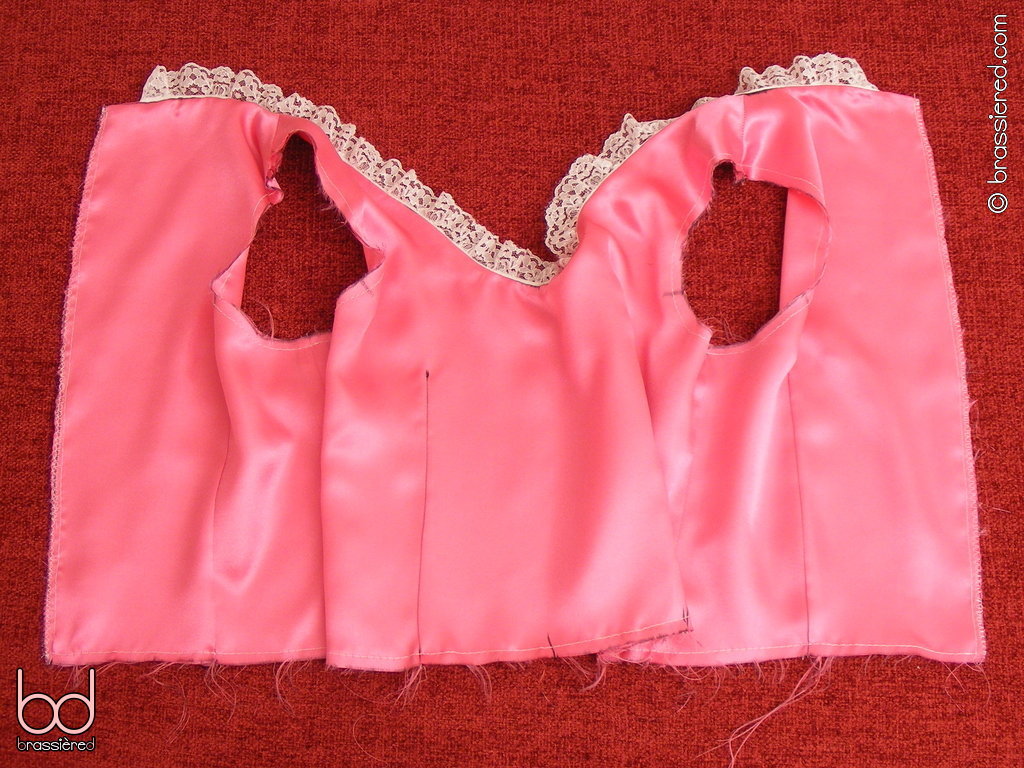
Repeat a similar process with each of the armholes, aligning the side and shoulder seams, as well as the marks you made a third of the way up each of the bodice pieces (Figure 6.24). Starting from under the armpit, baste all the way around, again keeping close to the edge. These stitches are simply to hold the two parts of the waistcoat together temporarily until we attach the sleeves and skirt.
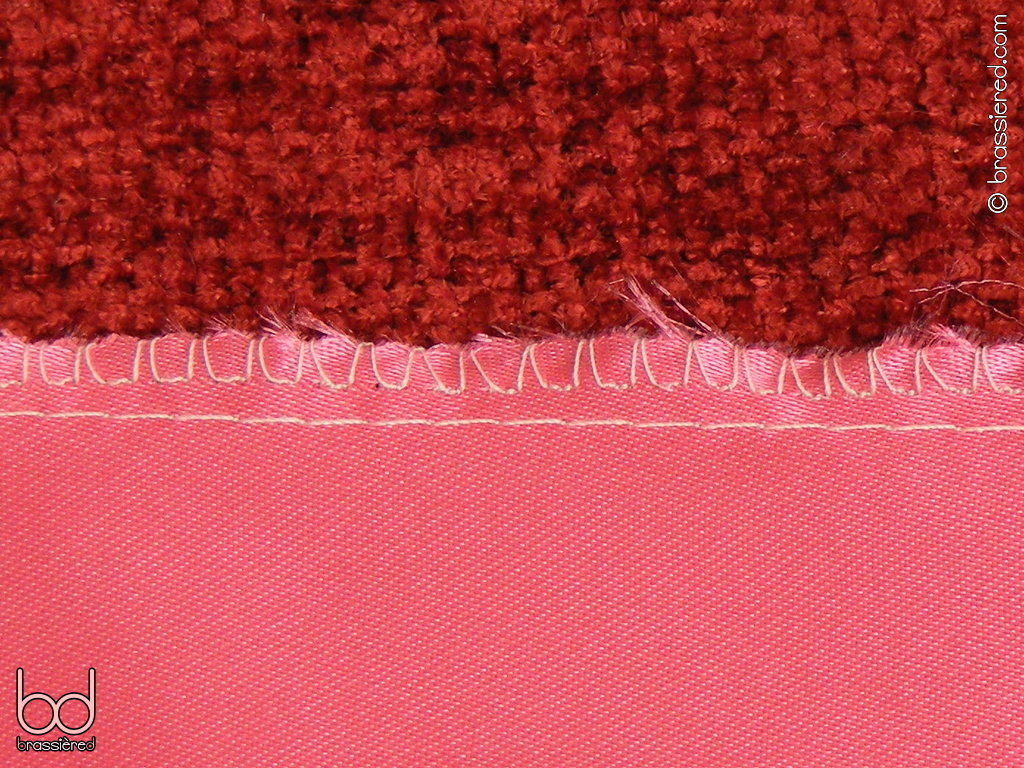
Our double-sided waistcoat now has no open edges, but those it does have are still rough. We can improve the ones along the sides by overlocking them - a process which involves running a special stitch over the edge of the fabric, preventing it from fraying. My husband's sewing machine has a special presser foot for this purpose, shown in Figure 6.25, as well as specific settings for needle position and stitch width. Consult your machine's manual for what you need to do, remembering to put everything back again when you've finished. Although it's tempting to overlock all the edges of the waistcoat, restrict yourself to those that will meet your dress's zipper - all the others will be dealt with when we attach the sleeve and the skirt.
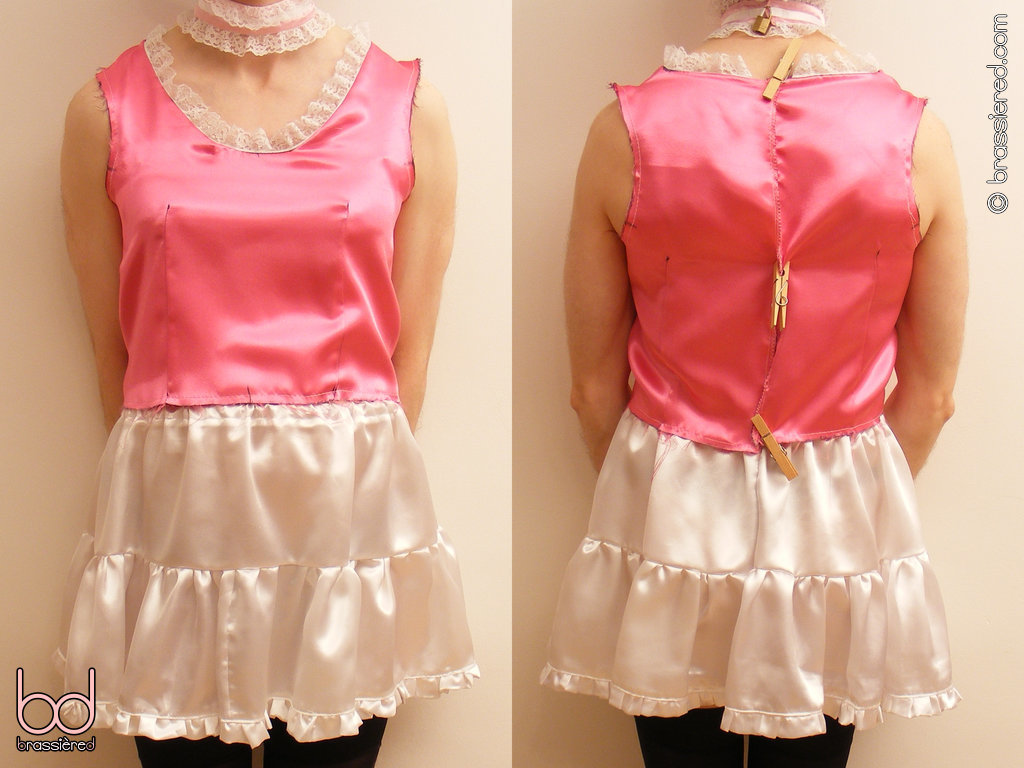
At this stage, you can take a moment to try your waistcoat on, using clothes pegs to keep the back together. As my husband demonstrates in Figure 6.28, it should follow the approximate shape of your body, the bodice darts pointing at the apex of your breasts with the waist and shoulders being roughly where you would expect them to be. Don't worry if these aren't exactly right - the sleeves and skirt that we'll be adding in the next chapter will affect how your maid's dress hangs.