Making the maid's choker
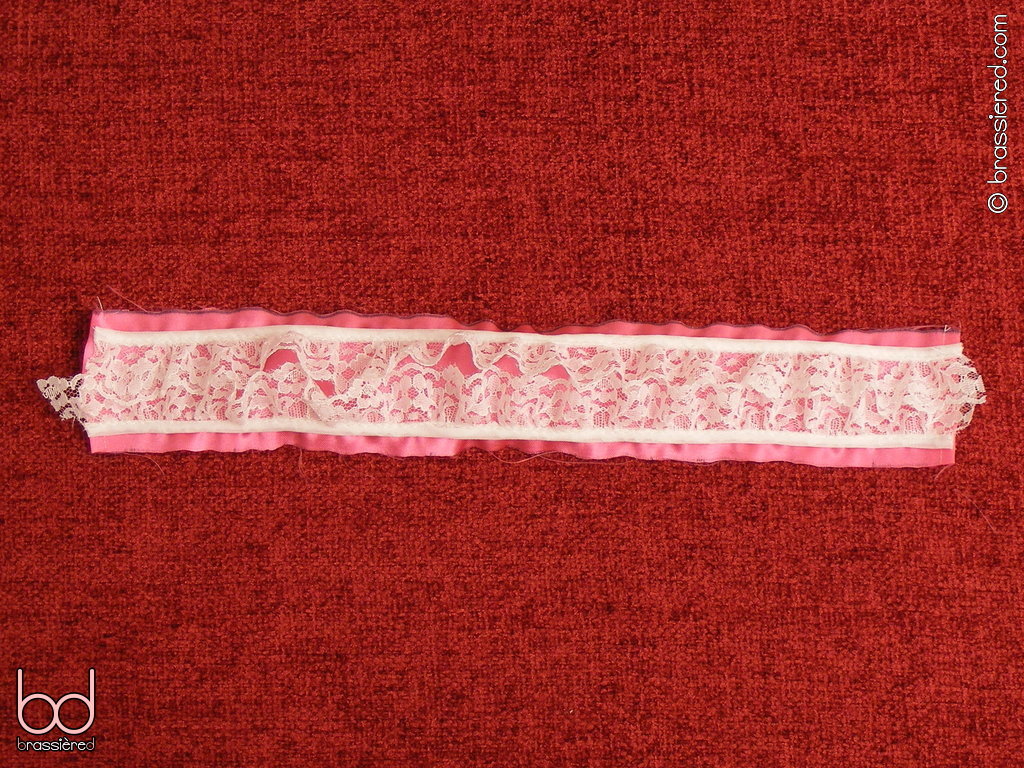
We'll start by making a tube of fabric, similar to the ties of the apron, but trimmed with lace and stitched on both sides.
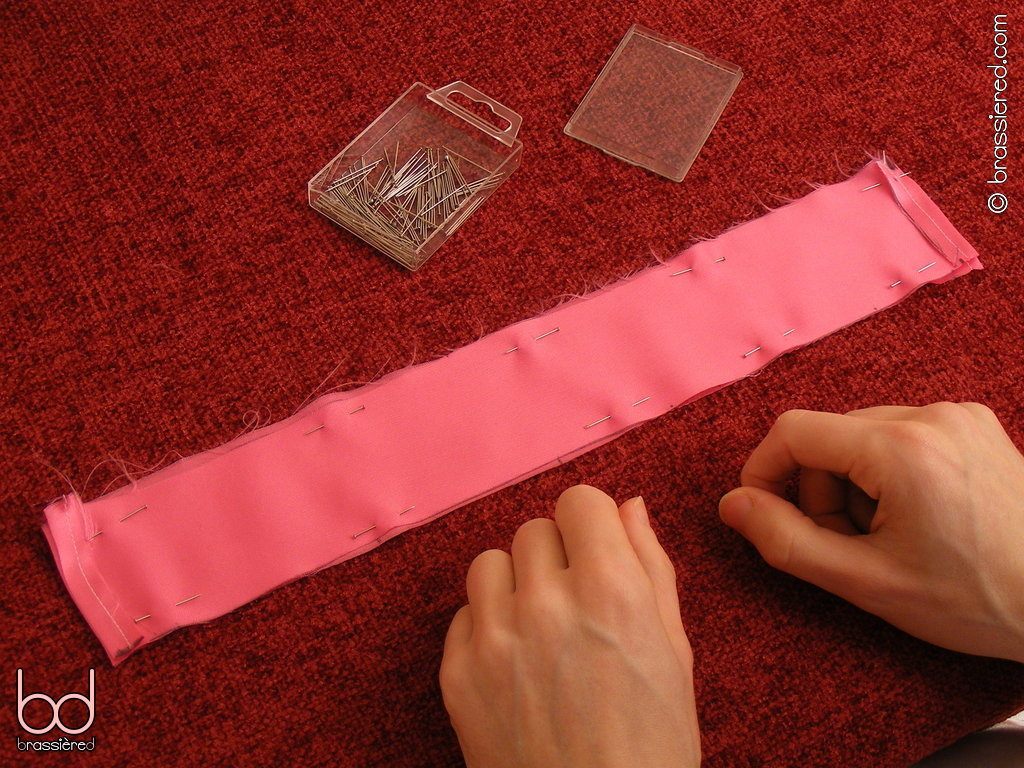
Take the choker piece, and with the right side facing down, fold each of its short edges over by your seam allowance, then press (Figure 9.2).
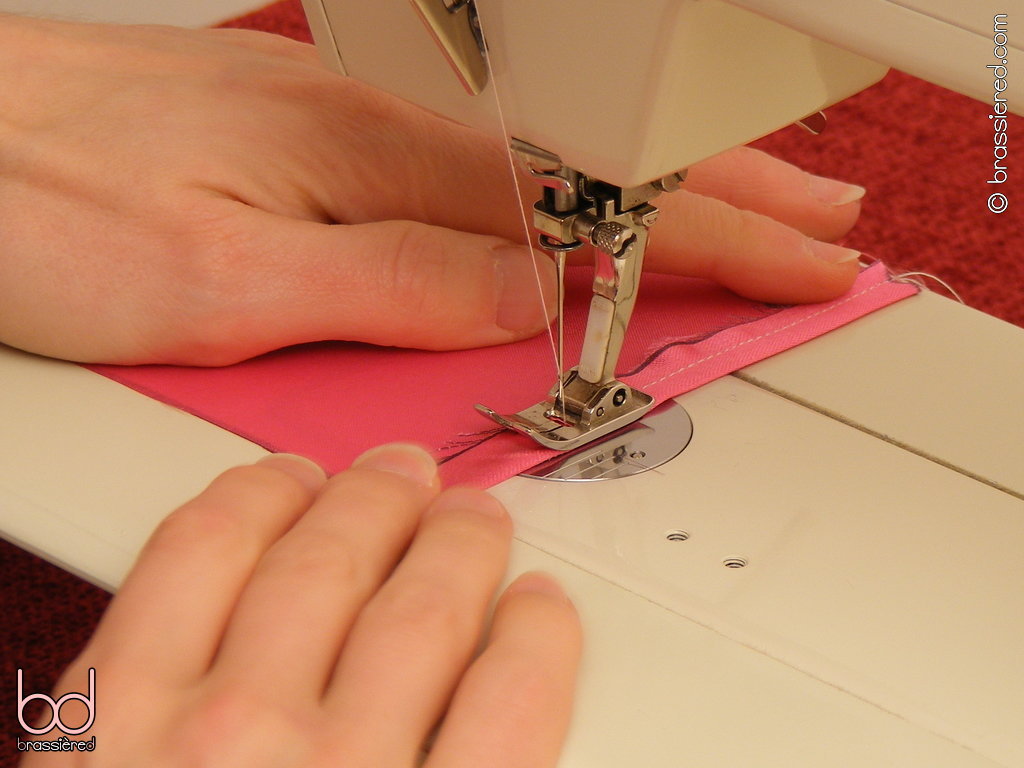
We'll be turning this piece into a tube, which we'll subsequently turn inside out. To prevent the folded edges from coming out in the process, sew them down with a line of regular stitches, roughly in the middle of each folded section (Figure 9.3).
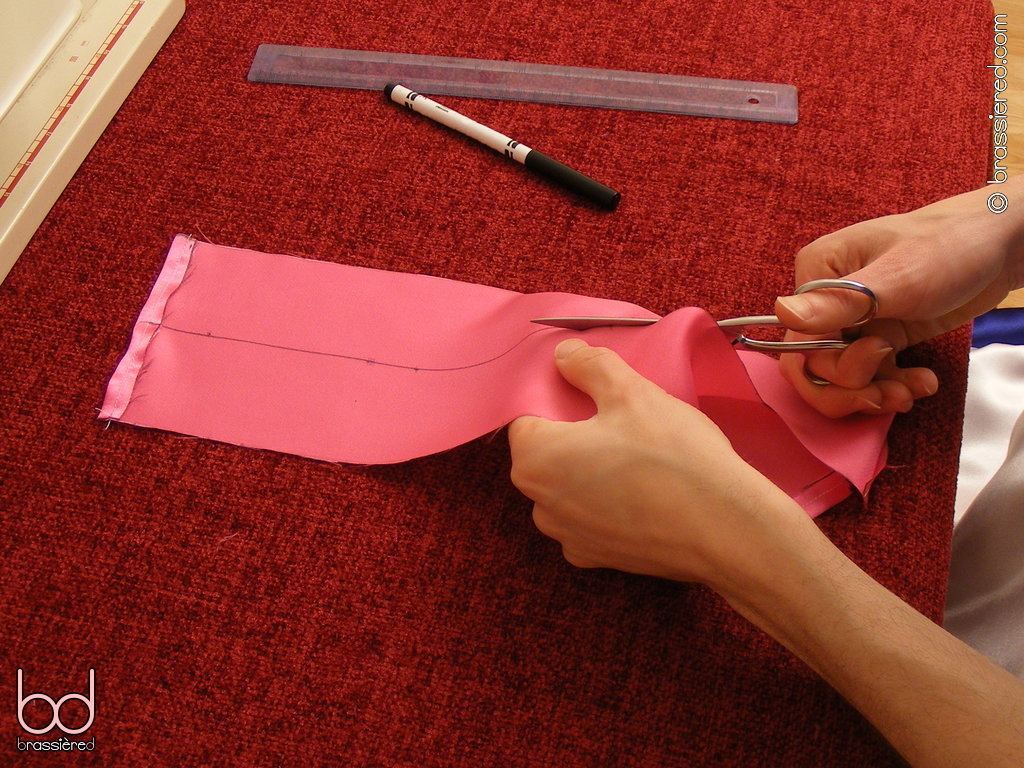
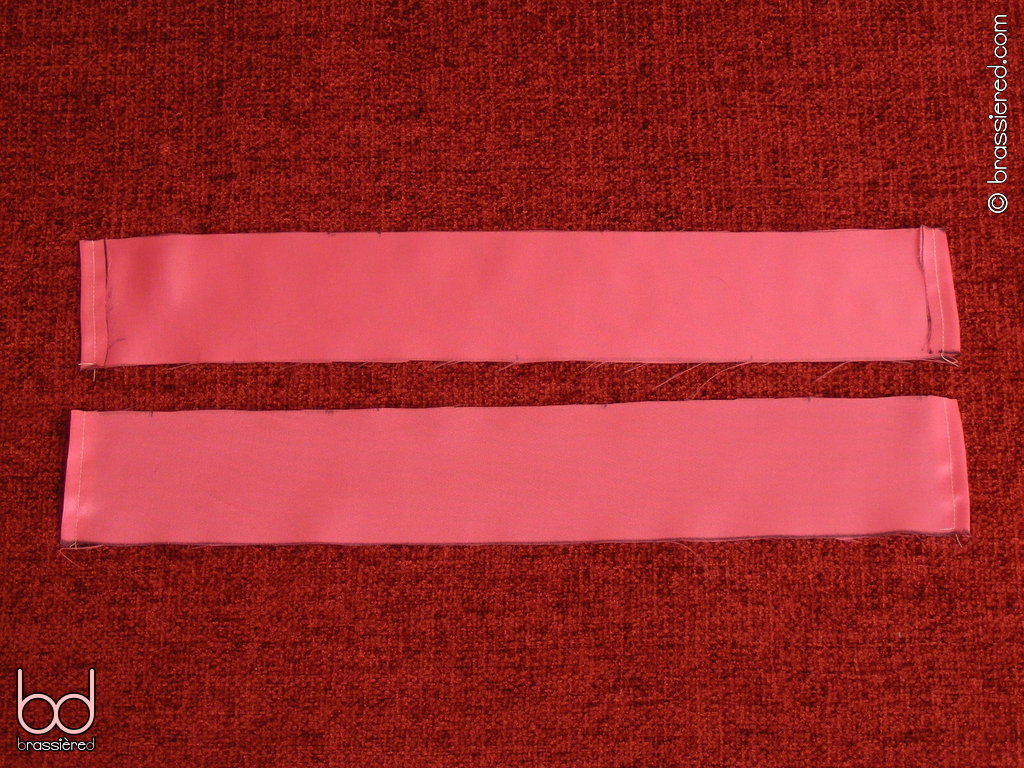
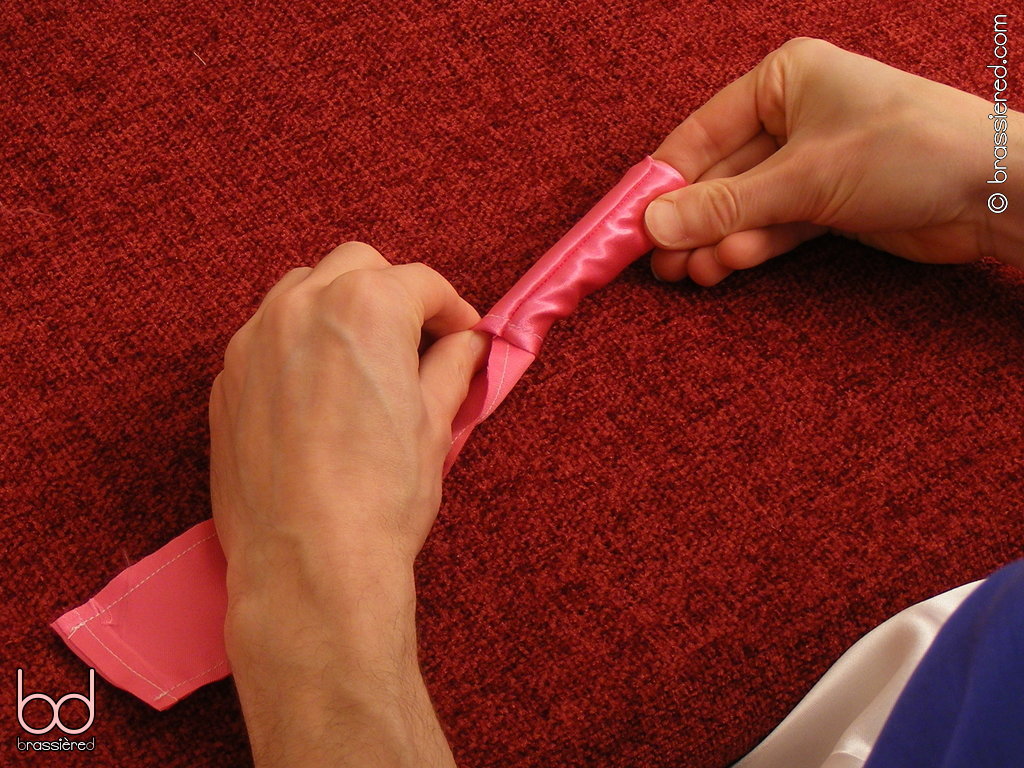
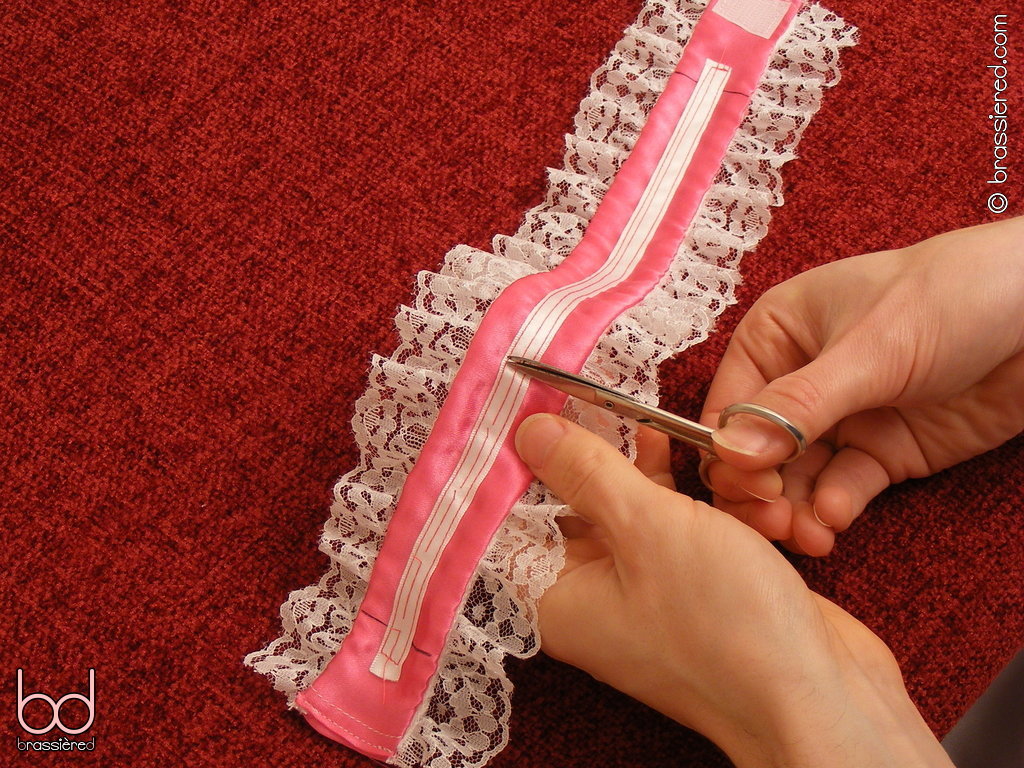
Having done so, cut the choker piece in half lengthwise, as my husband does in Figure 9.4. Doing so after we've sewn the edges down saves on the number of loose ends to attend to. Don't worry that some of the stitching will be unlocked by being cut - it will be secured shortly.
Making a trial choker
If you've made a choker before, you can skip this section. If not, it's worth taking the time to make a trial choker, without any trimmings, to determine a more accurate length. Although we're using your neck circumference as a basis to start from, the result may still need a little tweaking - something that is best done without any lace to begin with.
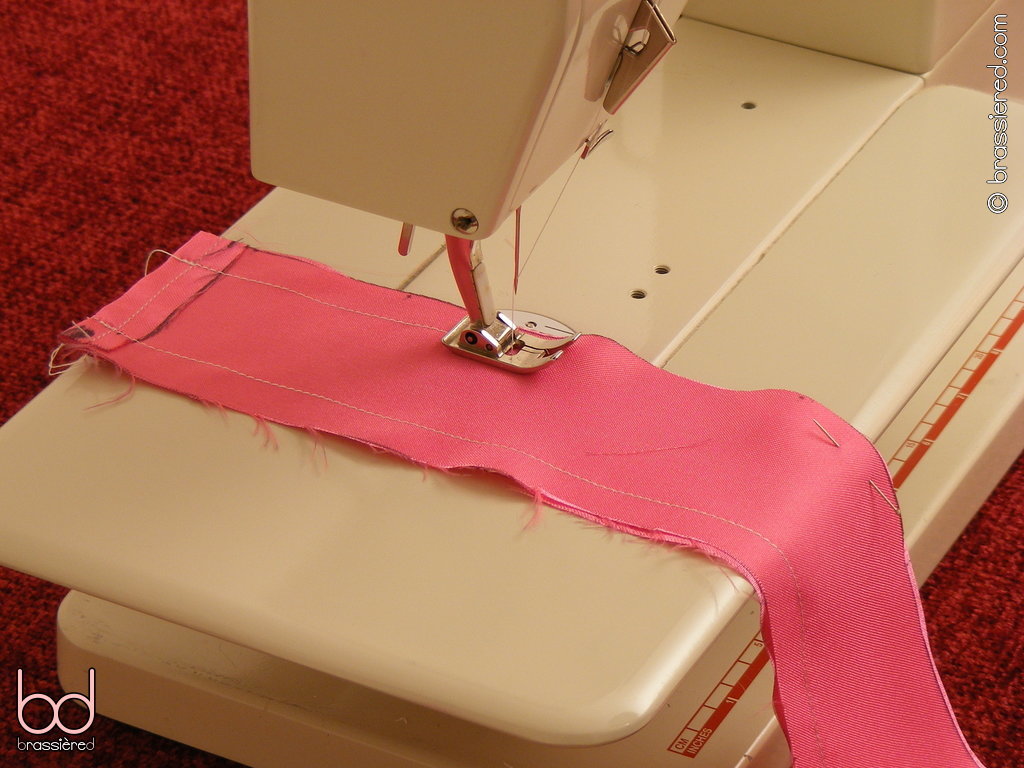
Take the two choker halves and put them together so their right sides are touching. Pin together, and then sew with a regular stitch along both long edges at your seam allowance (Figure 9.5).
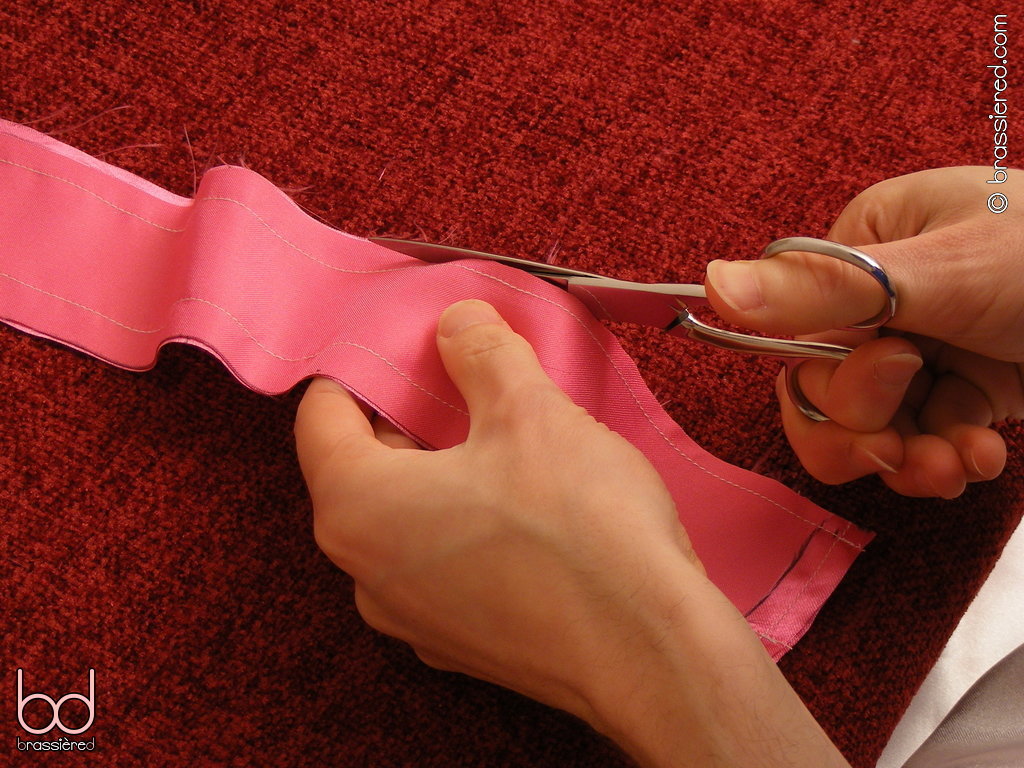
Trim the seams, just like you did with your apron ties in Chapter 5 (Figure 9.6).
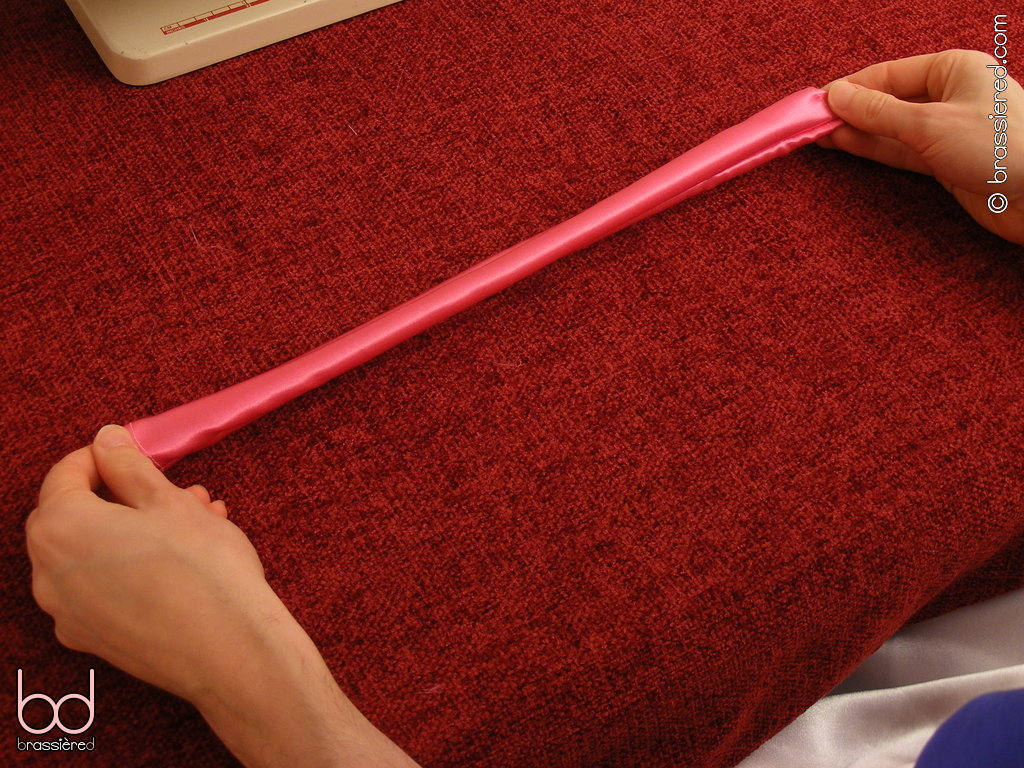
Having done so, turn the resulting tube inside out (Figure 9.7).
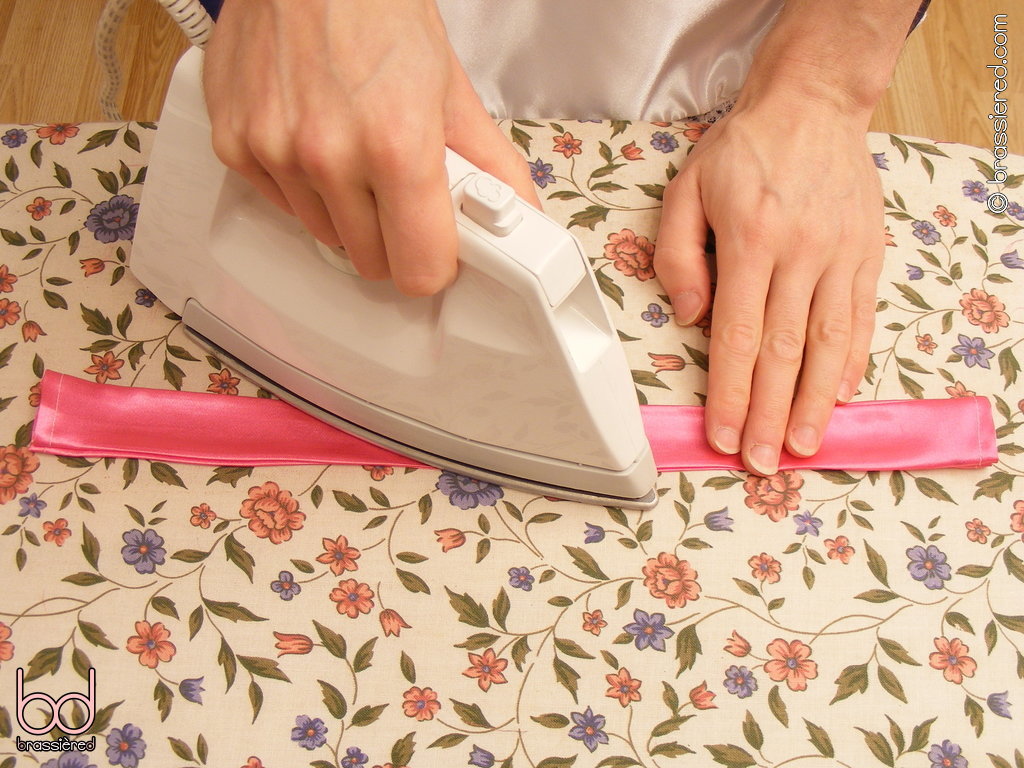
Iron it flat, taking care to keep the seams on the edges as you do (Figure 9.8).
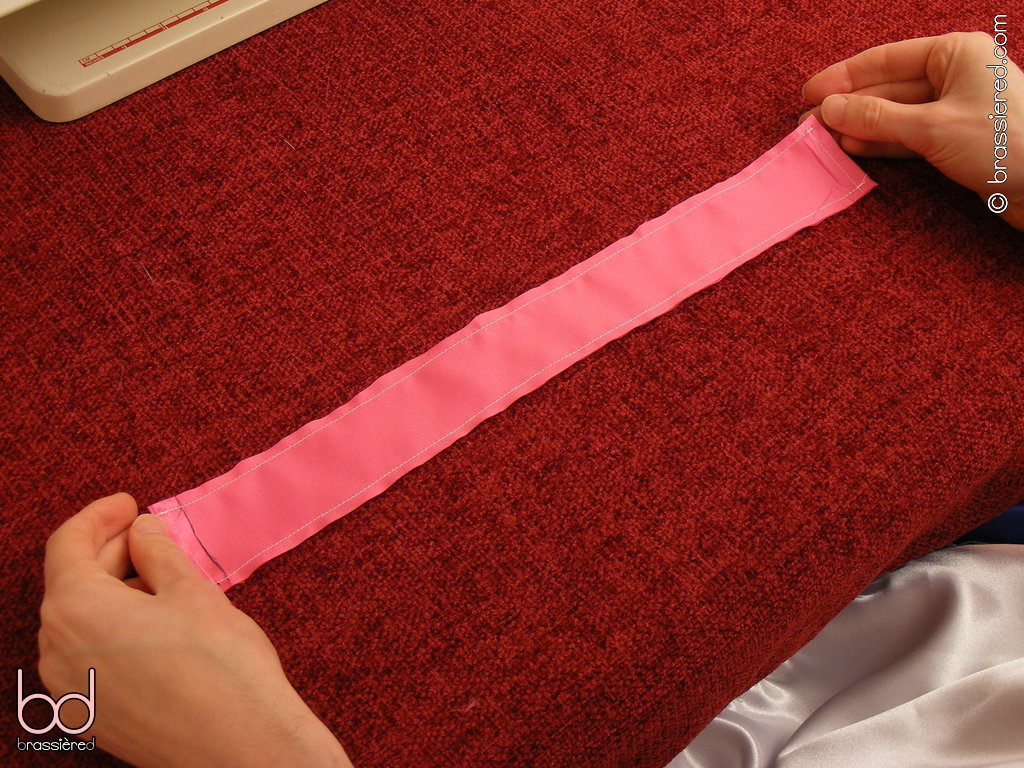
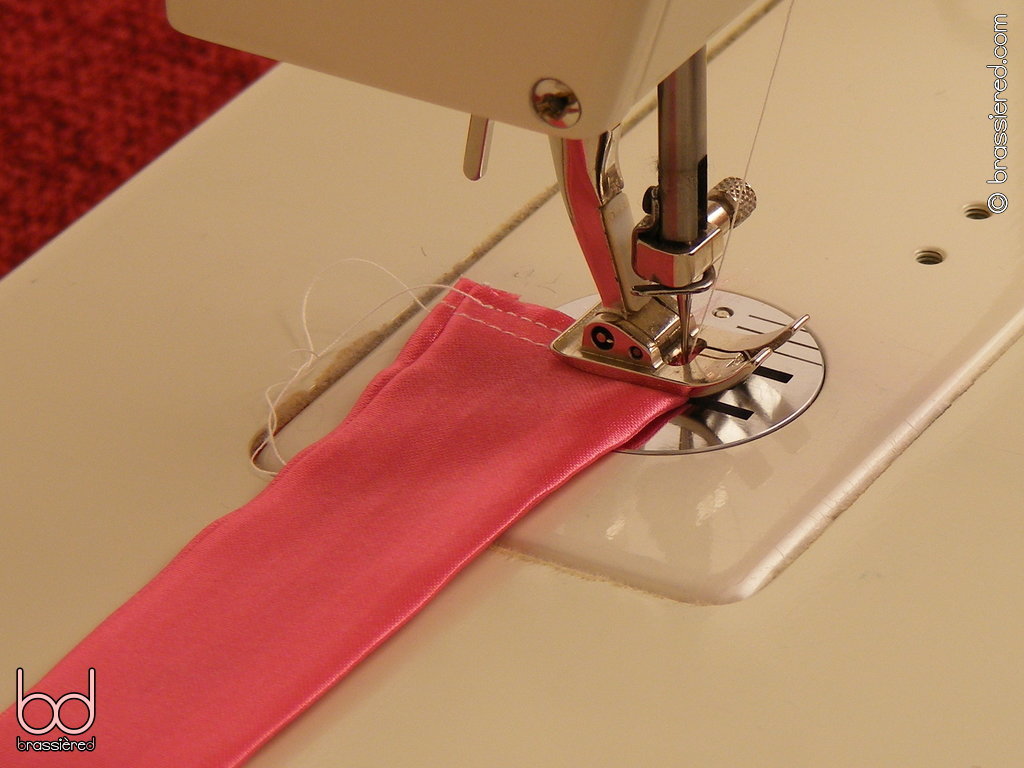
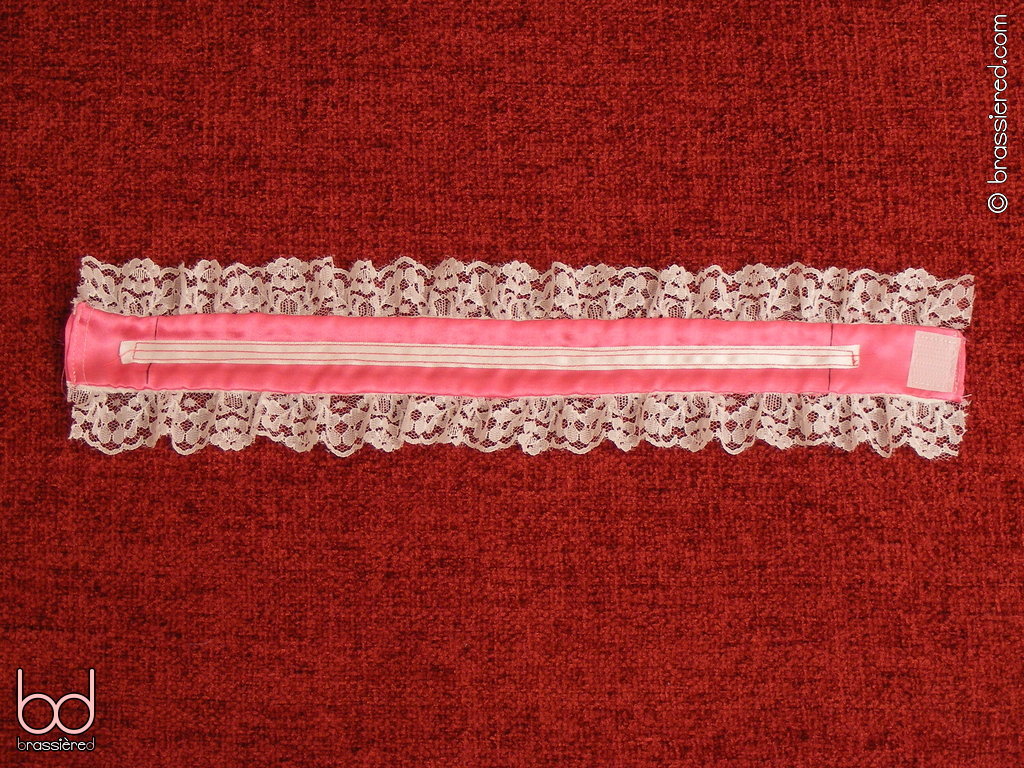
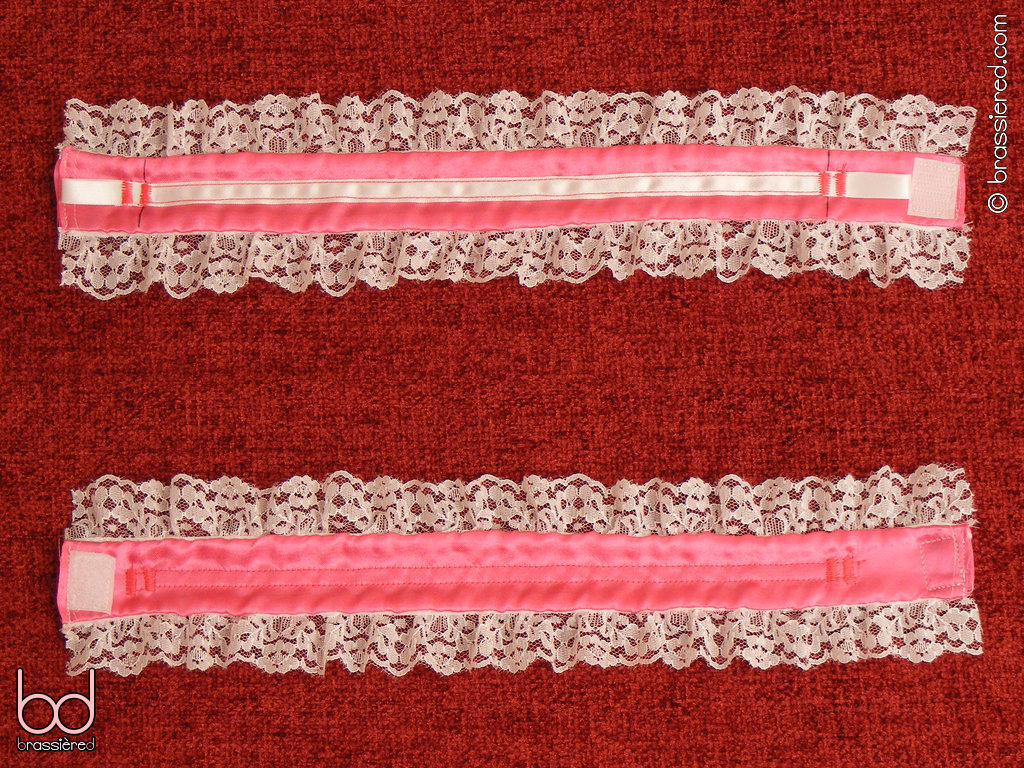
Sew the short ends of the tube closed, to yield a double-sided satin strip (Figure 9.9).
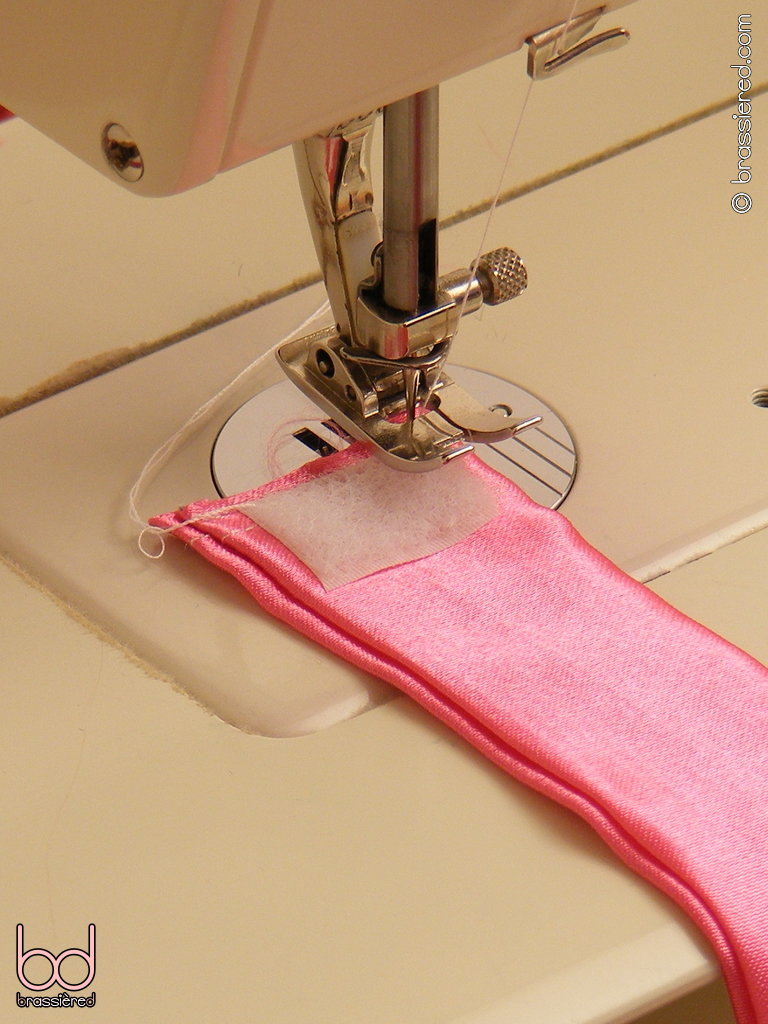
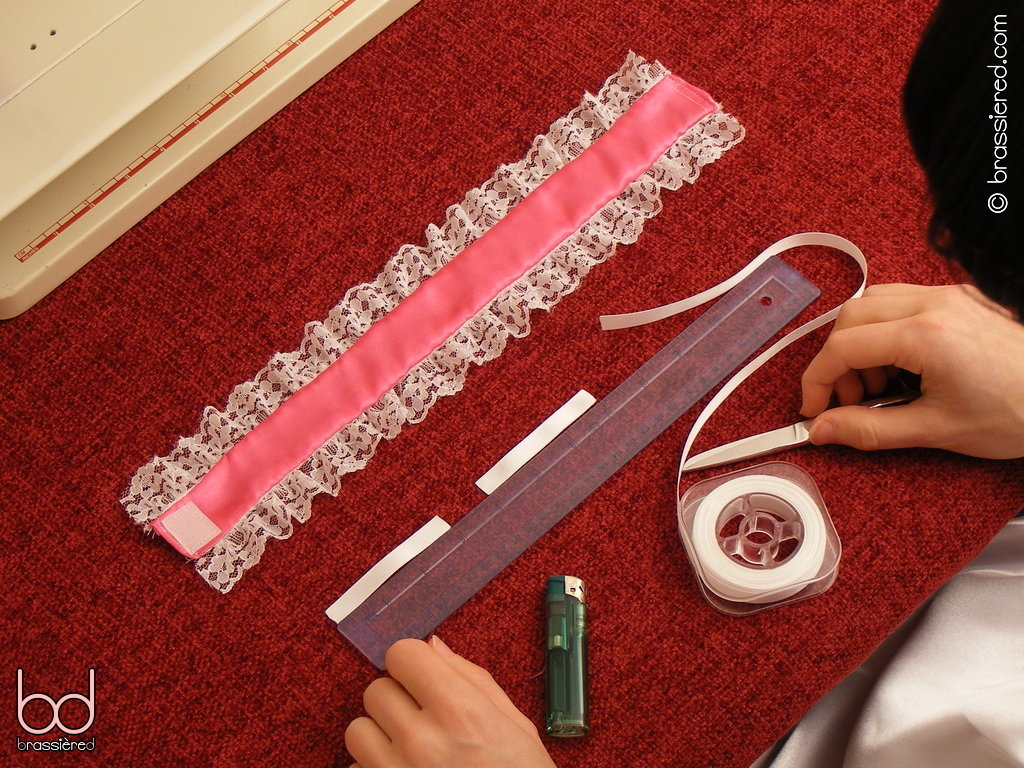
Cut a length of hook and loop tape that's a little shorter than the width of the strip, as my husband does in Figure 9.10. To ensure that hook and loop pieces are the same size, follow his example by joining the entire length of the tape before cutting - this also makes storing it less of a problem too!
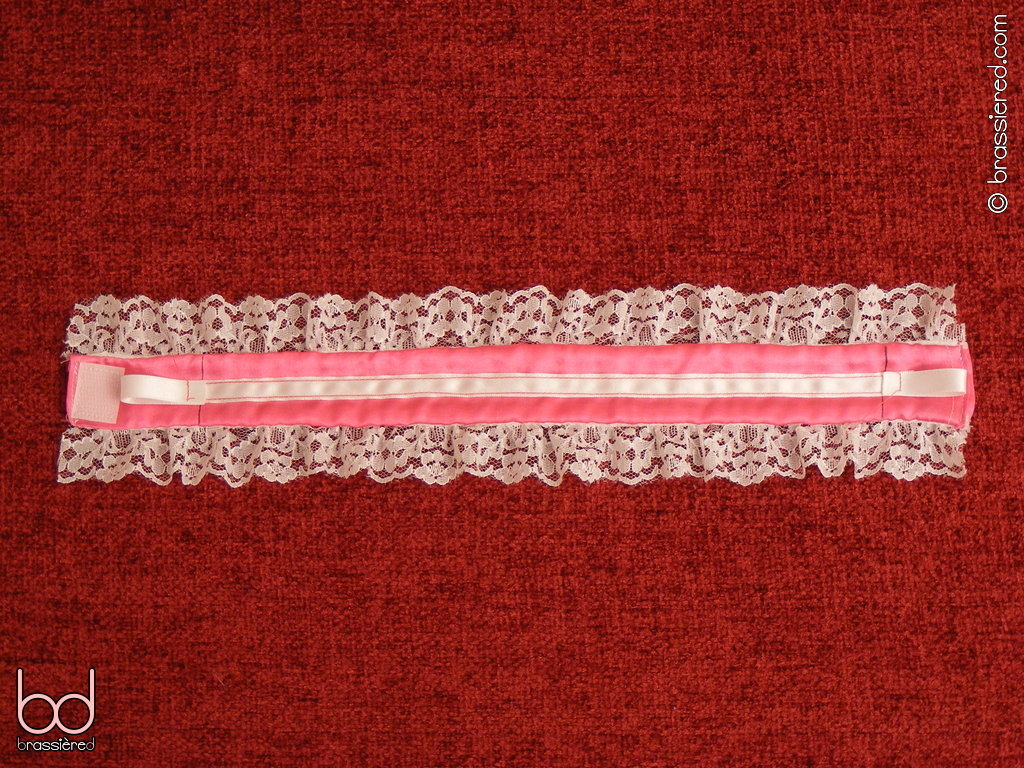
Positioning the loop piece on one end of the strip, sew it in place with regular stitches just inside its edges (Figure 9.11). Do the same with the hook piece on the other end of the strip, taking care to put it on the opposite side so that the two will come together when the choker is closed.
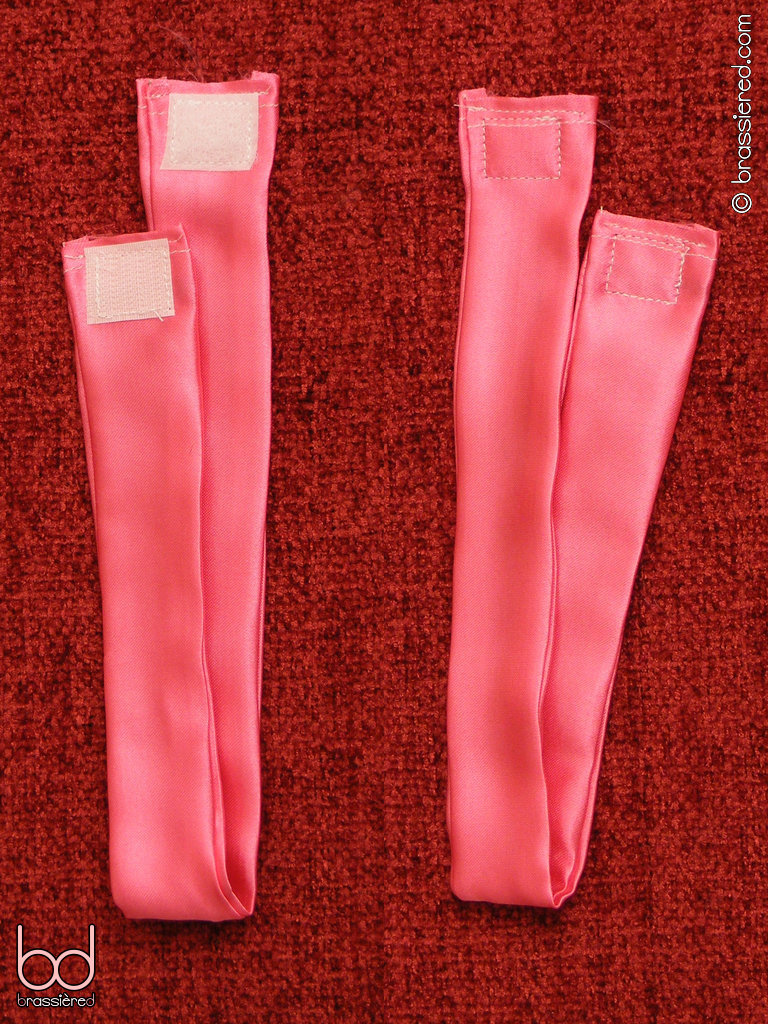
You now have a double-sided strip that you can fasten around your neck. It's a far cry from the frilly affair that I've allowed my husband to temporarily take off in Figure 9.12, but it should be enough for you to see whether you need to adjust your measurements. If necessary, repeat the process of making a trial choker until you've found a length that makes it comfortably snug, then cut yourself another piece of fabric to use for the real thing. Turn this into two choker halves, exactly as you did for the trial.
Making the real thing
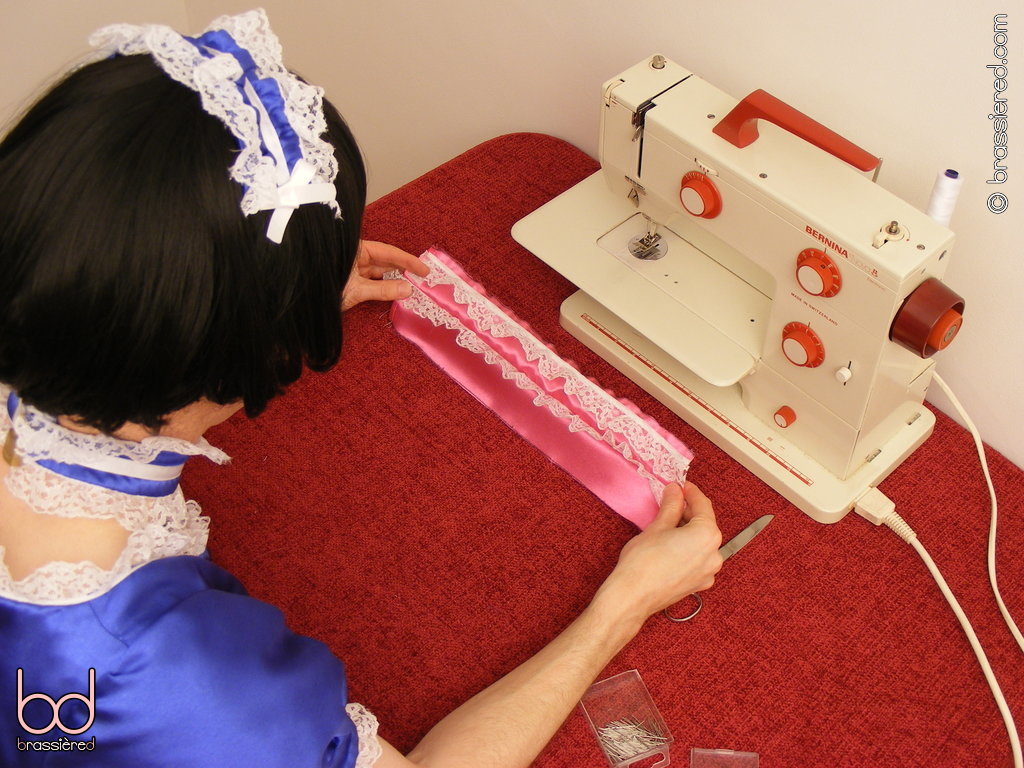
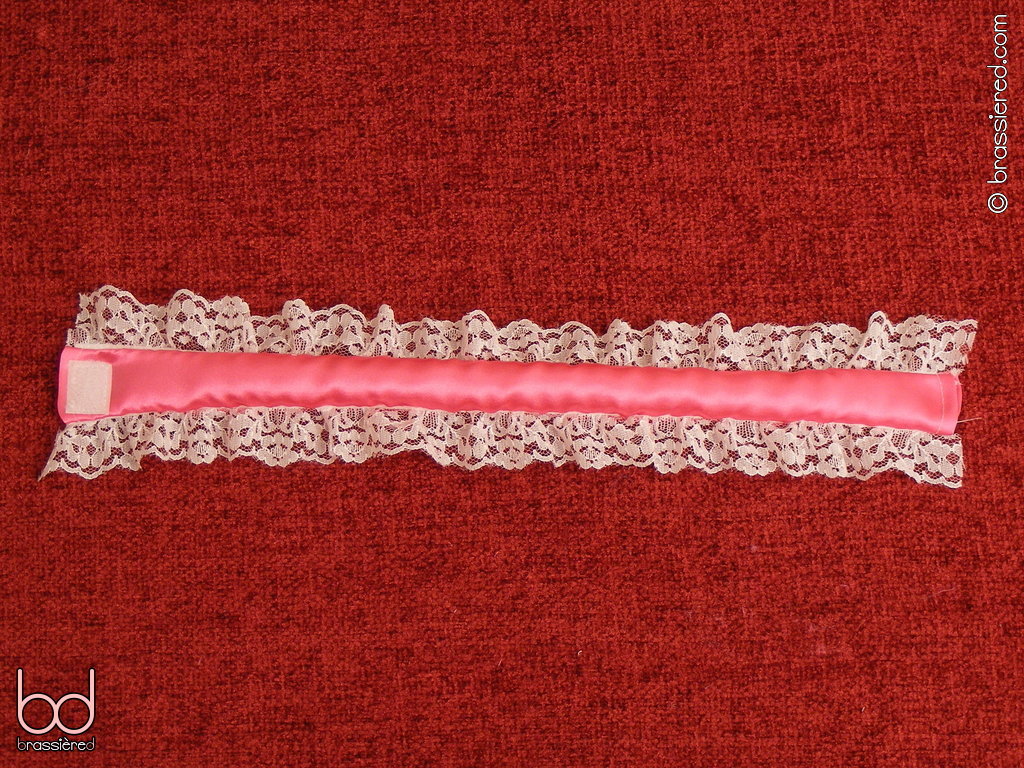
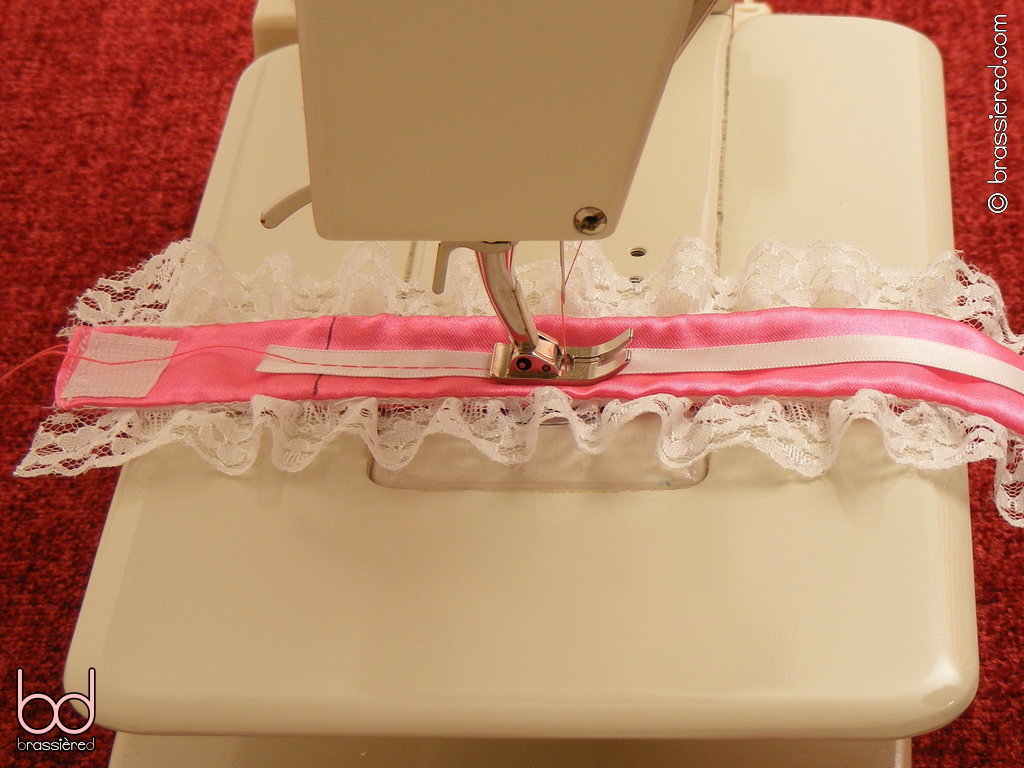
Take one of the choker halves, and with its right side up, baste lace along both of its long edges, pointing the frill of the lace inwards (Figure 9.13). This should be a familiar process by now, as you did the same on both the apron and the dress.
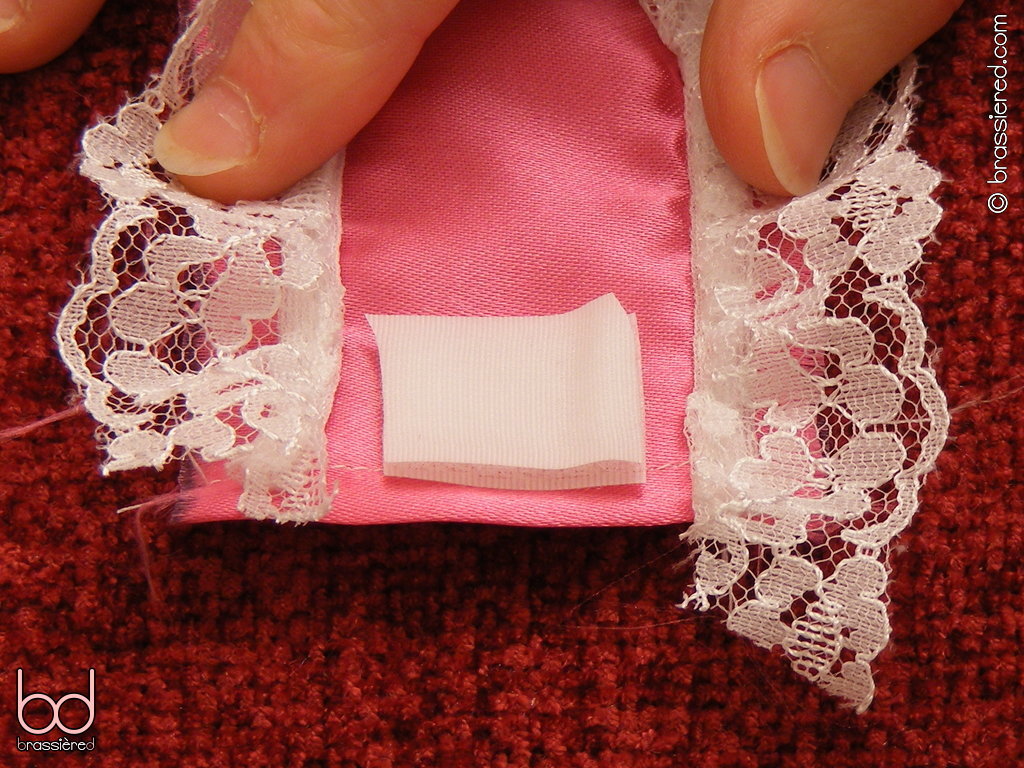
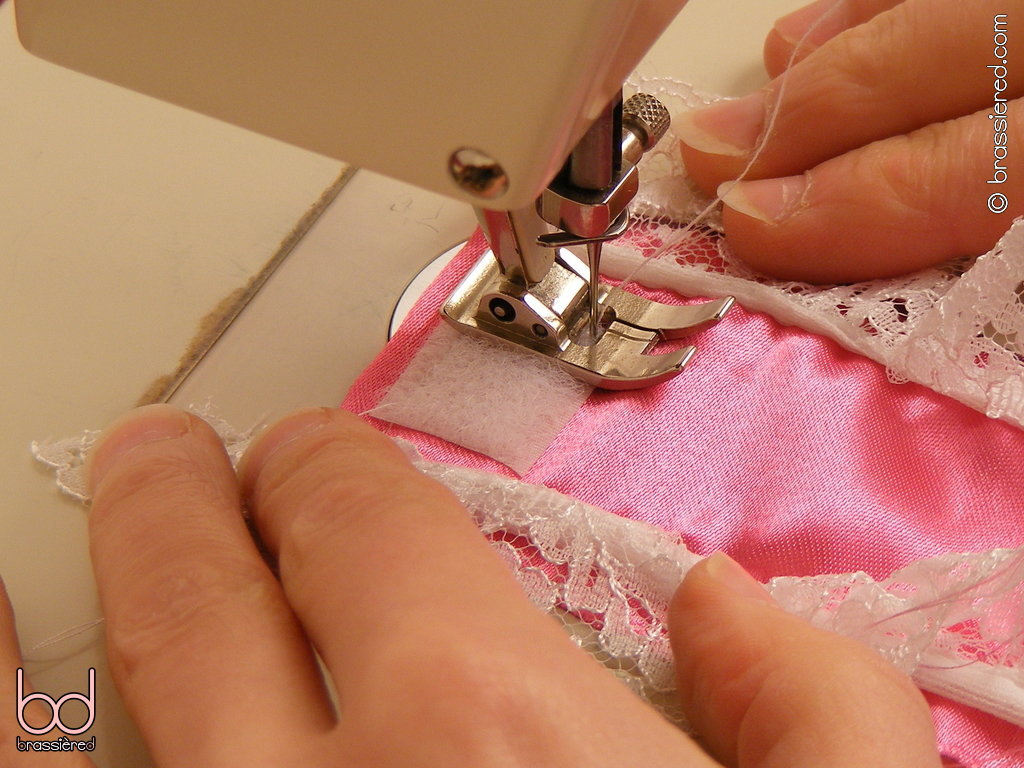
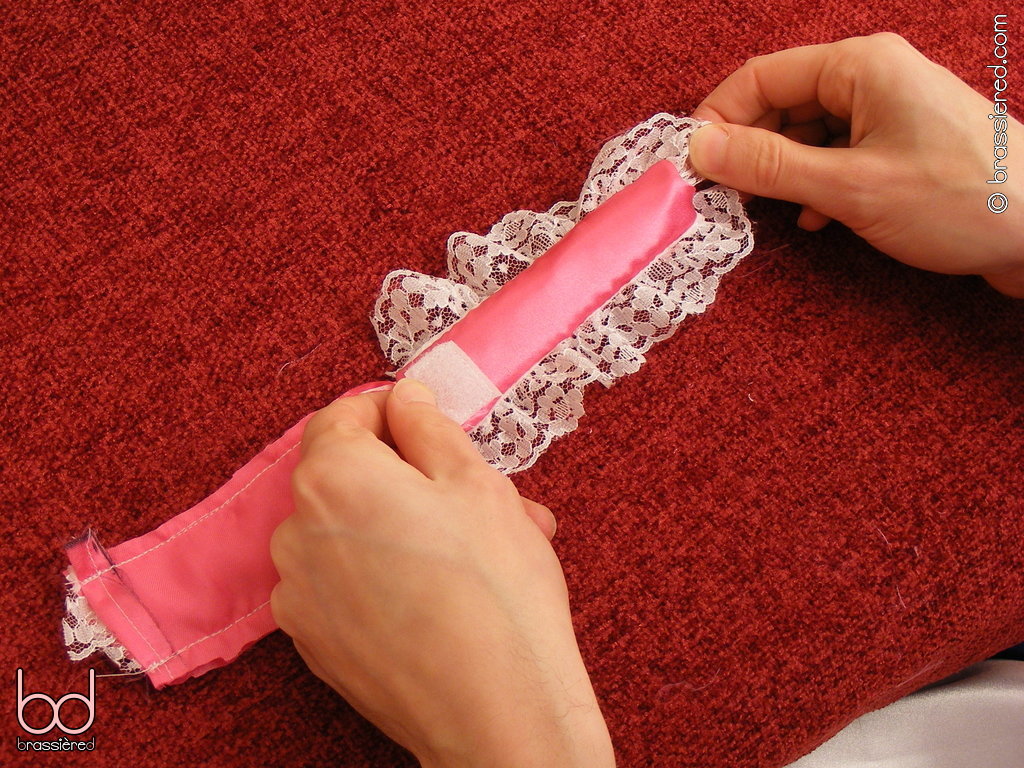
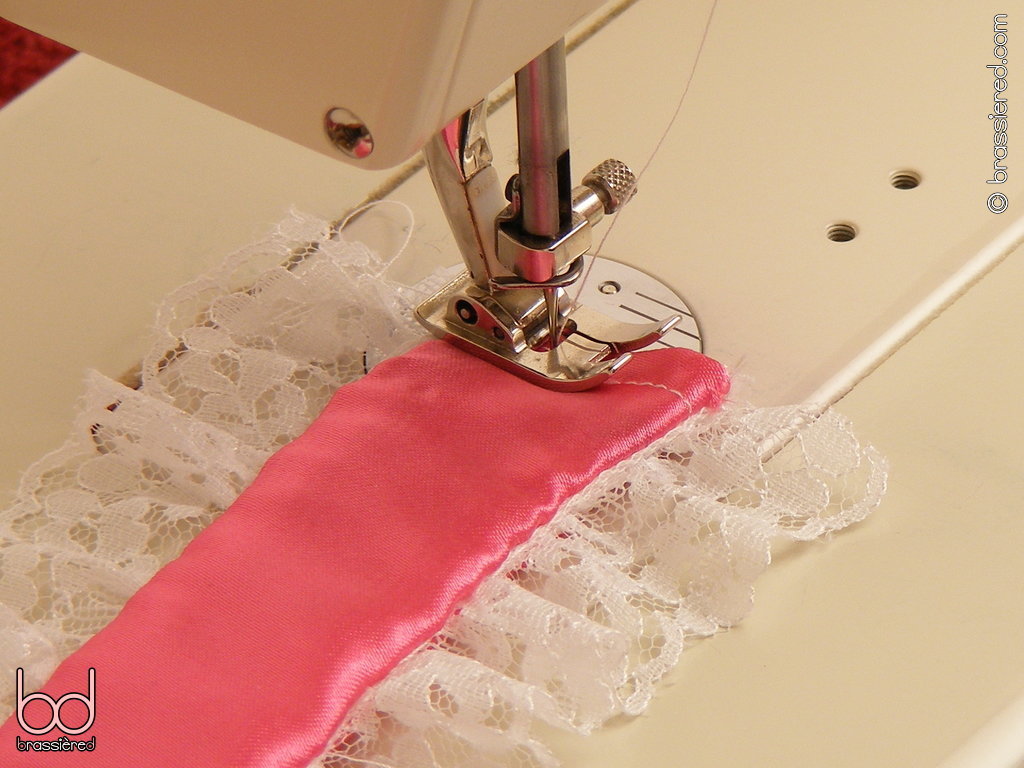
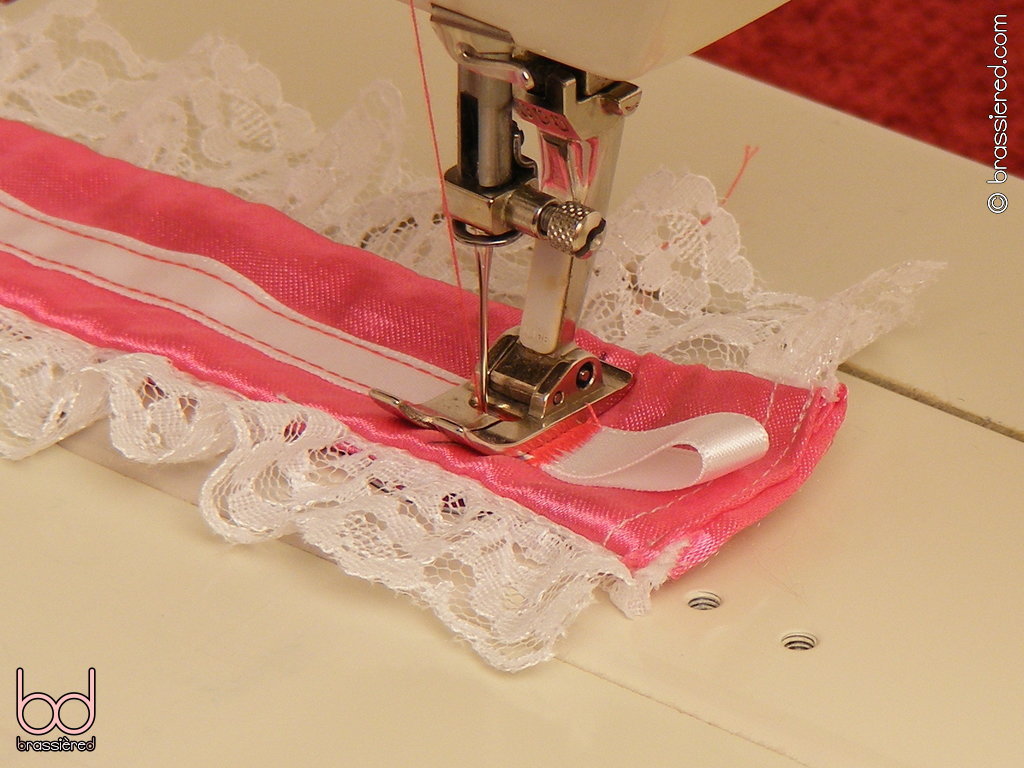
Spread the lace apart, and cut a length of hook and loop tape short enough to fit between them without touching. Position the loop piece (the softer of the two) near the end of the right side of the strip, then sew it in place with a rectangle of regular stitches (Figure 9.14). We didn't worry about this when making the trial choker, but doing so now means that its stitching will be hidden when the choker is worn.
Put the two choker halves together so that their right sides are facing and the basting stitches are upwards, sandwiching the lace in between (Figure 9.15). Pin the two together along one of the long edges, then sew along the basting stitches with a regular stitch - exactly as you did with the bib of your apron and the neckline of your dress.
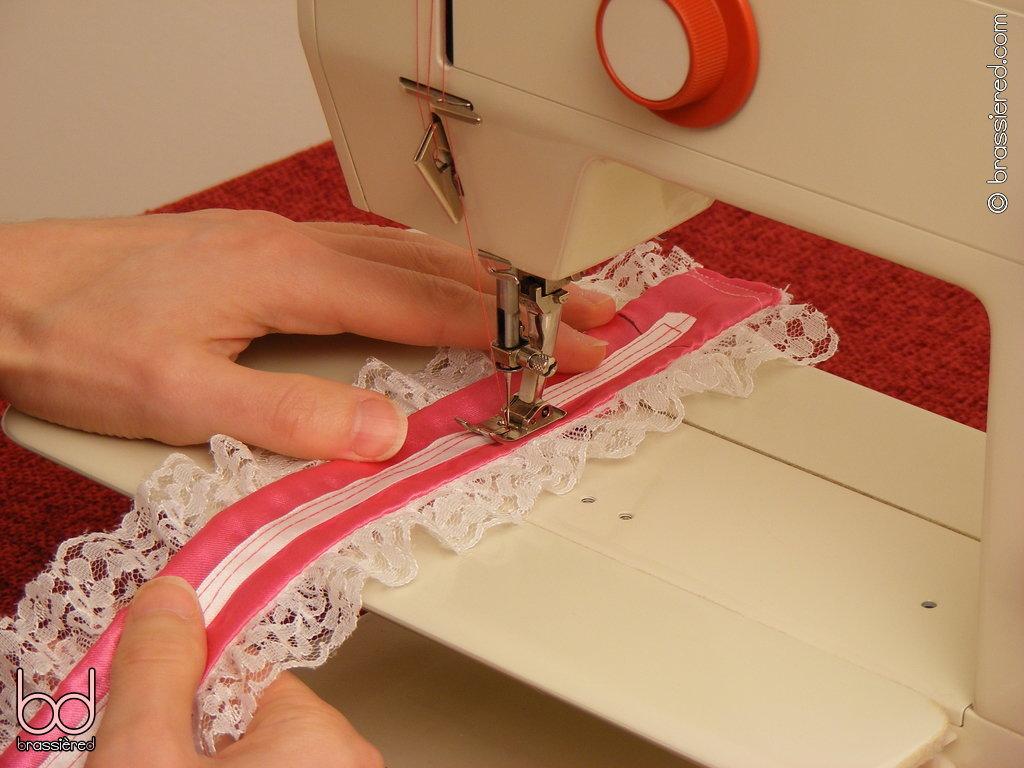
Take a moment to check that the lace hasn't been caught in the seam, unpicking and resewing if necessary (Figure 9.16).
With the basting stitches again facing upwards, pin the two choker halves together along the other long edge, and sew them together in the same way (Figure 9.17).
Rather than turning the tube inside out at this stage, you can simply separate the edges of the choker halves to see whether any lace has been caught in the second seam. In Figure 9.18, my husband has met with success, with only the gathered hem of the lace being visible. Were there frills to be found as well, he would need to unpick and resew again, albeit having avoided needing to turn the tube inside out to discover that.
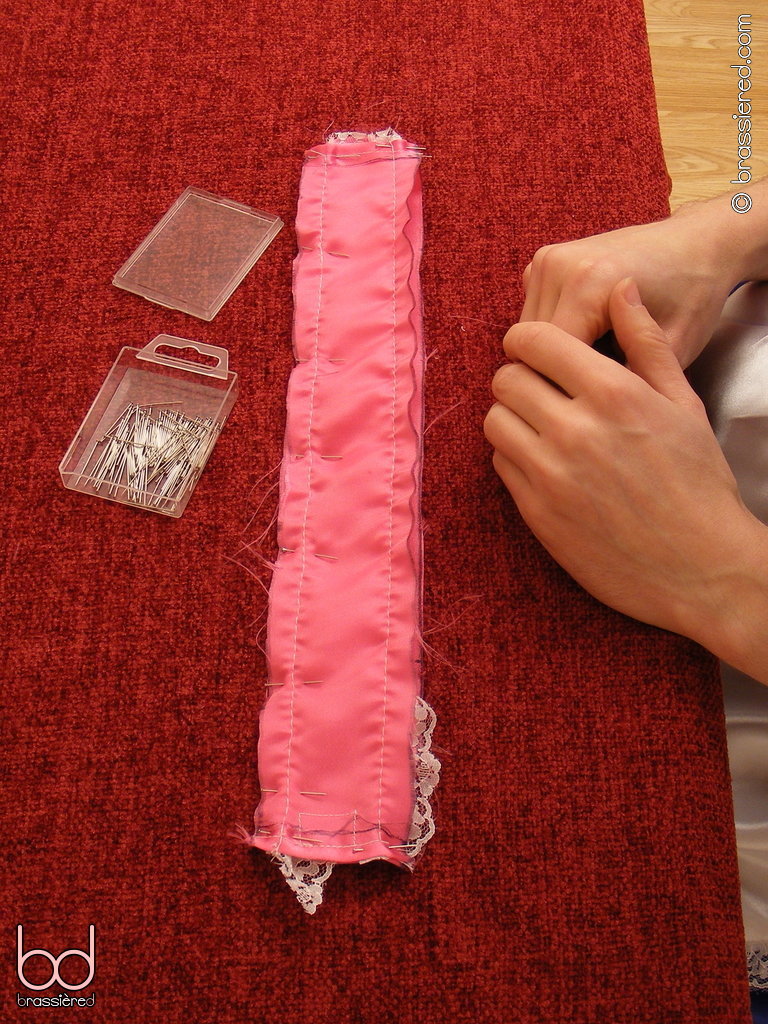
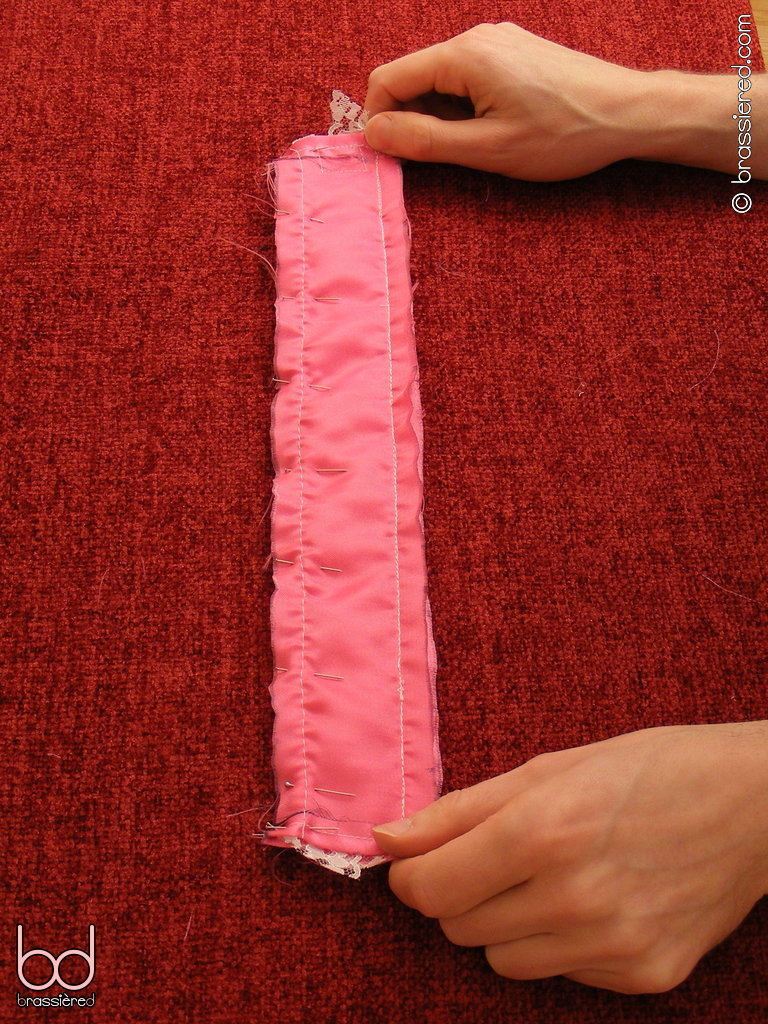
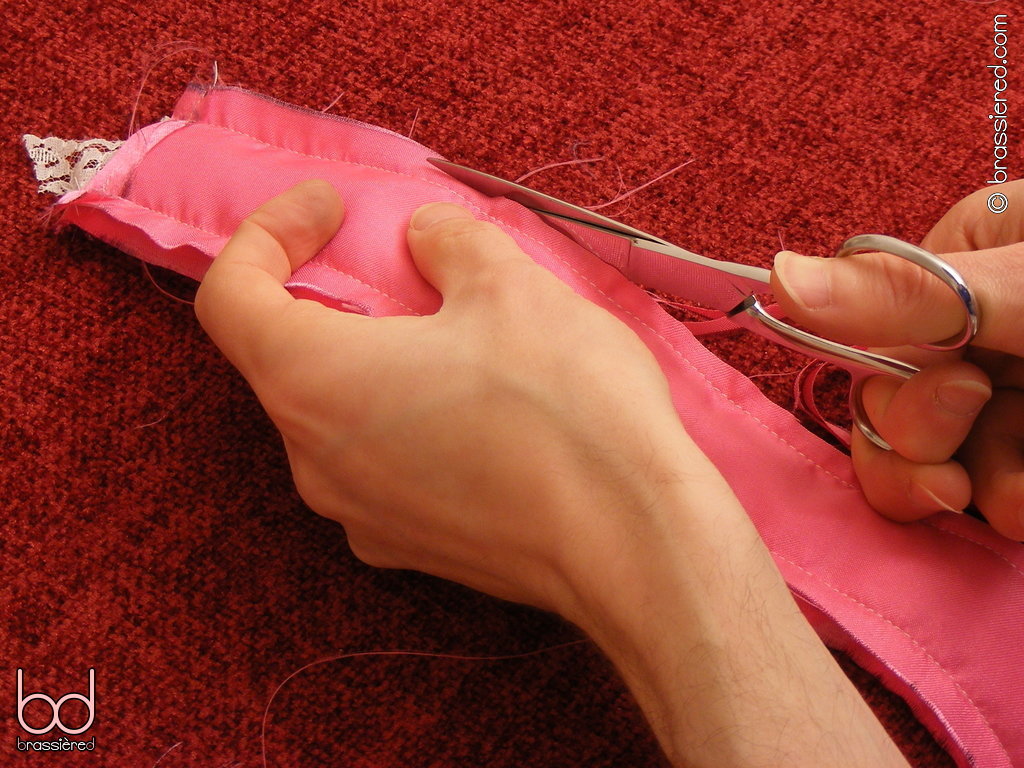
When you're satisfied your lace is as it should be, trim the seams (Figure 9.19).
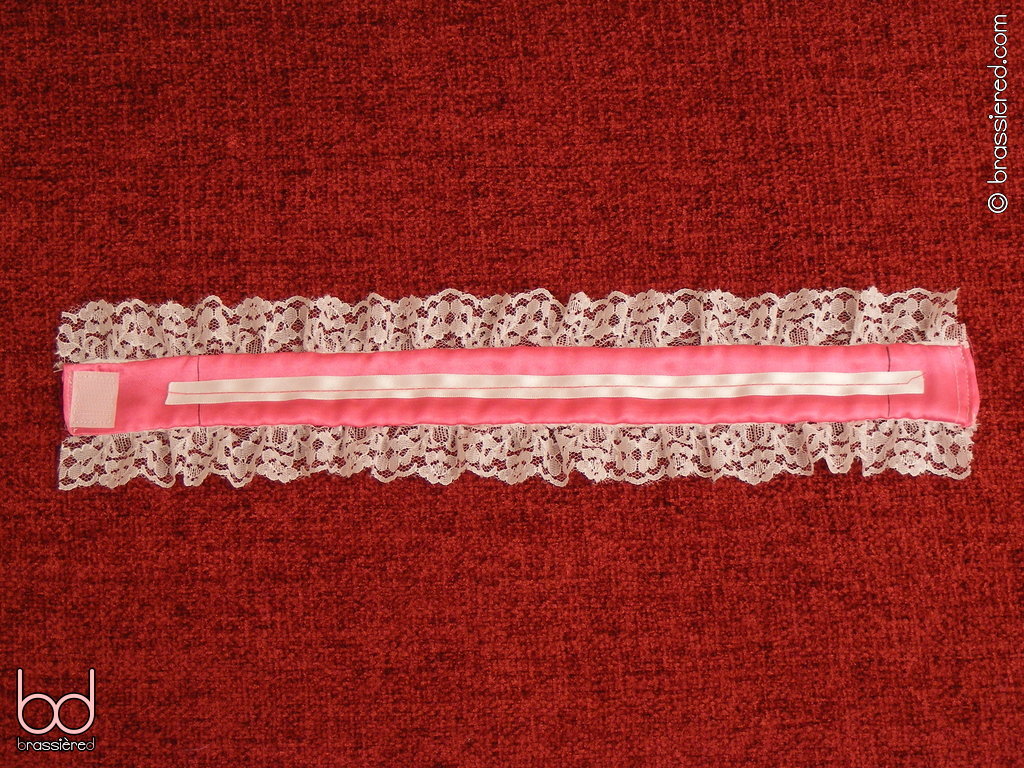
Turn the tube right side out (Figure 9.20). It's easier to start from the end with the loop piece, so as to avoid having to pull this bulkier part all the way through.
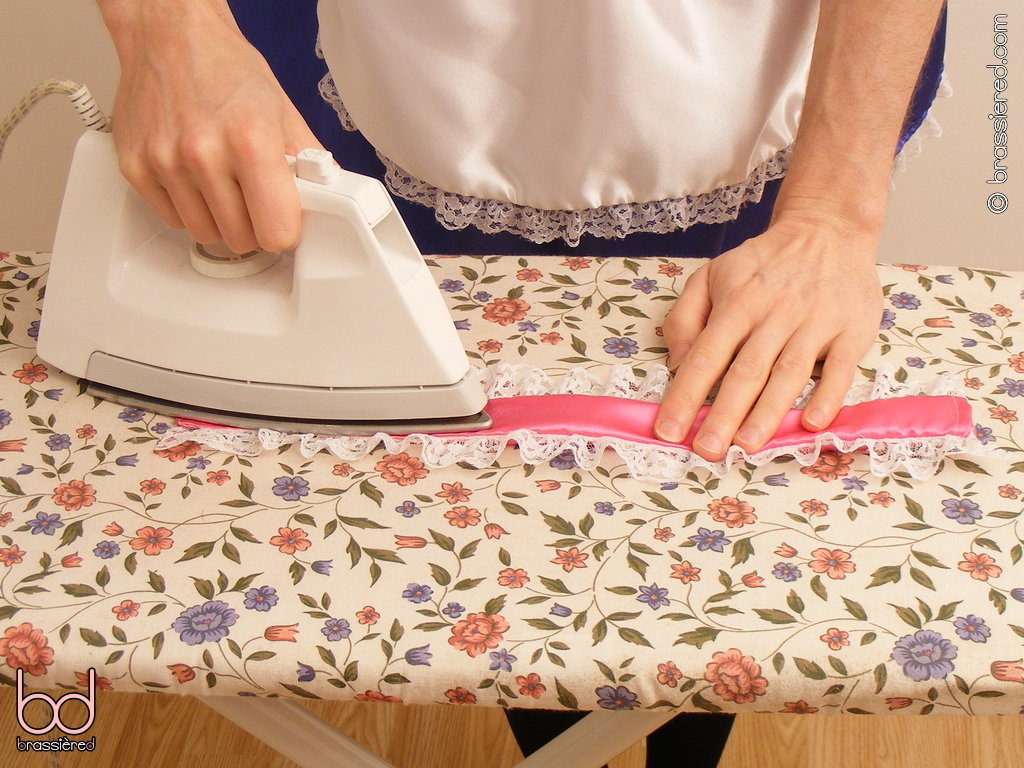
Press the tube flat (Figure 9.21).
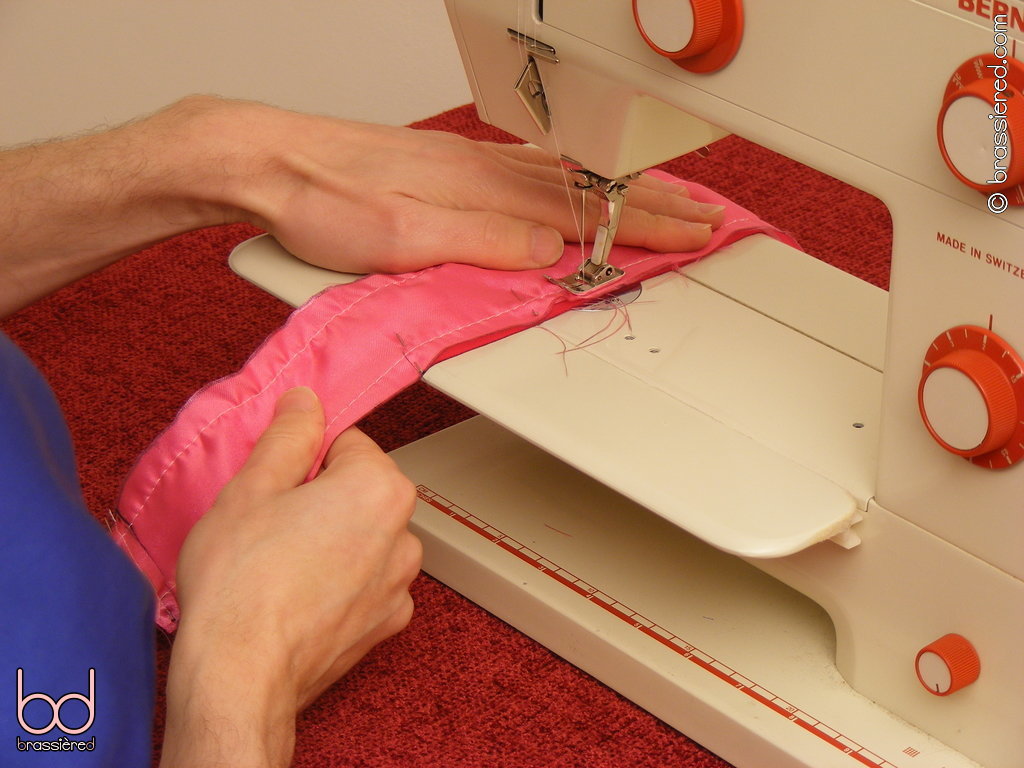
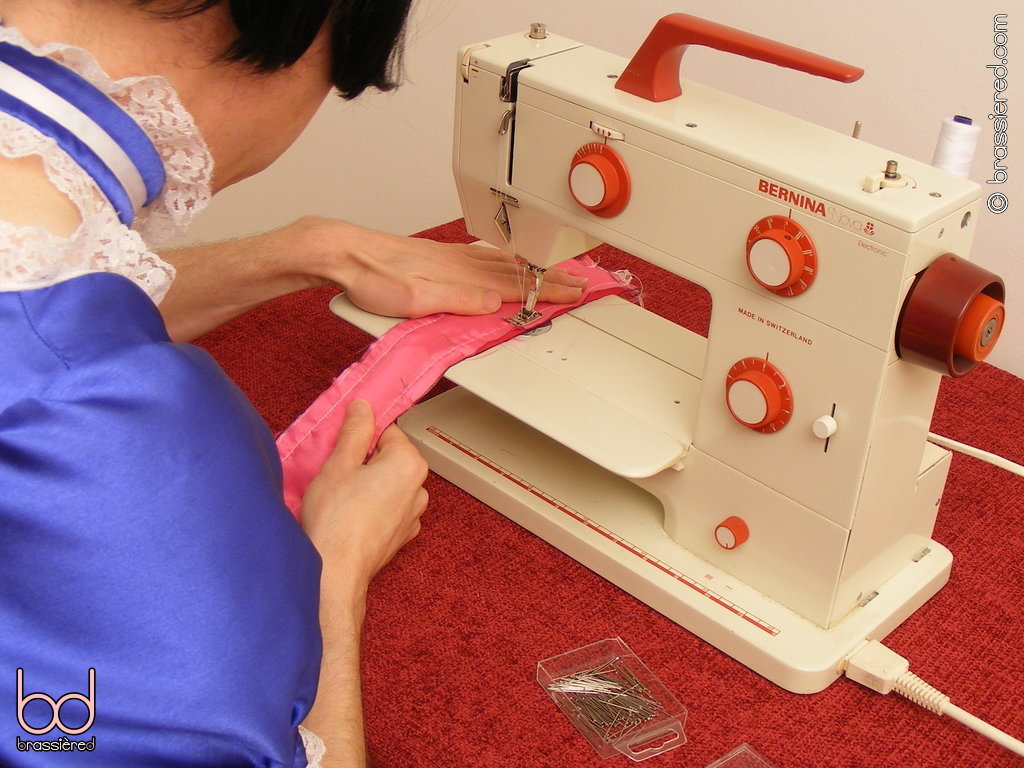
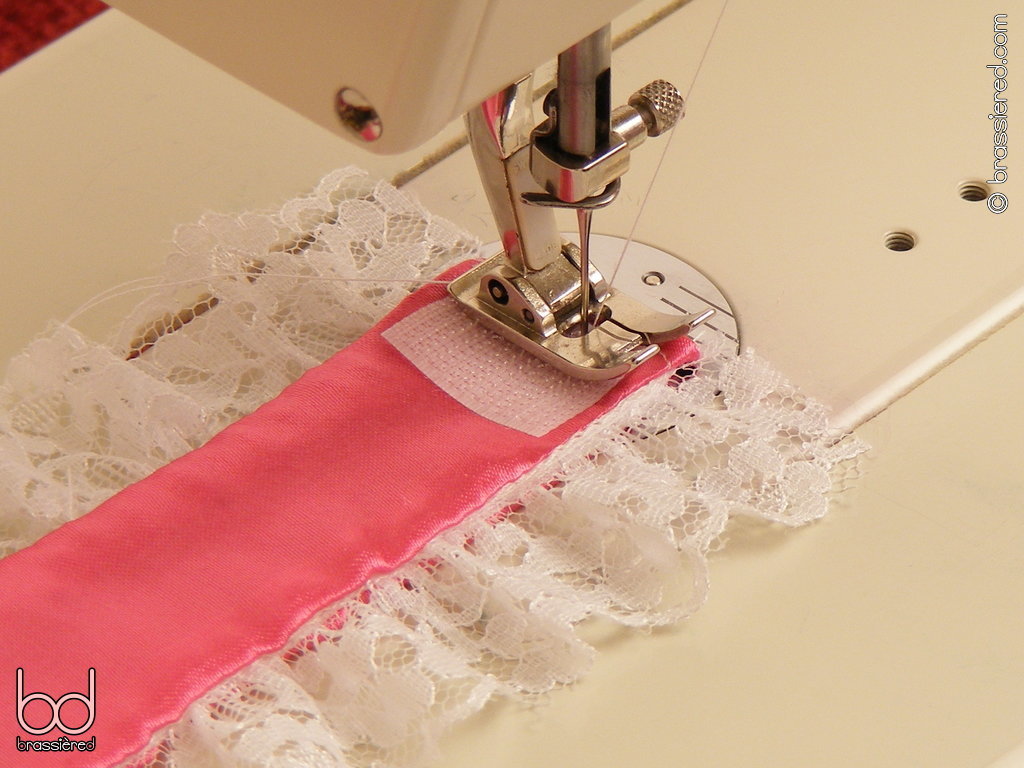
Sew the short ends of the tube closed (Figure 9.22).
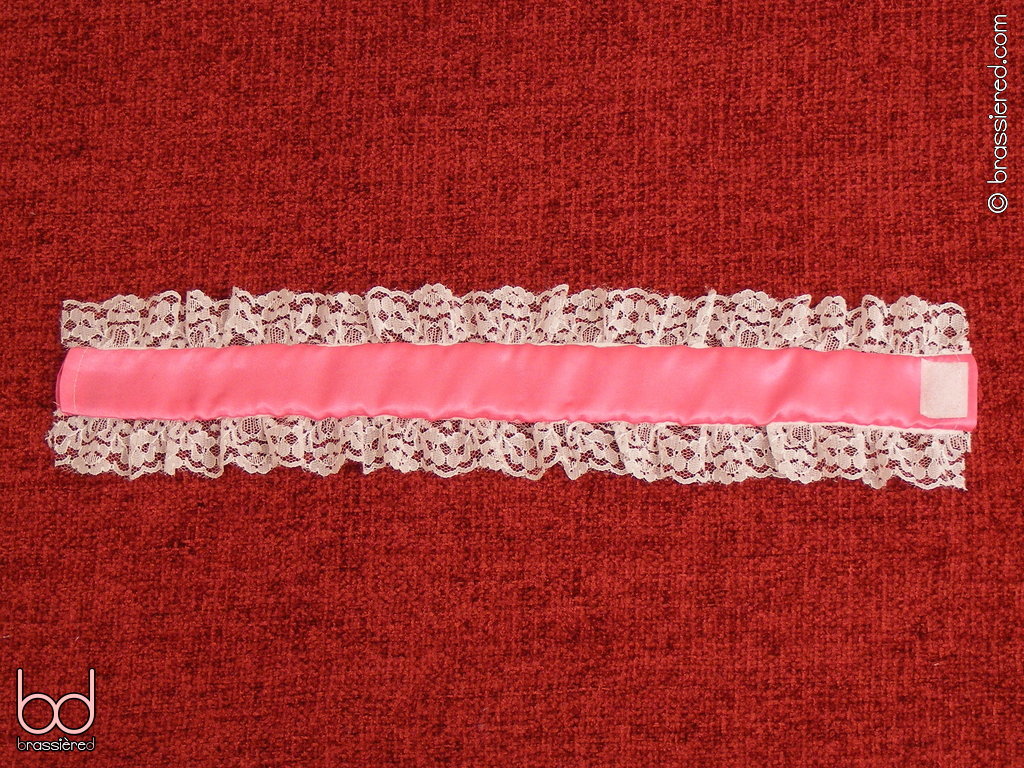
Finally, sew the hook piece in place (Figure 9.23).
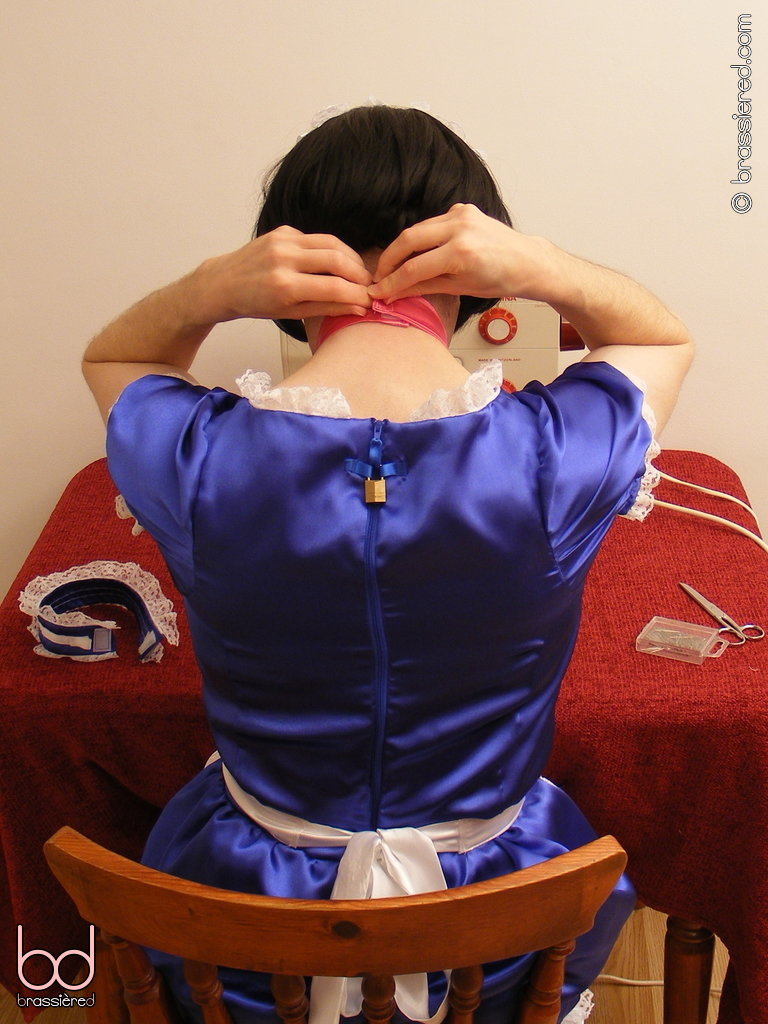
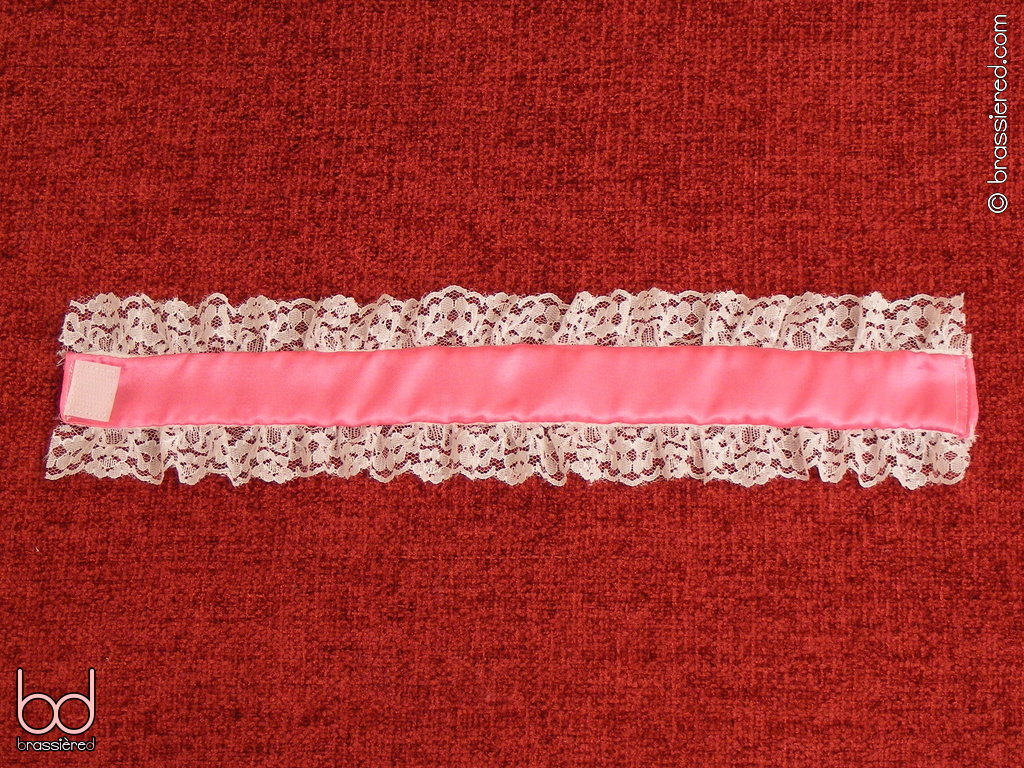
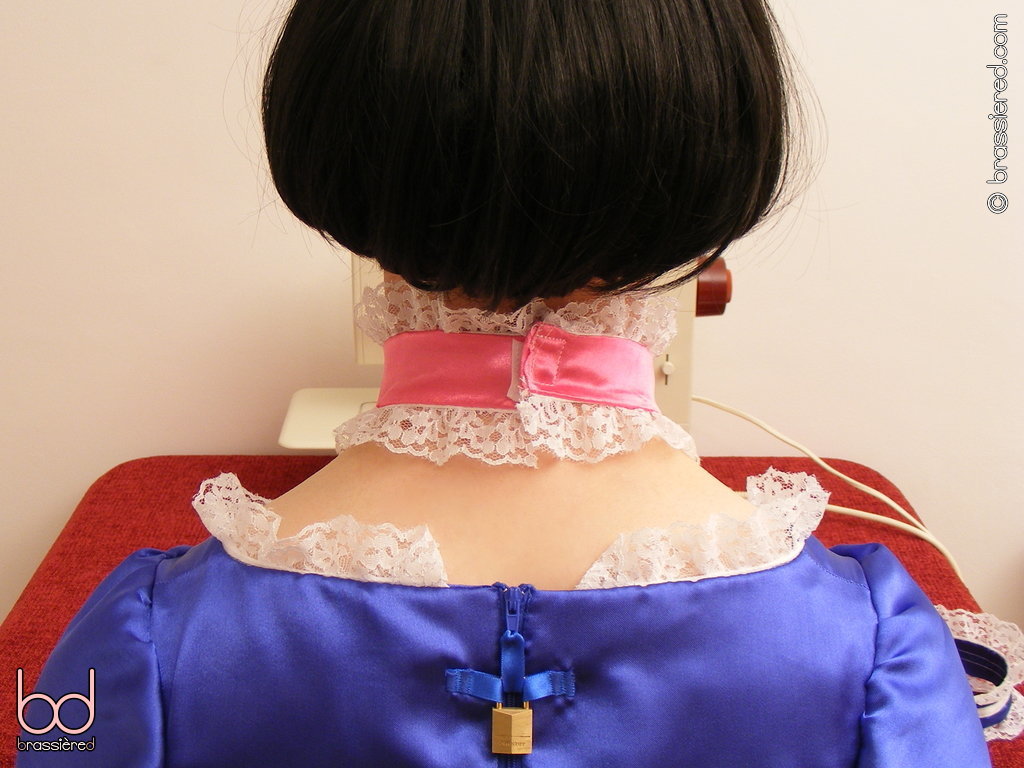
Once again, we have a double-sided strip of satin that can be secured around your neck, but this time it has a lace trim - most appropriate for a sissy maid!. Now is a good time to try it on for size, as my husband does in Figure 9.24, but there shouldn't be any nasty surprises thanks to having made a trial one first.
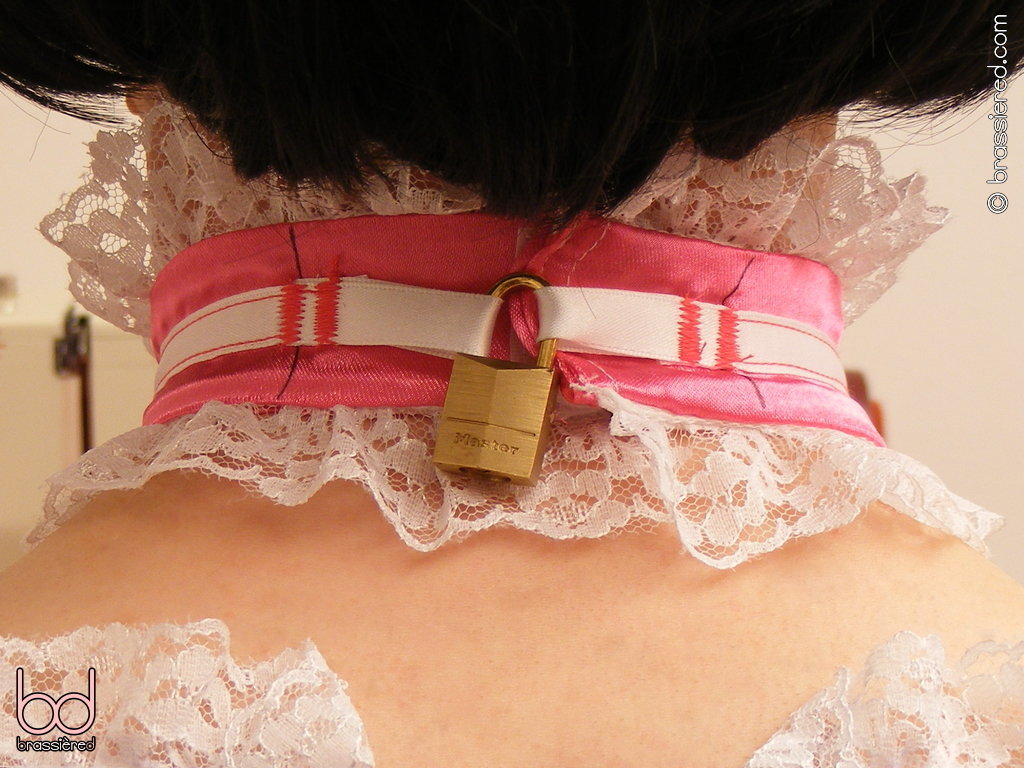
Making the maid's choker lockable
To make the maid's choker lockable, we'll be sewing loops of ribbon at either end, using a longer length of ribbon to help them look like part of the choker, as well as giving it an additional embellishment.
Cut two pieces of white ribbon, 7.5cm / 3” in length (Figure 9.25). As you did with those on your maid's dress, stop their ends from fraying with a brief encounter with the flame from a lighter. Fold each of the pieces in half to make a loop.
Mark where the ends of these loops should sit on the choker, as my husband does in Figure 9.26. Before doing so, consider where the hook and loop pieces should go when the choker is fastened. We want the scratchy hook piece to face away from the skin, meaning that the loops should be on the same side of the satin. One should stop just short of it, with the end of the other just touching that of the strip.
Cut another length of ribbon, long enough to overlap both of the marks by 1cm / ½” (Figure 9.27). Again, briefly treat its ends with your lighter.
Temporarily attach the long ribbon to the strip with a line of basting stitches down the middle of both. In Figure 9.28, my husband has used a contrasting colour thread so that you can see what he is doing, but you would want to use white henceforth. We're using stitches rather than pins here as doing so holds the ribbon in place better. Don't worry too much about neatness here - we'll be removing this basting shortly.
Sew a regular stitch all the way around the ribbon, just inside its edges. In Figure 9.29, note how the short ends of this stitching are beyond the marks my husband made earlier, and so will be concealed by the choker's loops in due course.
Taking care not to damage the ribbon, use a pair of fine pointed scissors to remove the temporary basting. In Figure 9.30, my husband snips the thread every few stitches, allowing him to subsequently pull it out without any problems. He's left with just the regular stitches around the edges, which don't look too bad despite his conspicuous choice of colour!
Using the marks you made earlier as guides, baste the loops to the ribbon. In Figure 9.31, my husband aligns the edge of the presser foot with that of the loop, ensuring the same consistency of position as he did with his dress.
Take a moment to test that the loops will work with your lock (Figure 9.32).
Once you're satisfied your choker can be comfortably locked, sew the loops in place with the same very short, wide zigzag stitches you used for your dress. In Figure 9.33, my husband again places two lines of these - one centred on the basting stitches, the other close to the end of the loop. Such stitching would be far less obvious were he to have used white, but no less secure - like his maid's dress, once the padlock is clicked closed, he'd need to resort to using scissors to free himself from his choker without my say-so!