sewing for sissy maids
Chapter 5: How to make a maid's apron, part two: putting it together
In the previous chapter, we prepared a number of pieces of fabric, from which we'll now be making a maid's apron. Depending on your choice of material, you may no sooner have cut your pieces than their edges started to fray - something that's a particular problem if, like my husband, you're using cheap satin. There's certainly no way you would want to wear anything as it stands right now, with the fluff that somehow seems to find its way everywhere only likely to annoy your mistress at this stage.
The magic of sewing is such that it doesn't take much to secure the raw edges, however, it being simple to hide them inside seams so that no-one would ever know they were there. In this chapter, we'll be stitching our pieces together, putting an end to their fraying once and for all. Before you know it, you'll have a finished maid's apron in your hands - one that's as good as any that you can buy!
Making a frilly apron bib
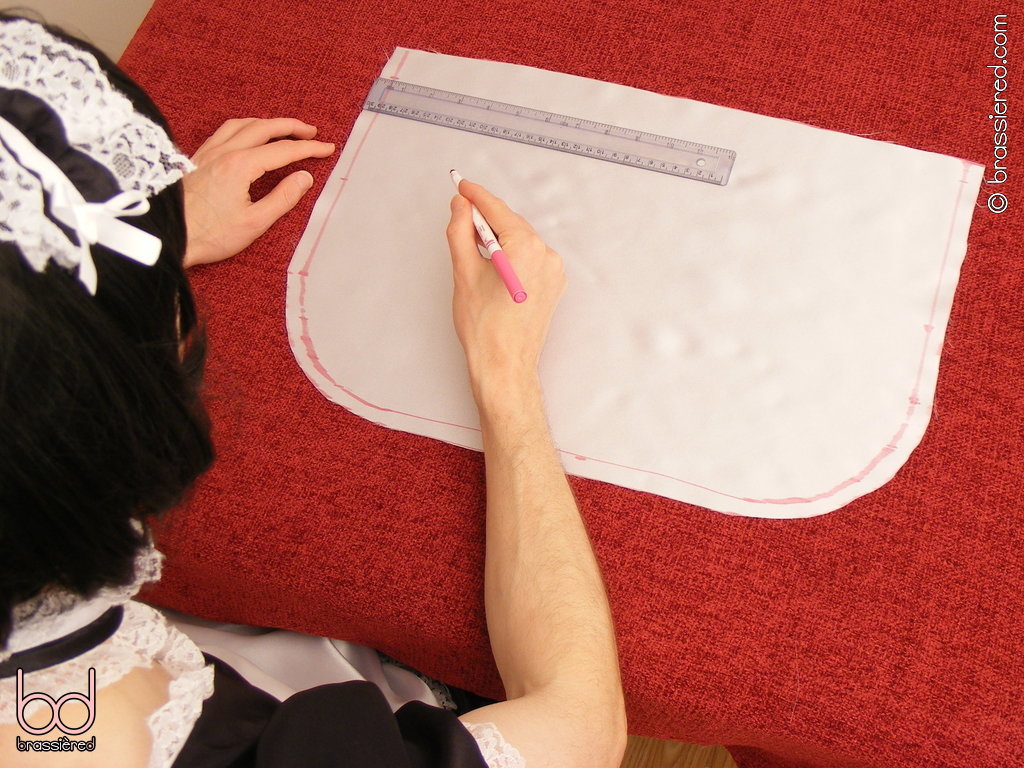
Take one of the bib pieces and lay it right (shiny) side up on your table. Using your smaller ruler, draw a line around from one right-angled corner to the other (around three sides, following the curves) that's your seam allowance from the edge of the fabric, as my husband has done in Figure 5.1. This line will serve as a guide for the lace we're about to attach - although you could just judge this by eye as you go along, it's one less thing to worry about when sewing things together.
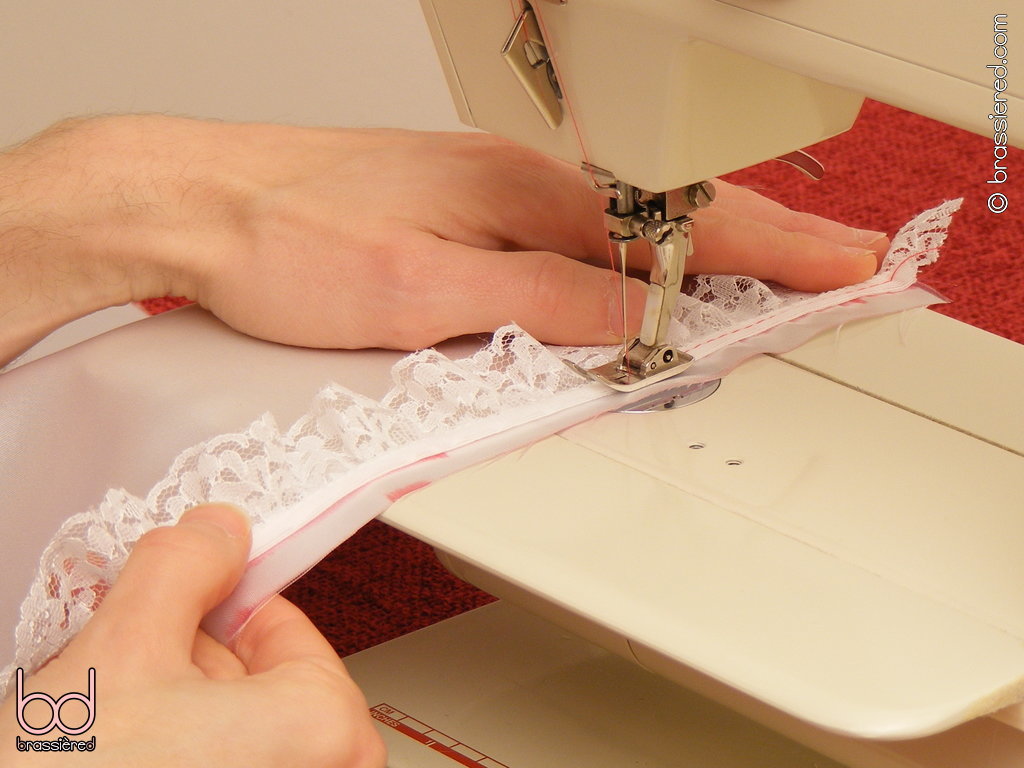
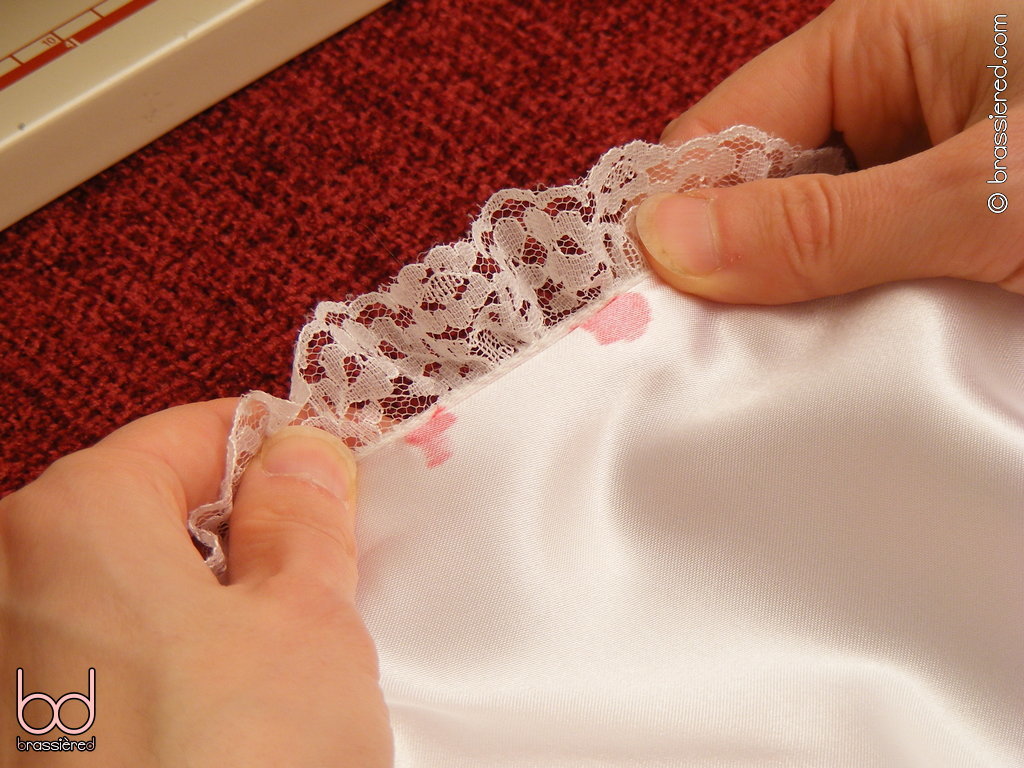
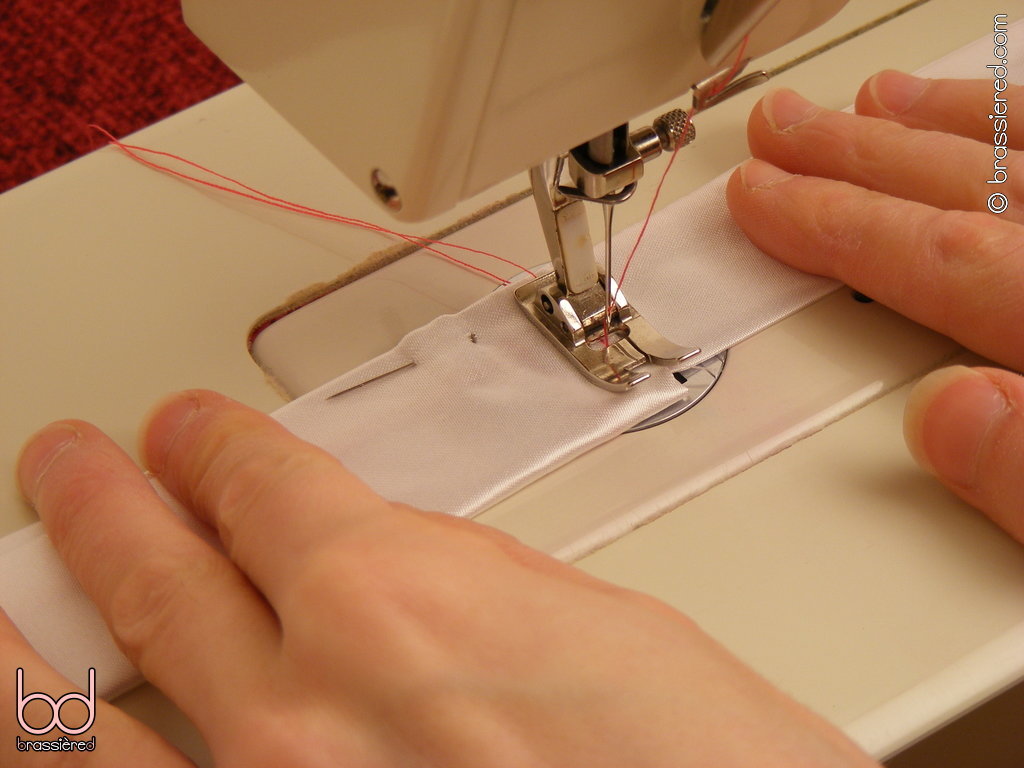
With the frill of the lace towards the centre of the apron, sew the hem of the trim along the guideline you've just drawn with a basting stitch - a long, straight stitch used to temporarily hold two pieces together. In Figure 5.2, my husband uses a contrasting thread so that you can see where the stitch sits, but you should use a similar colour to the apron. If your lace has a slight elasticity to it, as my husband's does, be careful not to stretch it here - keep a loose length of it in your lap, applying a slight tension to the fabric to make it taut. By doing so, you'll avoid unwanted wrinkles.
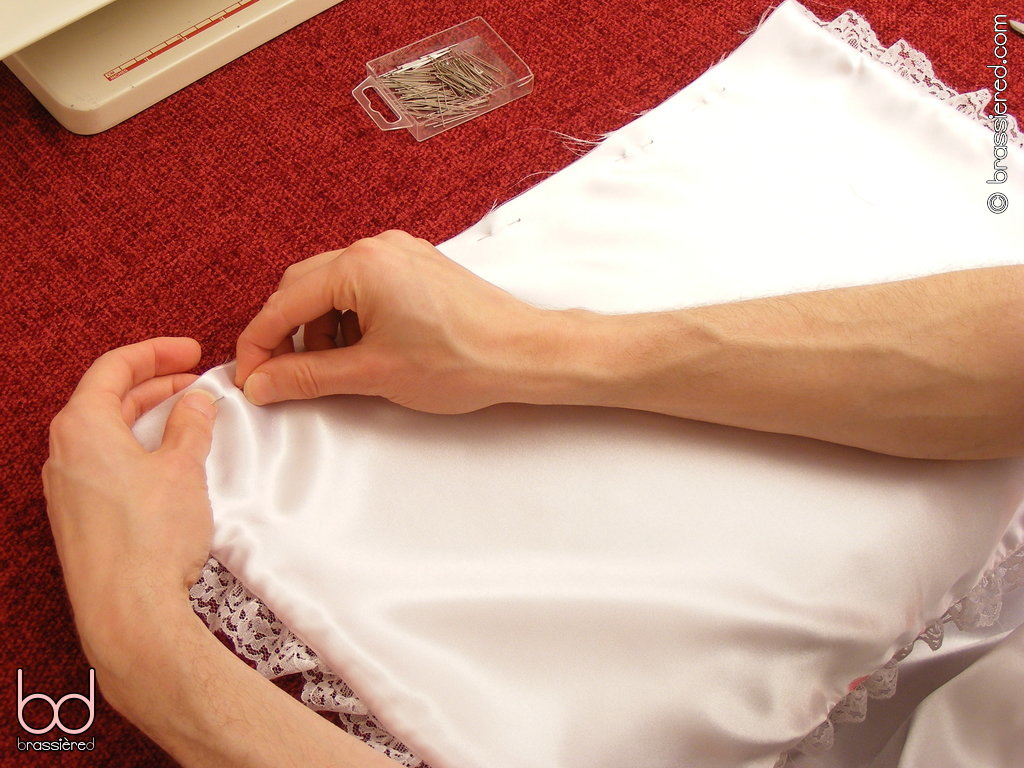
Take the other bib piece and lay it flat on the table, then put the lacy bib piece on top of it so that the two right sides are touching, making a satin sandwich with the lace in the middle. Starting by matching the corners and centres, pin along the line of stitches as per Figure 5.3, putting the pins in at right angles rather than parallel to the edge so that they can be left in as long as possible.
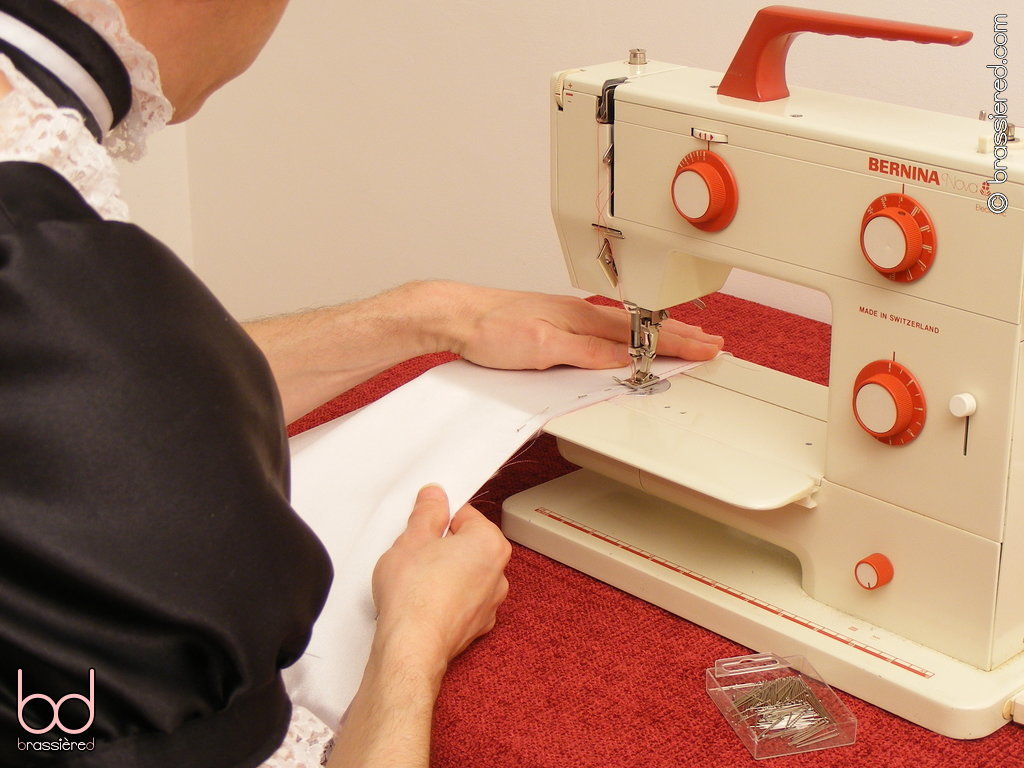
Using a shorter, regular stitch, sew the two bib pieces together as my husband does in Figure 5.4, following the line of basting stitches you previously put in. The presence of the lace is likely to make the top piece slightly shorter than the bottom one, so again, keep the fabric slightly stretched and make as much use of the pins as you can in order to avoid it bunching up.
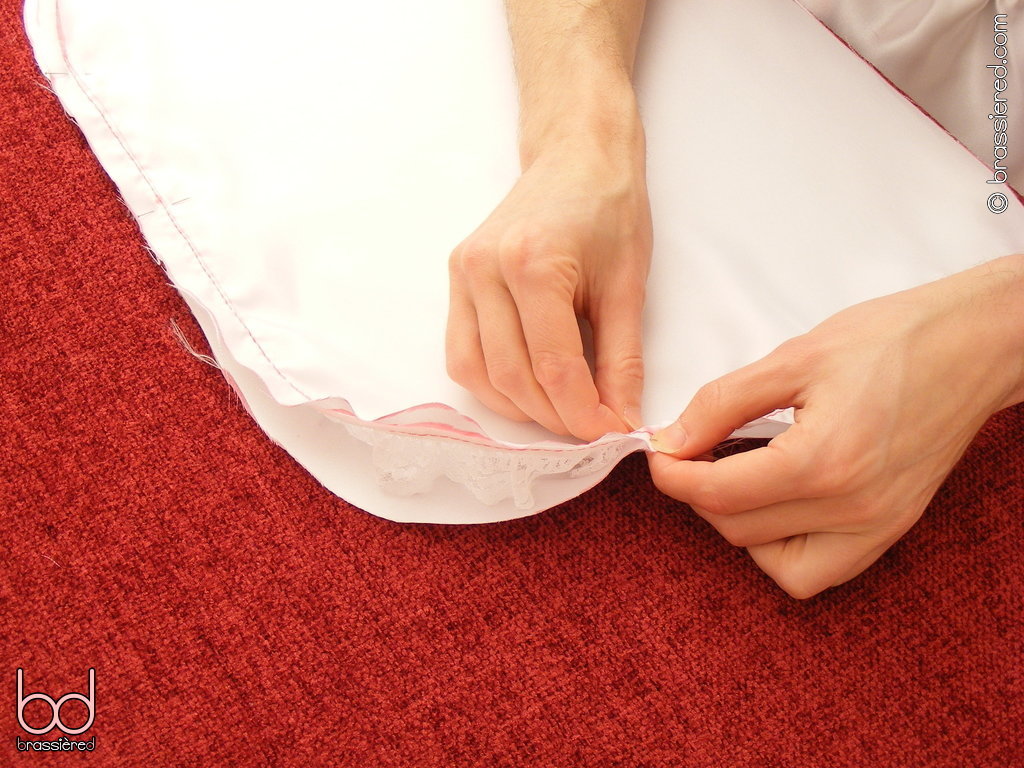
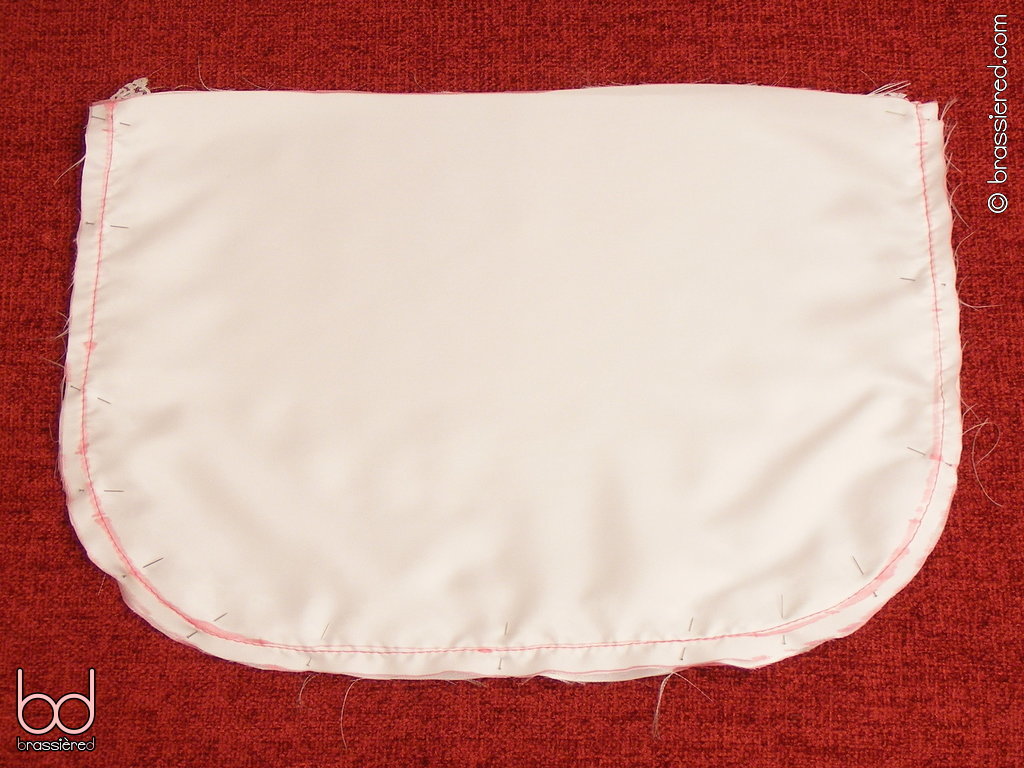
Turn the resulting apron right side out, and check that none of the lace has got caught in the stitching. In Figure 5.5, we can see that my husband has failed, with something clearly wrong with the middle of the apron. There's no way that I would accept my maid appearing in front of me with such an obvious flaw, but mistakes like this can happen, even if you're being careful.
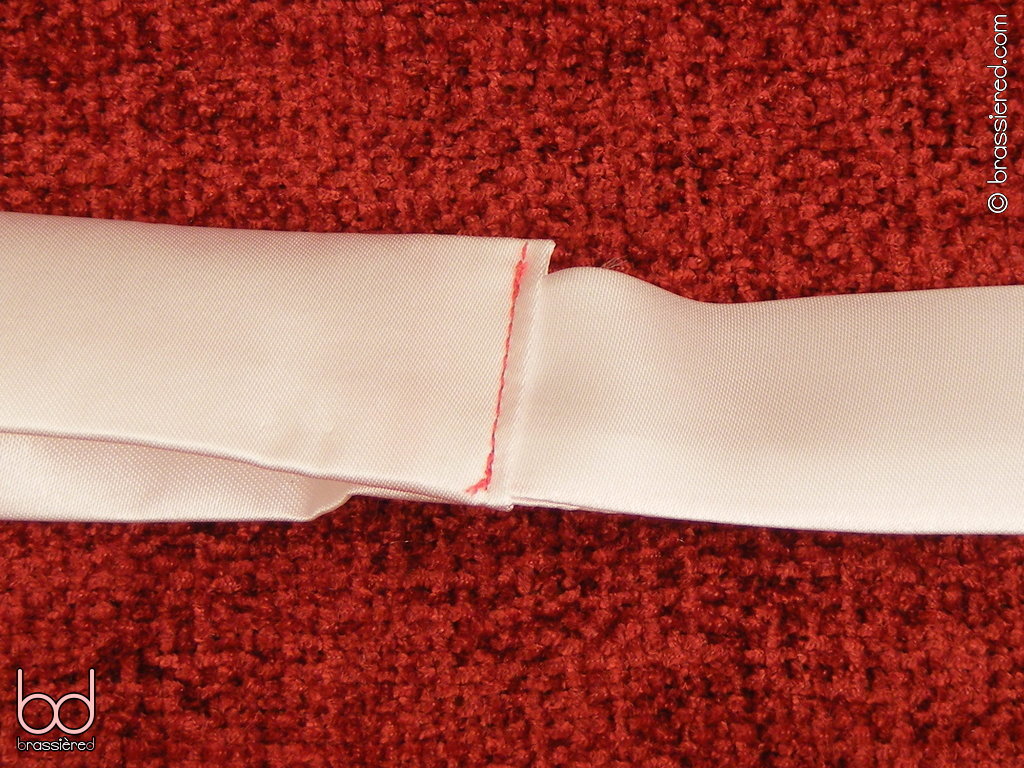
Fortunately, it's easily fixed - simply mark the errant section, unpick its stitching and make things right, as shown in Figure 5.6. There's an important lesson to be learnt here, however, which is that mistakes must be corrected as swiftly as possible, no matter how frustrating it may be to go back. If my husband had simply continued without fixing the fault, he would find himself facing a lot more work when I finally inspected his efforts - perhaps even having to start from scratch, with all the measuring and cutting that would entail. Neither laziness nor a lack of attention to detail are to be expected from a sissy maid, with punishment appropriate for a man who tries to cut corners!
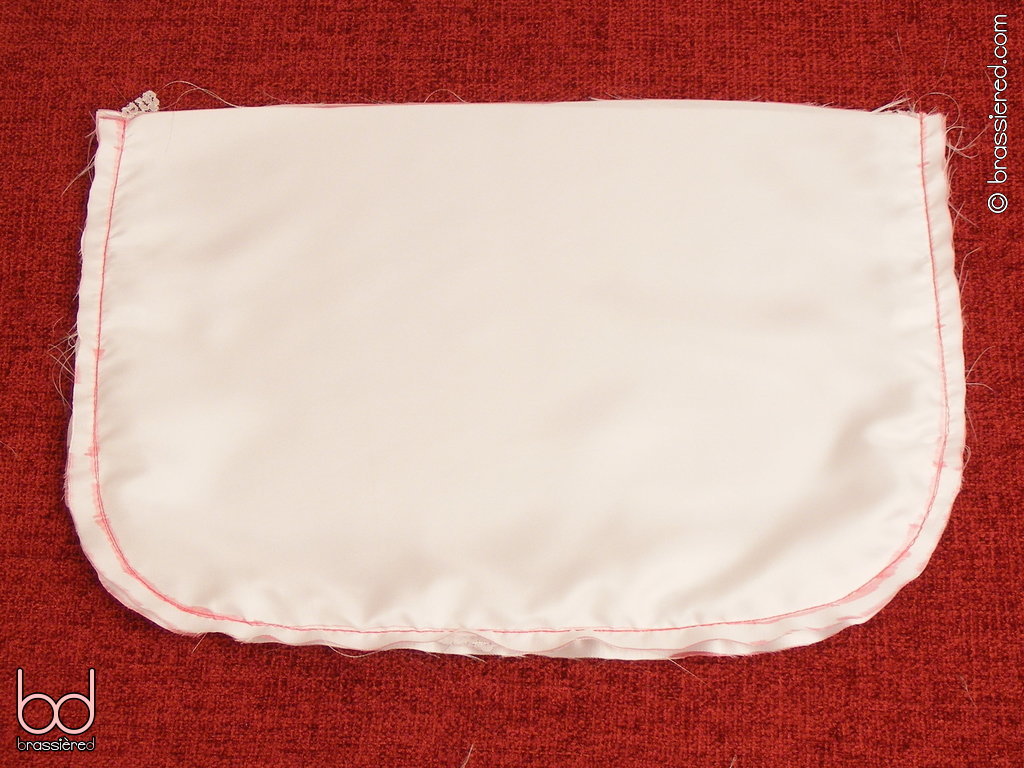
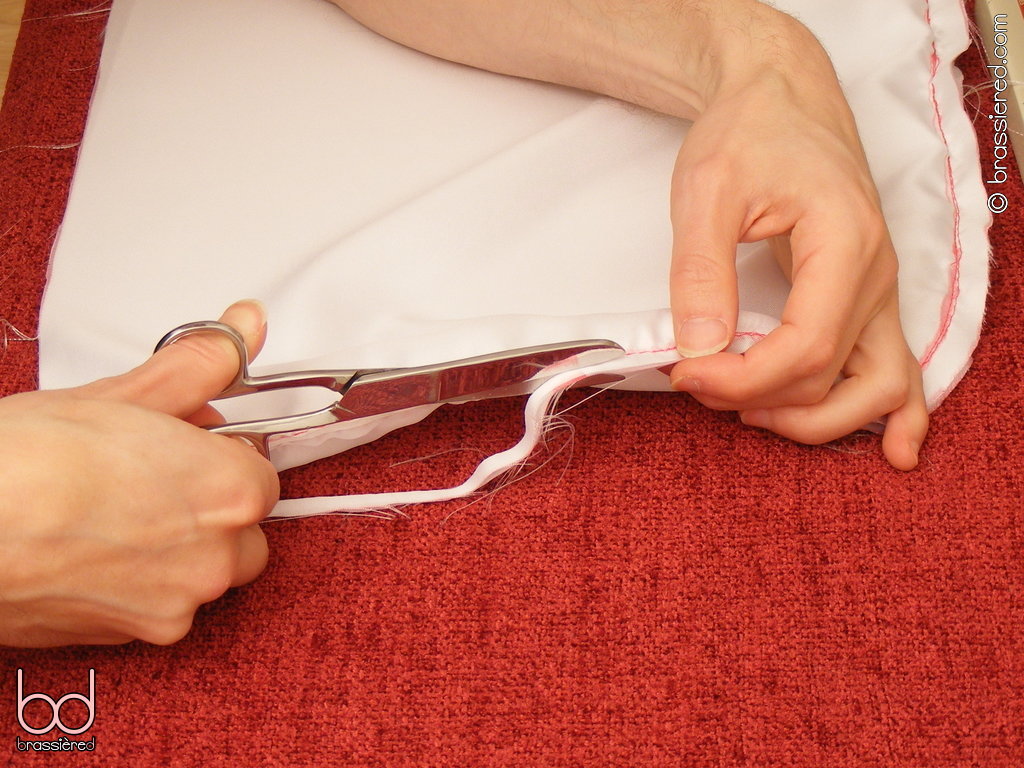
When you're satisfied with your lace, turn it inside out again, and trim the fabric to leave 0.5cm / ¼” beyond the stitches (Figure 5.7). Doing so reduces the bulk of the seam, which can otherwise show - especially when using thinner material.
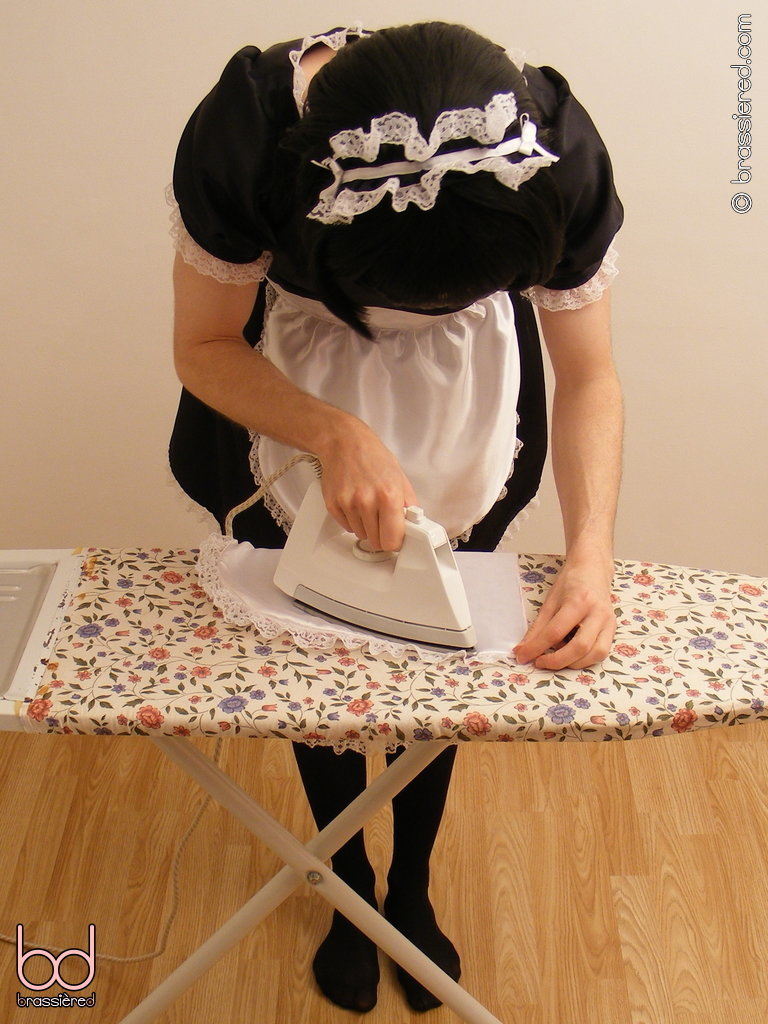
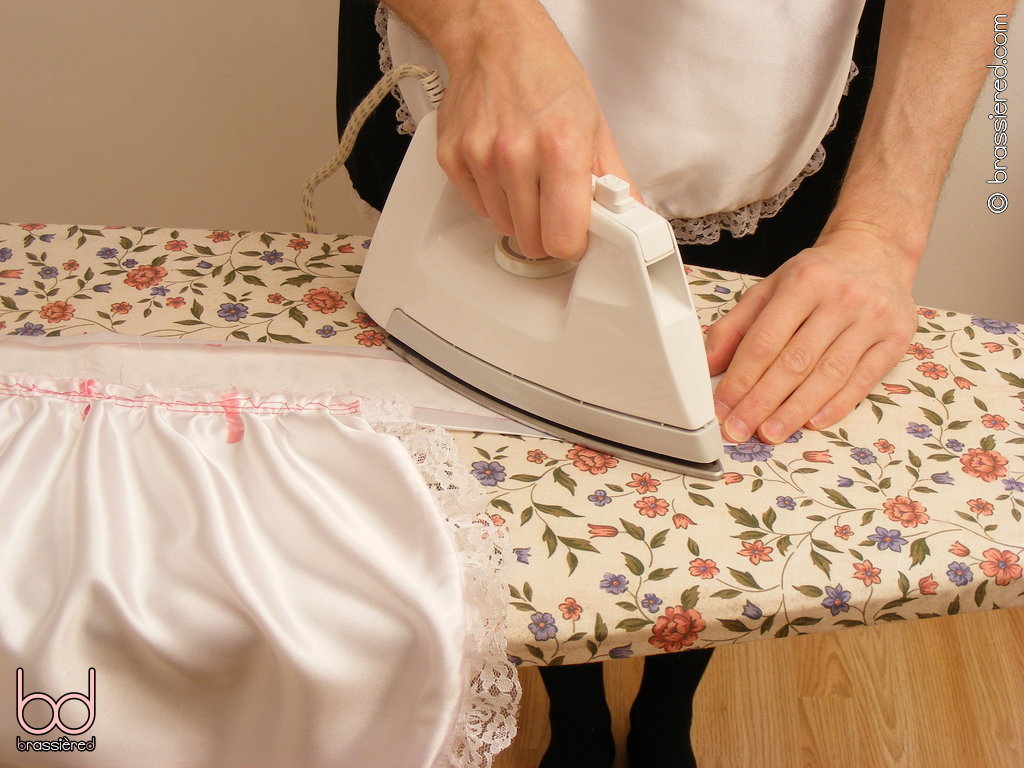
After turning the apron right side out one last time, press the seam flat (Figure 5.8). Take care to set the temperature of your iron to accommodate both your fabric and your lace, testing on scrap pieces if you haven't done so before so as to avoid melting either - something my husband failed to consider when working with his lace for the first time, resulting in him having to add the sole plate of his iron to the long list of things he needed to clean.
Pin the top edges of the two bib pieces together. In Figure 5.9, my husband has put the pins pointing right to left, allowing them to be easily removed when he runs the fabric through the machine. Placing pins will soon come instinctively to you too, but it's always worth taking a moment to think ahead.
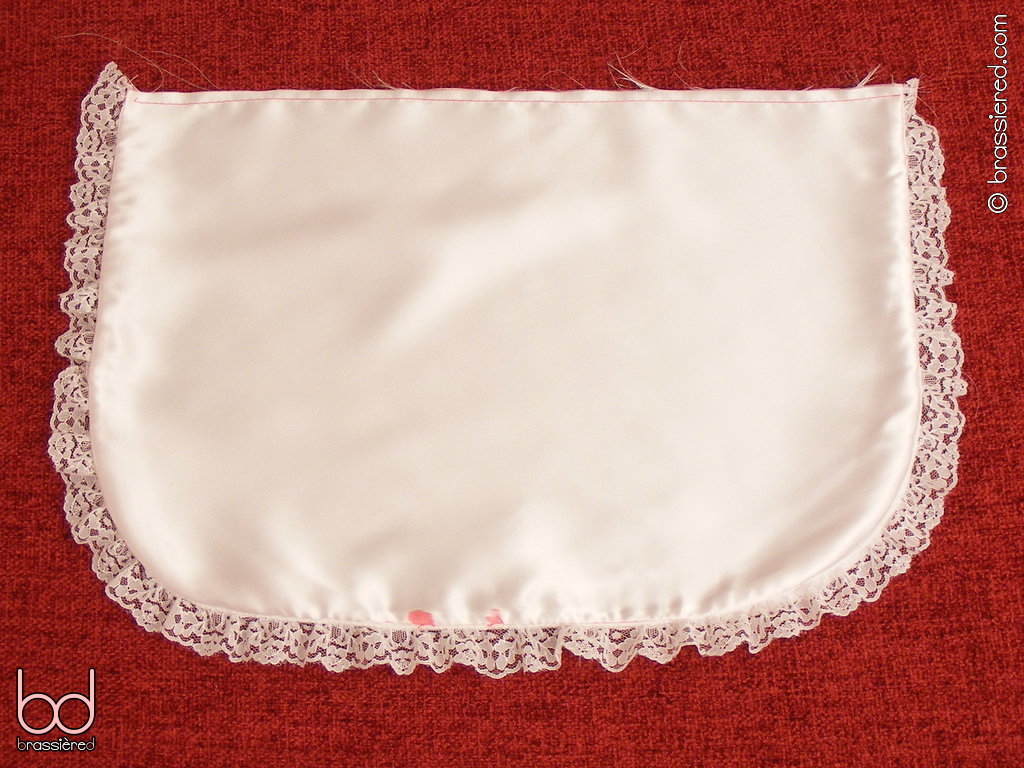
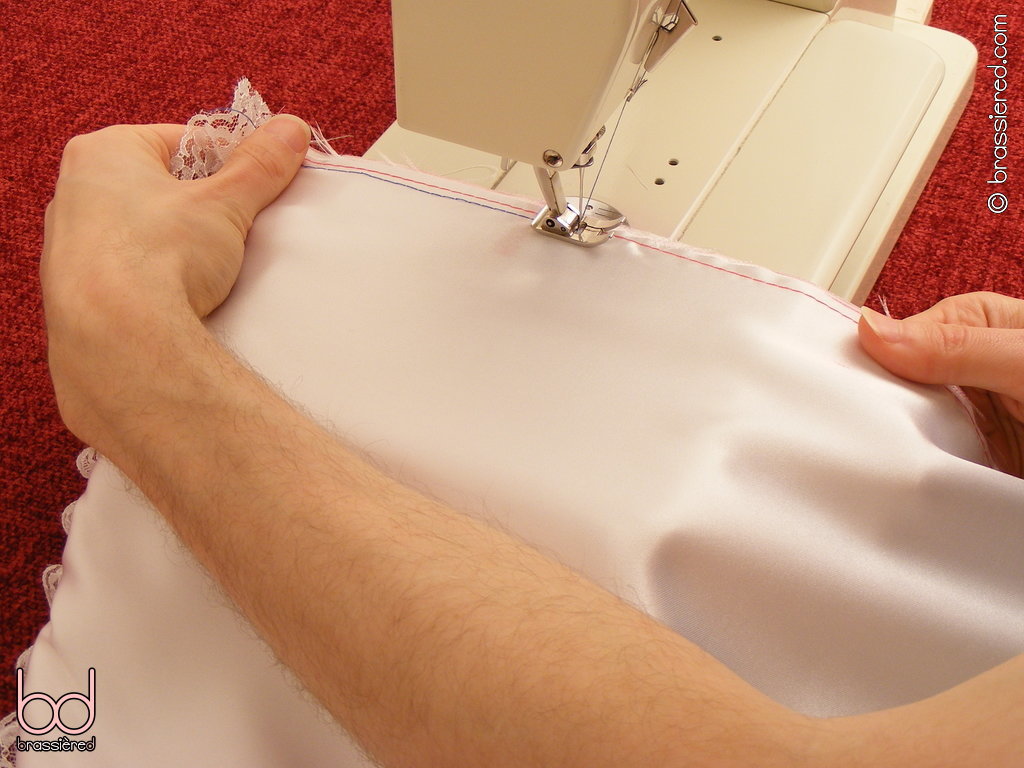
Baste along the pinned edge, putting the stitching inside your seam allowance. In Figure 5.10, my husband uses the side of the presser foot as a ¼” guide, leaving space for the gathering that will in due course also run along this edge. For now, however, we'll put our frilly apron bib to one side, having turned two pieces into one - one that's satiny and lacy on both sides.
Preparing the waistband
To make the waistband of the apron sturdier, we'll use fusible interfacing - a lightweight fabric with a surface that's covered with countless tiny beads of glue which will melt when heat is applied to them. If you slide your fingers over your piece of interfacing, you'll find one side feels distinctly bobbly - this is the side with the glue, and should be applied to the wrong side of your fabric.
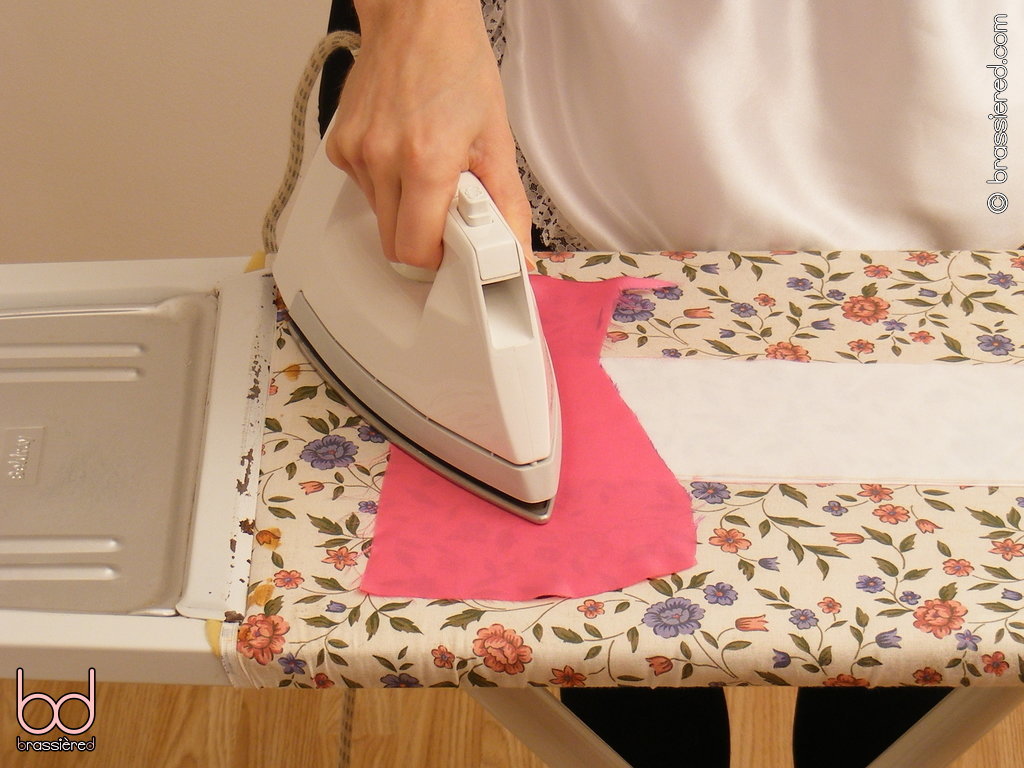
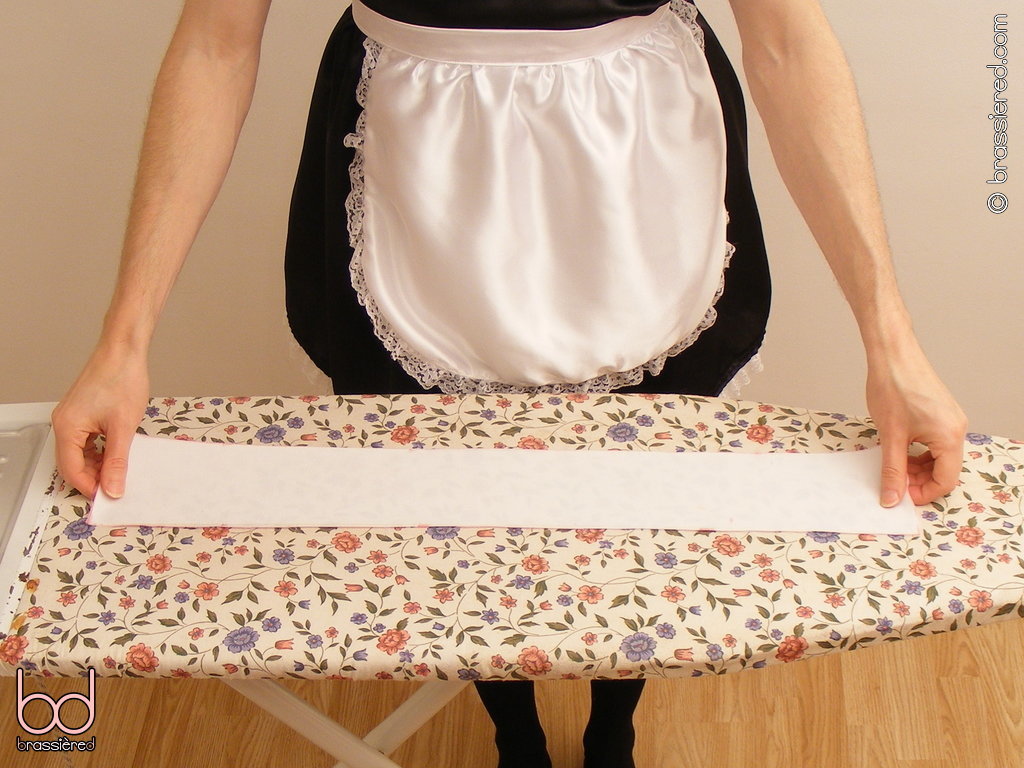
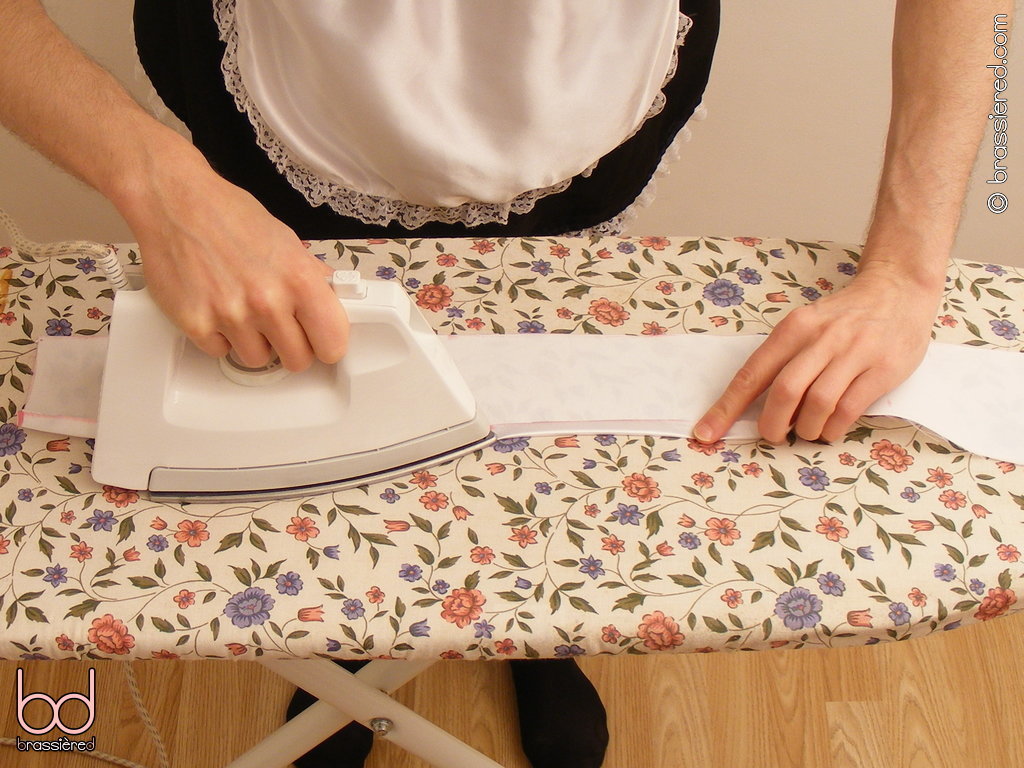
Lay the fabric waistband piece flat on your ironing board with its right side down, and place the fusible interfacing on top, rough side down. In Figure 5.11, my husband puts a scrap of pink satin as well, just to be safe, then presses down with a hot iron for a few moments in order to make the glue melt. Once you're sure the interfacing is sticking to what it should, work your way along the waistband, lifting the iron rather than sliding it to avoid the layers shifting.
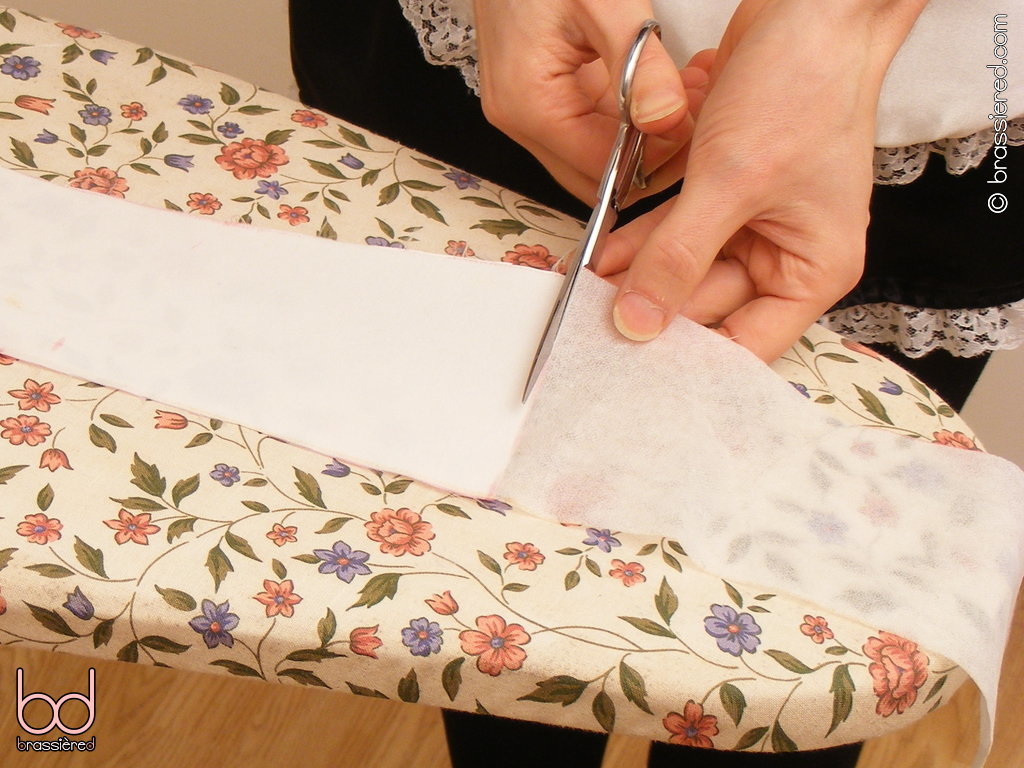
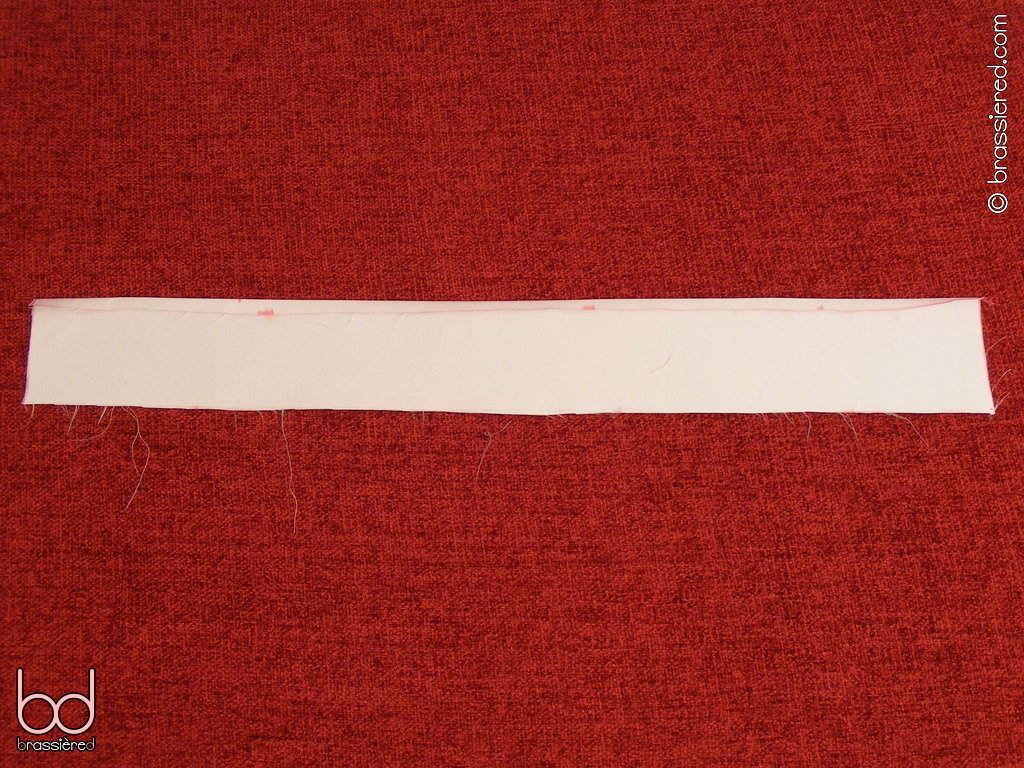
We didn't cut the interfacing exactly to size earlier, because it's easier to do so when we come close to the end (Figure 5.12). Cut off the excess, press the edge, then feel just how much stiffer your satin is compared to when you started.
With its right side down, fold one of the long edges of your waistband in by your seam allowance and press it down, as my husband demonstrates in Figure 5.13. To make a sharper crease, turn the waistband over so that its right side is facing up, and iron the fold again - a method that's useful to adopt whenever you need to make a fold.
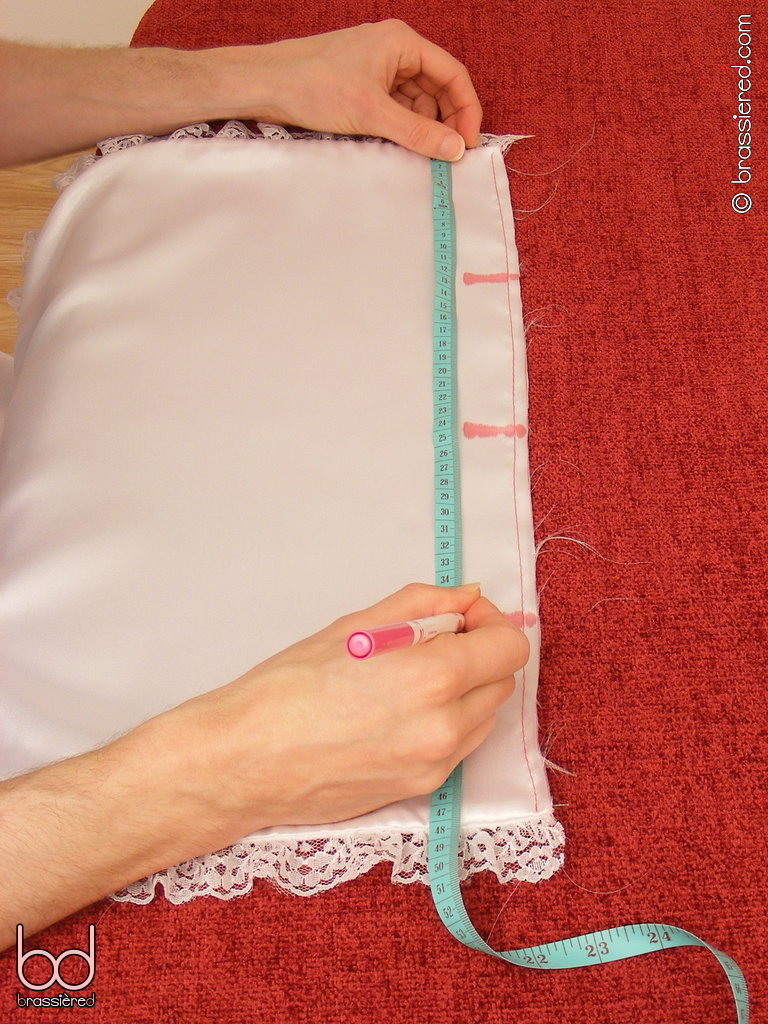
Keep the right side of the waistband facing up. On the other long edge, the one you haven't folded in, use your tape measure to find the middle of the waistband's length and make a long mark down. Using this as the centre, measure a length of 30cm / 12” and mark the quarters - that is, at 7.5cm / 3” and 15cm / 6” to the left and right of the central mark, making five marks in total. The end result should resemble that shown in Figure 5.14.
Gathering the bib
Returning to your bib, make similar marks dividing the top edge into quarters (Figure 5.15). The distances between them will be different to those on the waistband, so we'll be using a technique known as gathering to align them. Gathering is a means of shortening a length of material by pulling it together into a series of little ridges, making for a more pleasing effect than trying to fold the fabric by hand.
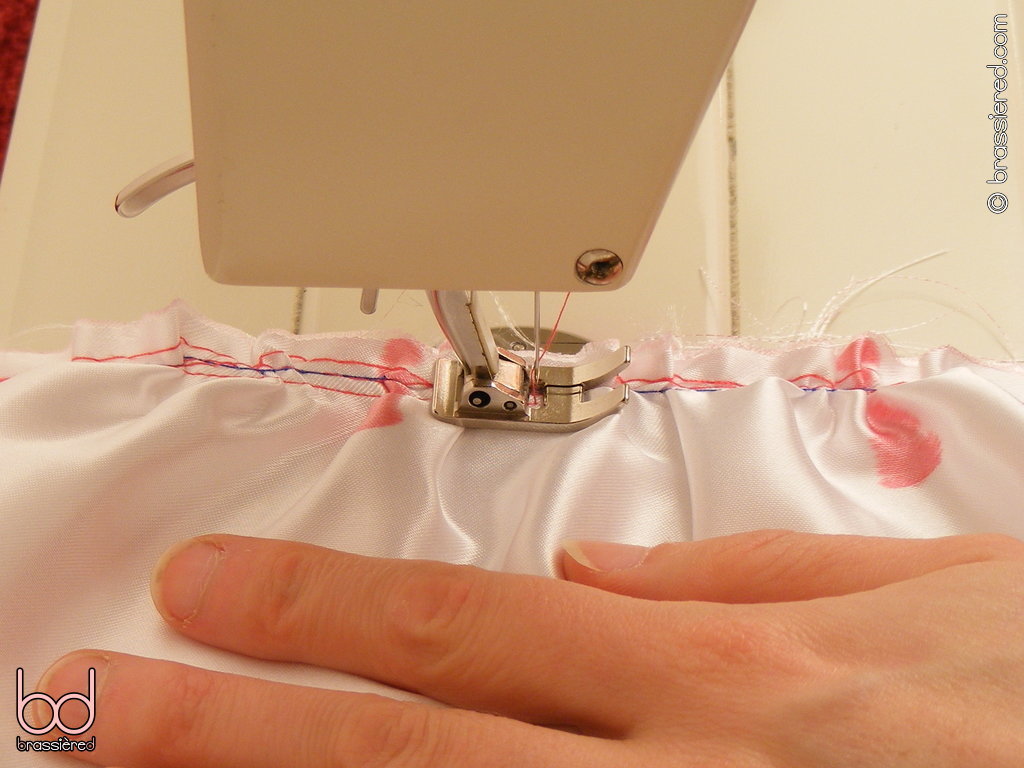
We do this with a gathering stitch - a stitch that's long, like a basting stitch, but with the tension of the sewing machine reduced so that one of the threads sits on the surface of the fabric rather than meeting the other in the middle, running through a series of loops through which it can easily be pulled. There should be a dial or setting to allow you to adjust the tension, also known as the stitch balance - on the machine my husband is using, turning this down leaves the straight thread underneath, so he's turned the bib over so that it will sit on the same side as the marks he's made.
In Figure 5.16, he's using blue thread so you can distinguish his gathering stitch from his earlier basting, putting it one notch inside the latter at ⅜” to aid this. You can do the same, even using a different coloured thread in the bobbin to help you understand exactly what's happening, but there's no harm in simply sewing over your basting, so long as you stay inside the seam allowance.
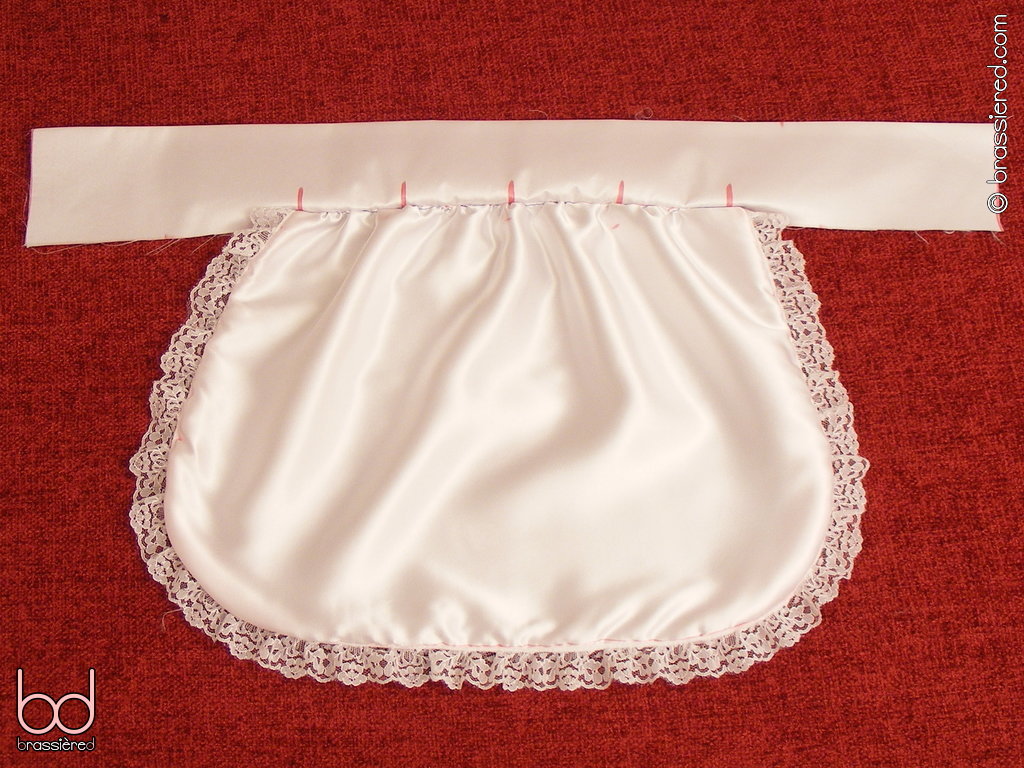
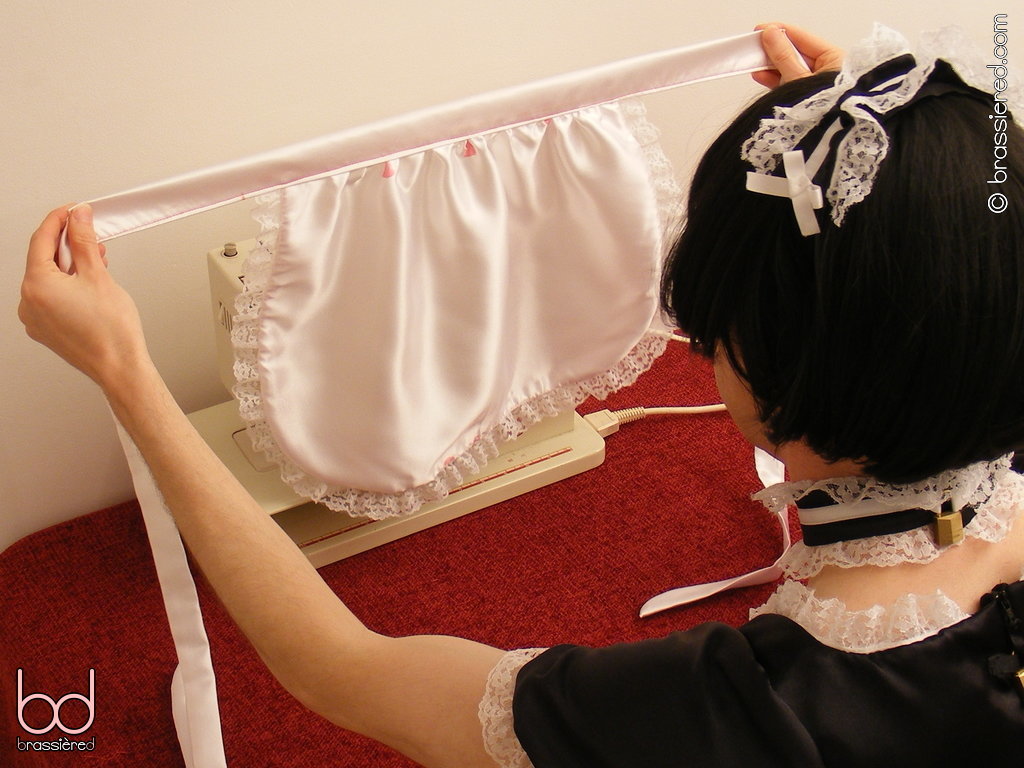
For once, you don't need to remember to lock your stitching at the start and end, nor snip the excess thread - indeed, it's vital that you don't, instead leaving enough extra that you can easily pull it, as my husband does in Figure 5.17. Do so enough to be able to align all of the marks on waistband and bib, having the right side of the waistband facing up and its unfolded edge meeting the top edge of the bib.
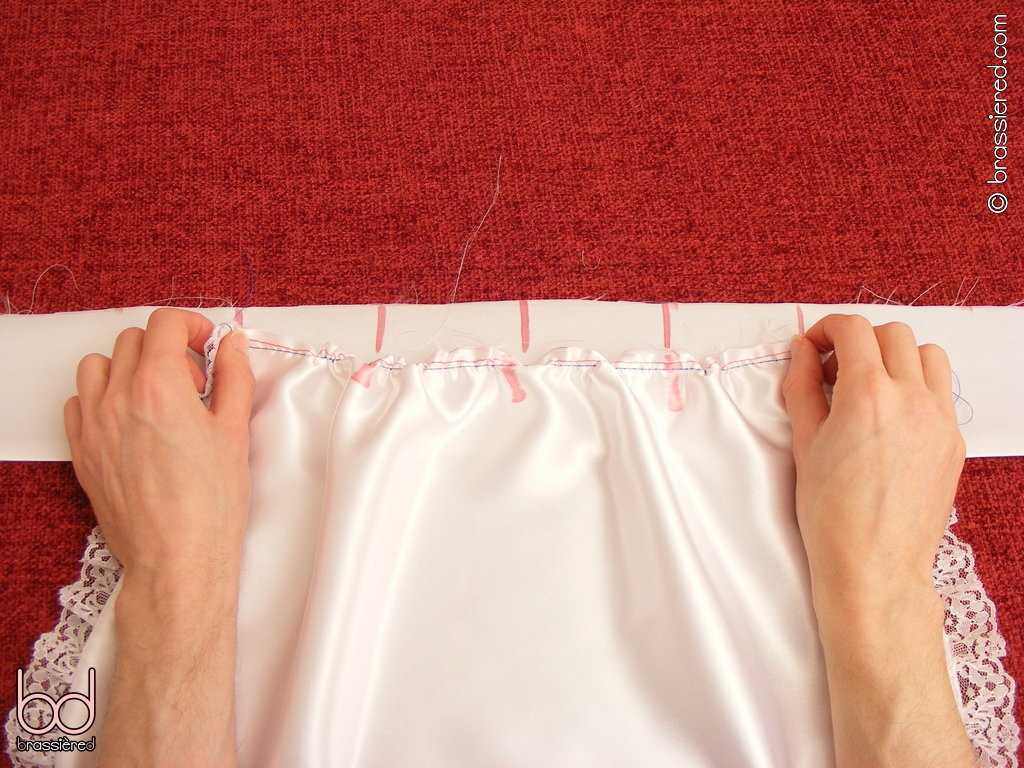
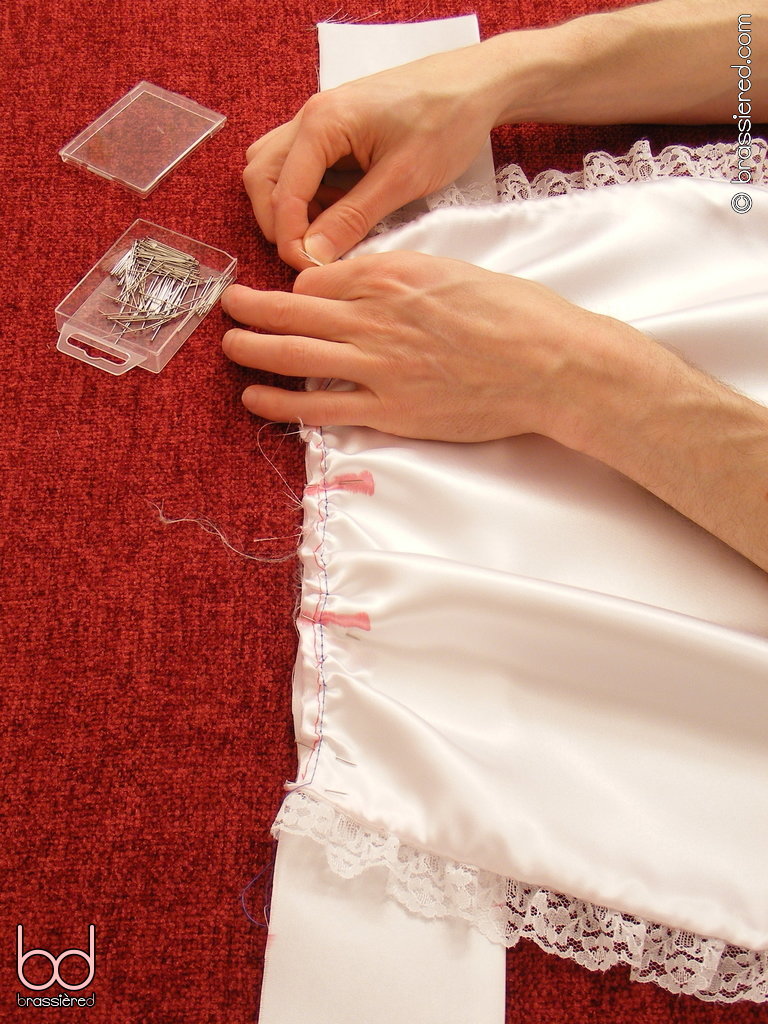
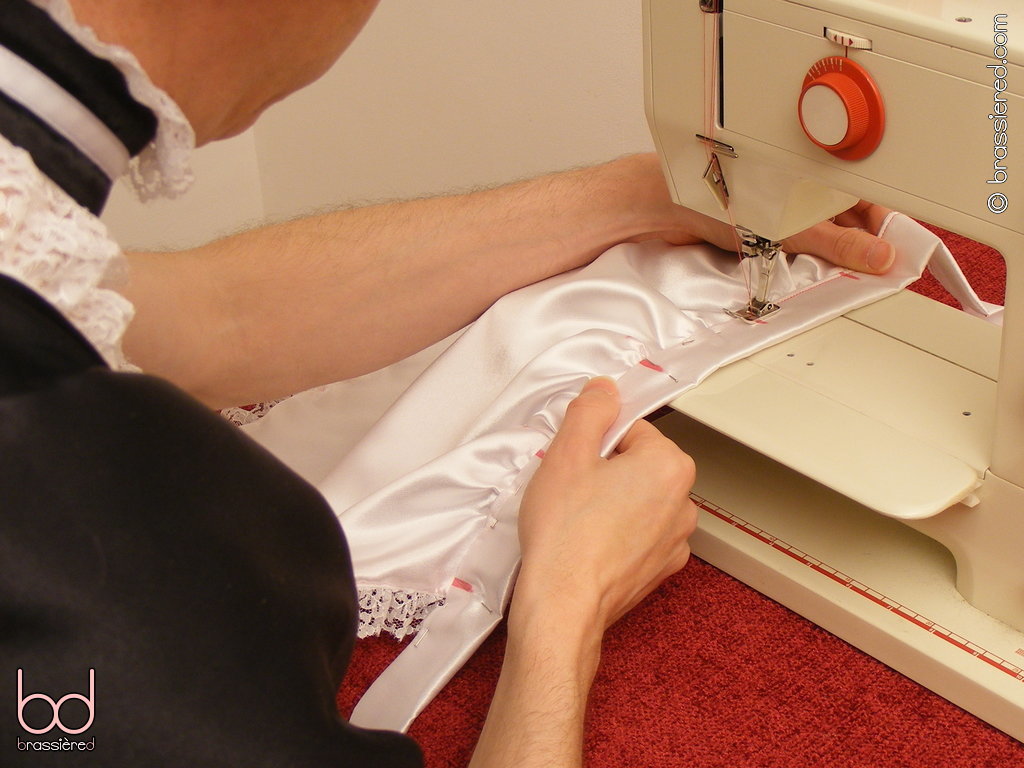
Pin, then baste the two together, remembering to return your sewing machine's tension to its regular setting first. In Figure 5.18, my husband not only puts pins at each of the marks, but adds extra ones near the start and end of where he'll be stitching to help himself do so. He then goes on to adjust the gathering in situ, sliding the ridges up and down the gathering thread to spread them out equally in each section. Note how he uses his other hand to hold the gathering threat taut, demonstrating a knack for gathering that comes only from experience. Needless to say, his first apron was nowhere near as neat - but don't worry if yours isn't either, because there'll be plenty more opportunities for you to practice this skill!
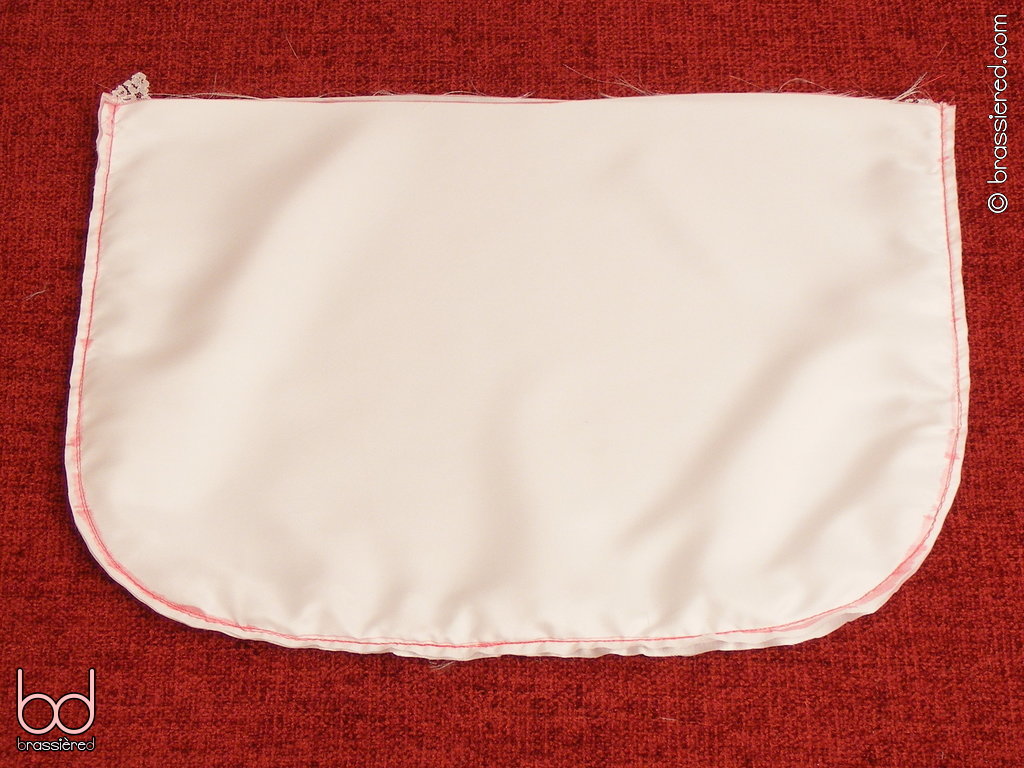
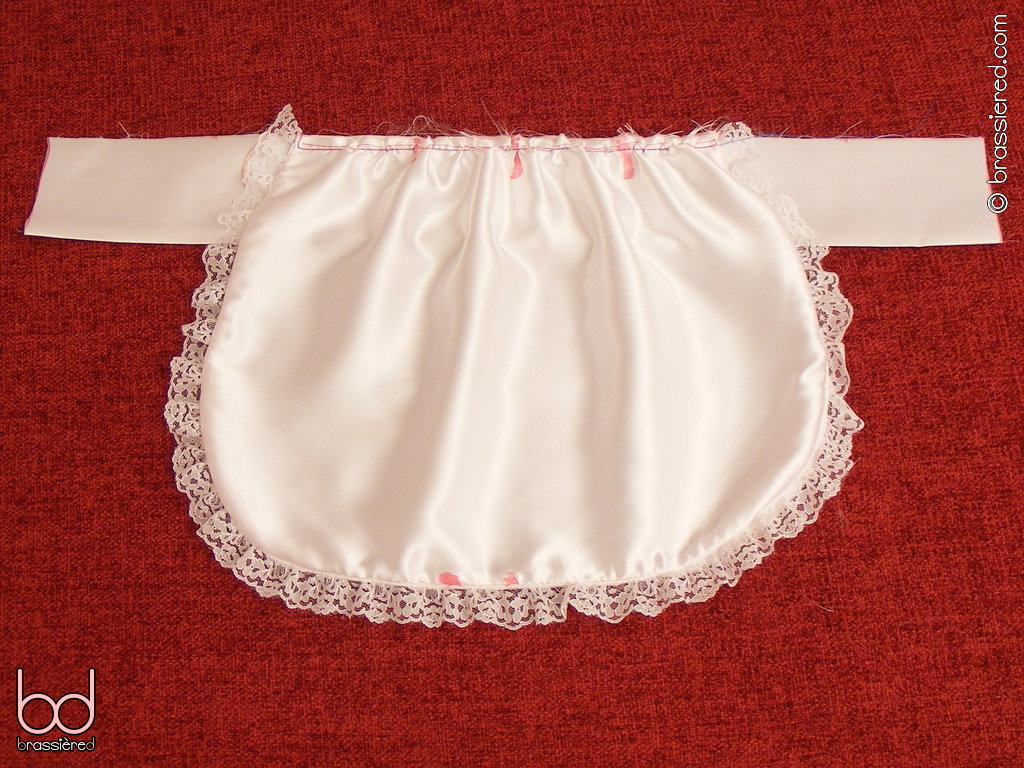
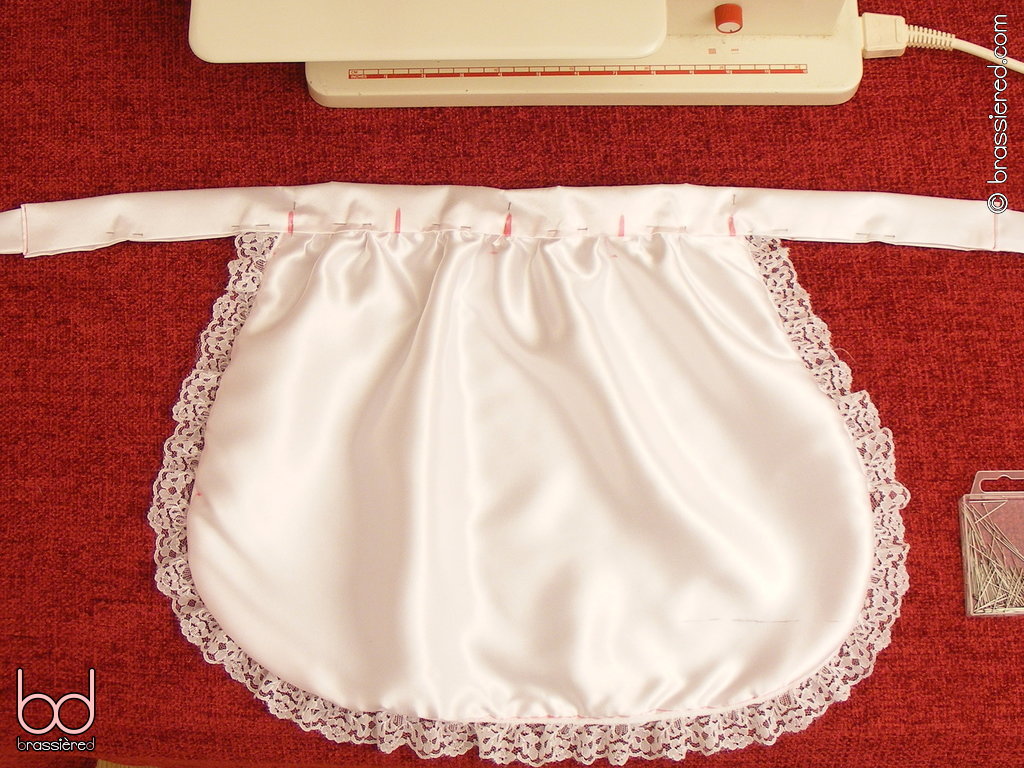
Nevertheless, it's worth taking the time to get things right, redoing any sections you're unhappy with while there's only a basting stitch holding them - that's the benefit of such temporary stitches. When you're finished, you should find yourself with something resembling Figure 5.19. If you fold the bib over at this stage, you should be able to see the basic shape of the apron, even if it still requires somewhat more work.
Sew the bib and the waistband together again, this time using a regular stitch along your seam allowance. In Figure 5.20, my husband goes on to pull out his gathering stitches, leaving just two parallel lines on the waistband. The third line of stitching on the bib is that joining its two pieces together.
If you fold the bib over again as my husband does in Figure 5.21, there should be no sign of any thread.
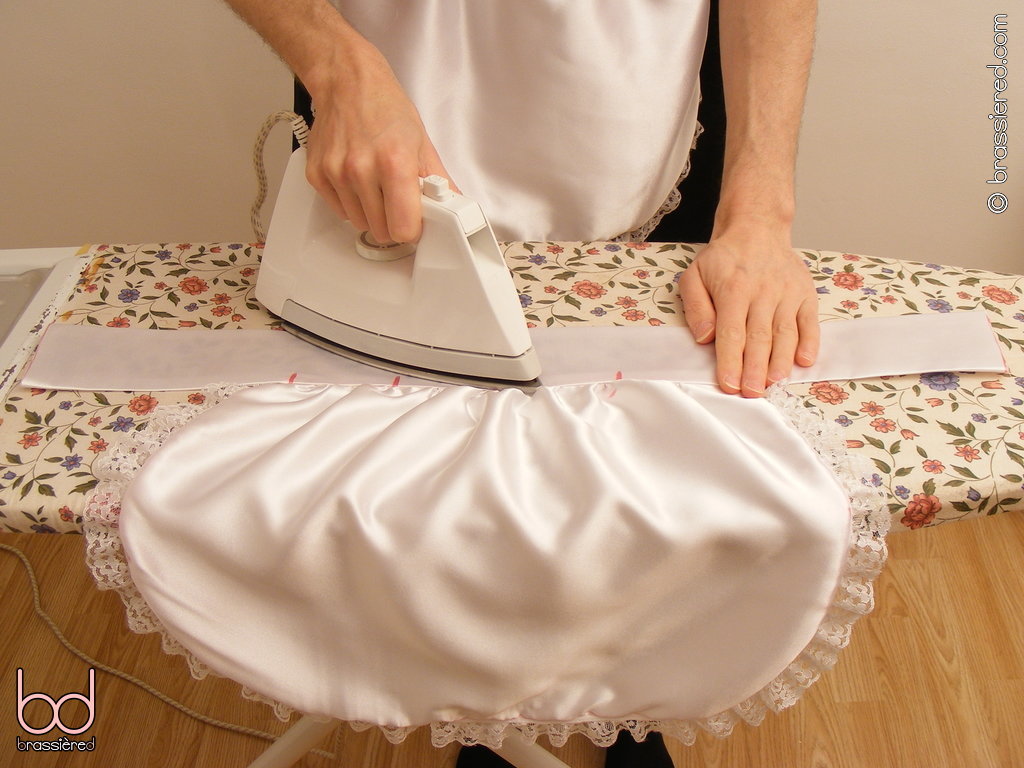
We'll now make this fold more permanent by pressing it. With the right side of the waistband facing down, fold the long edge that you didn't fold earlier up by your seam allowance. It's easiest to do this at each end first, then turn the whole thing over to iron the section where the bib is sewn (Figure 5.22).
If you now fold the two long edges together (Figure 5.23), you'll see how the waistband works - a tube of satin, with the top edge of the bib concealed inside. Apart from the ends, which we'll address shortly, there are no rough edges.
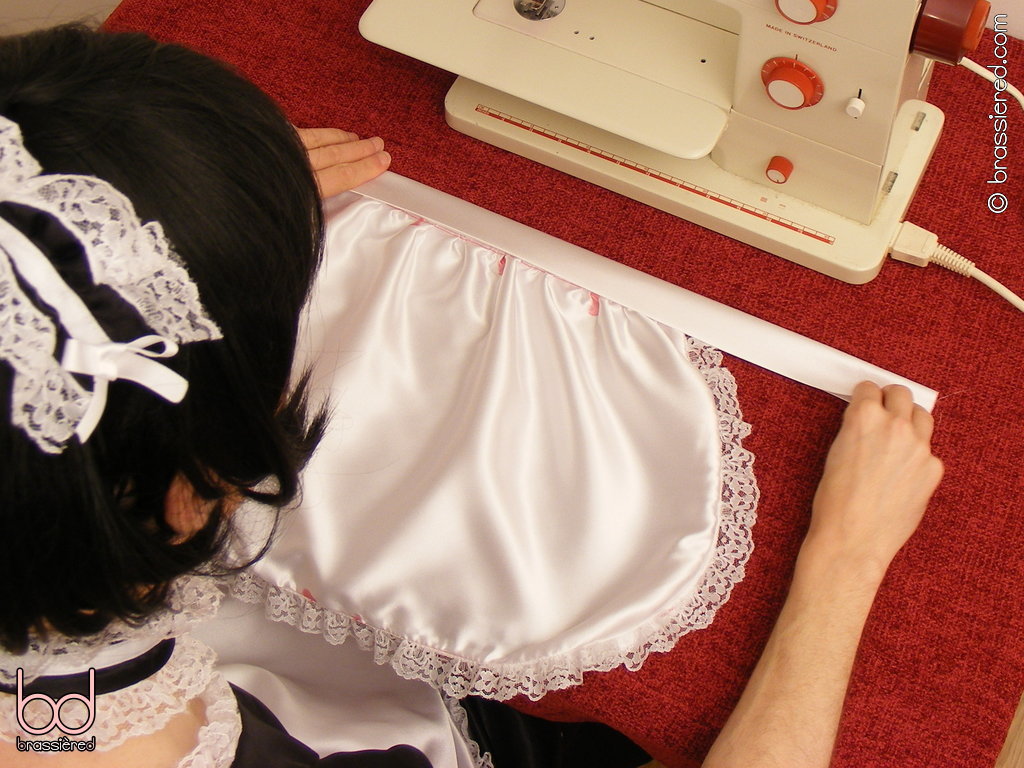
Preparing the ties
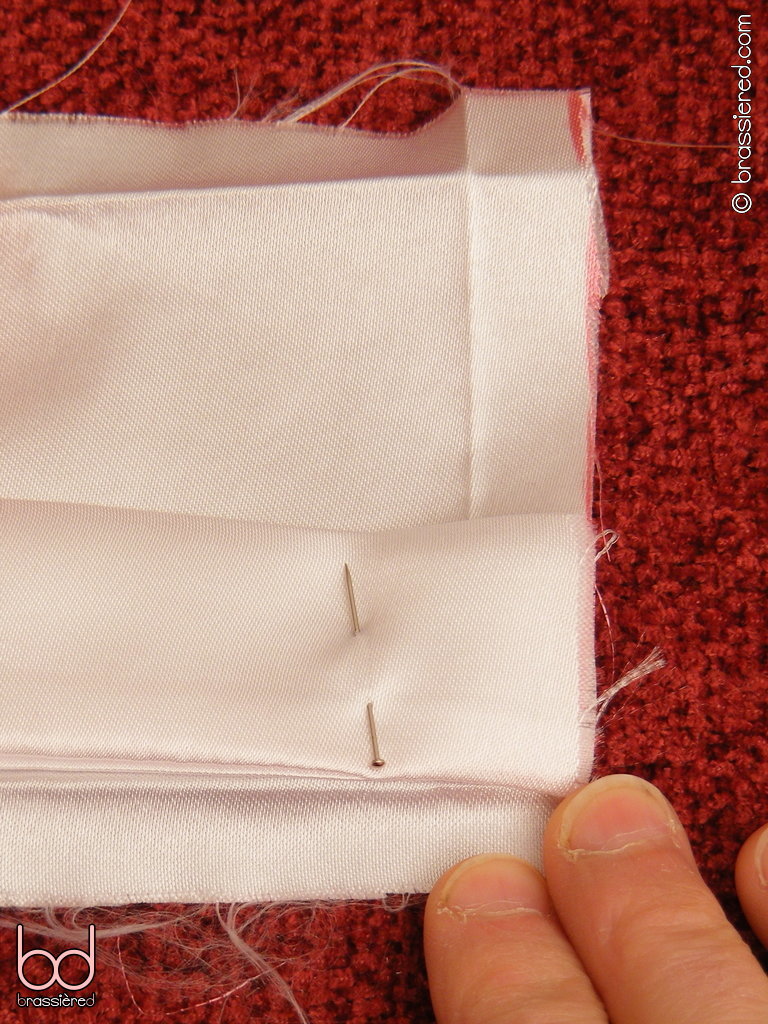
Take each of the tie pieces and fold it in half lengthwise, with its right sides together (Figure 5.24). Starting from the short end without the selvedge, temporarily pin it, then sew it with a regular stitch along your seam allowance to make an inside-out tube. Remember to lock the start of the stitch by sewing back and then forward again - while you should be doing this as a matter of course, here is particularly important because of what we'll be doing shortly.
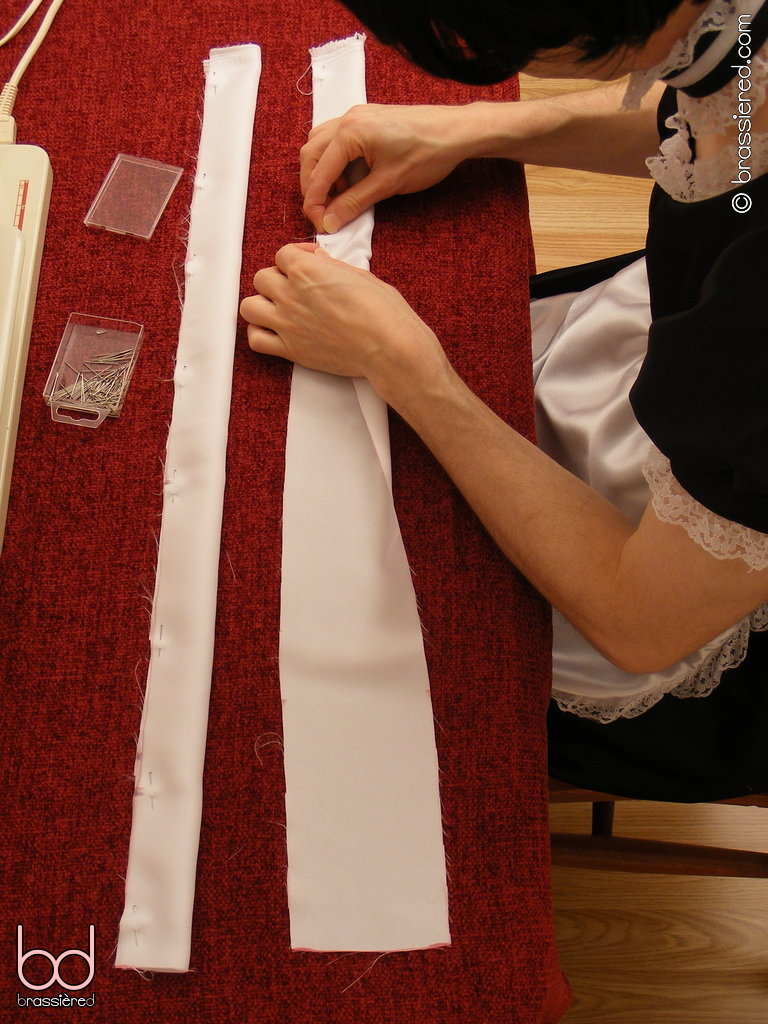
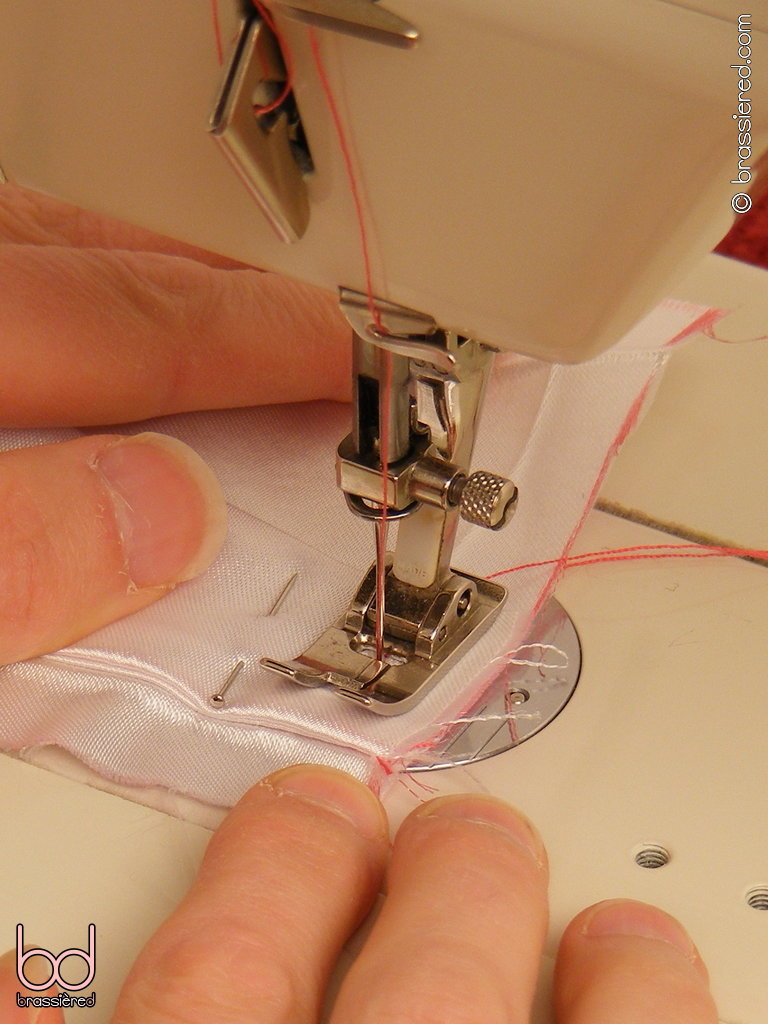
Don't sew all the way to the selvedge, however, but pause approximately 7.5cm / 3” away, as my husband does in Figure 5.25. With the needle down in the material, lift the presser foot to allow you to rotate the tie towards the fold. Return the presser foot back to the fabric, and sew to the fold, again taking care to lock the end of the stitch.
Your maid's apron needs two tie pieces, so do this and following steps twice.
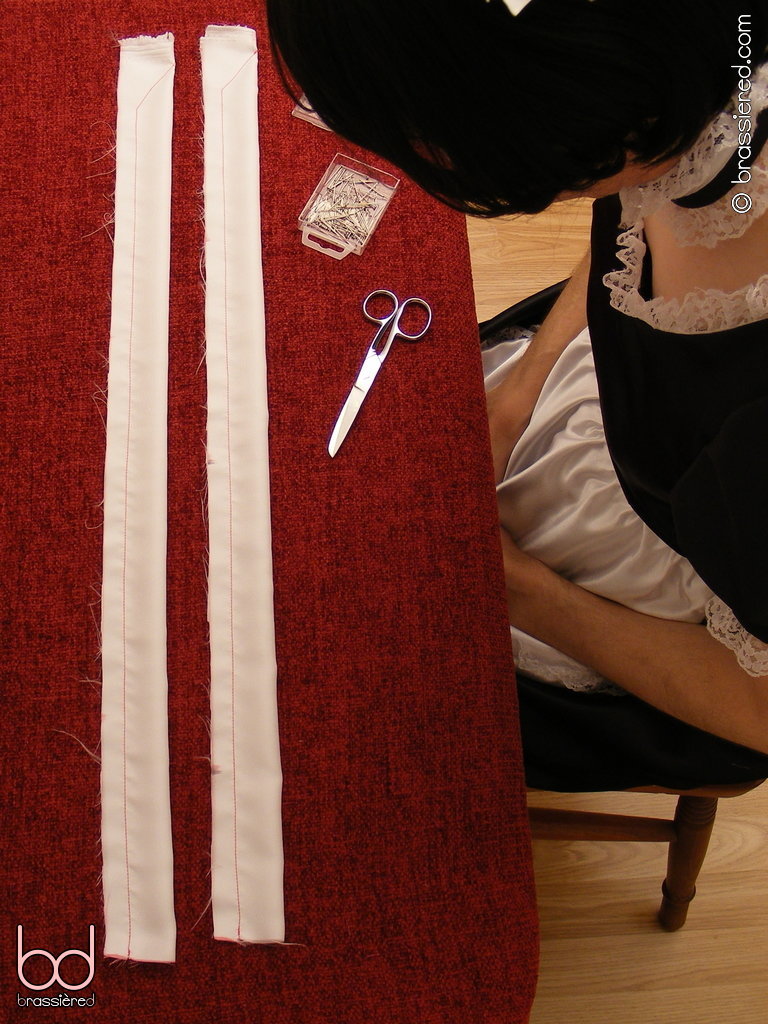
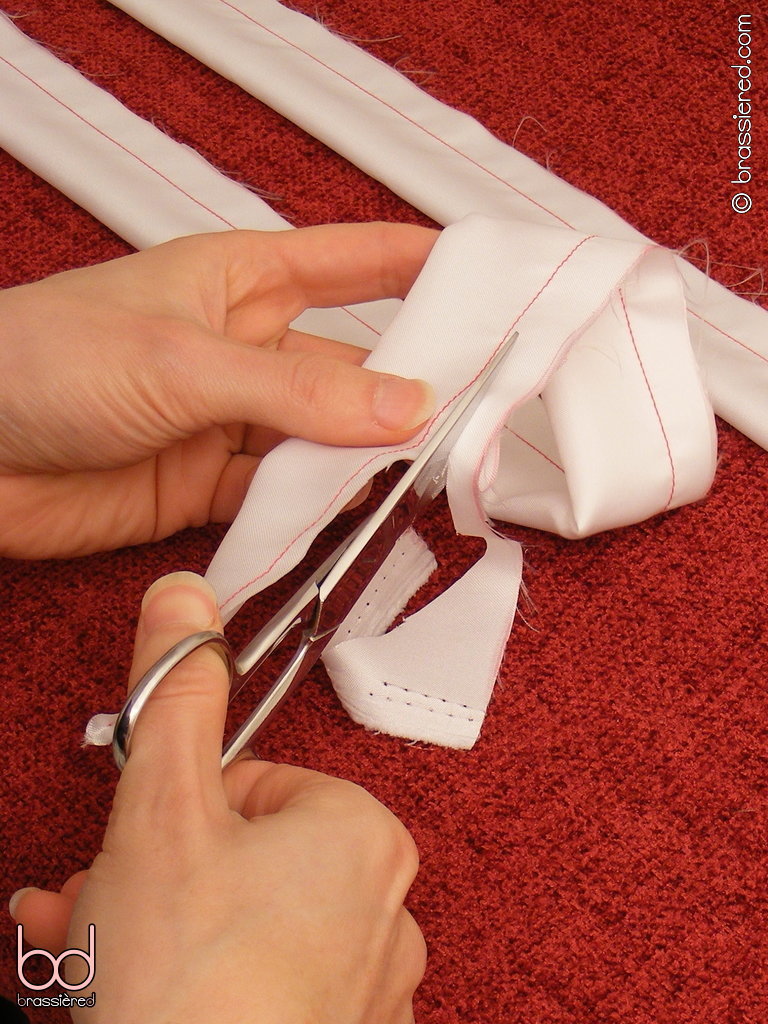
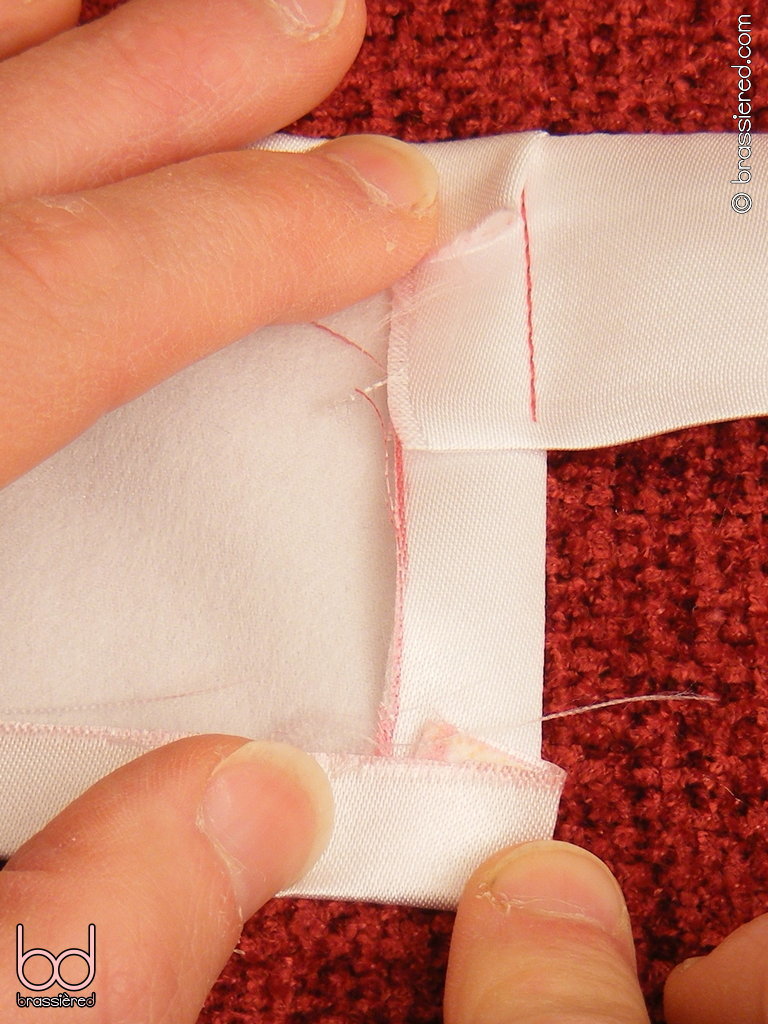
Trim the tie to leave 0.5cm / ¼” beyond the stitches (Figure 5.26).
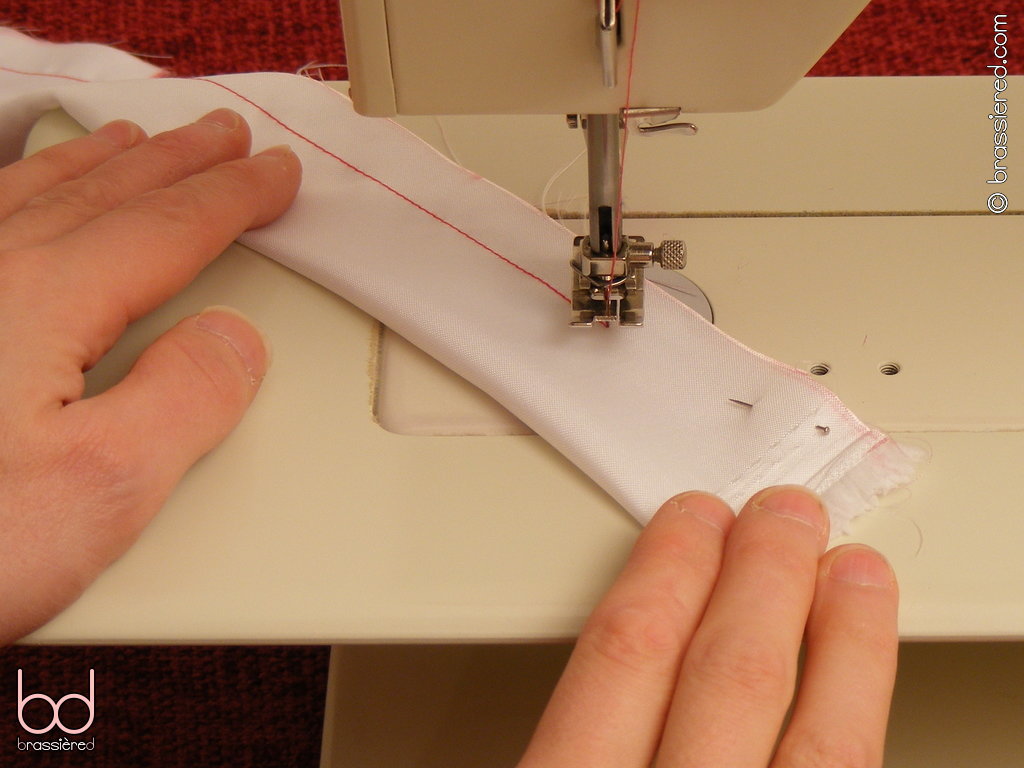
Turn the tie right side out. In Figure 5.27, my husband uses a pencil to make this fiddly process a little less difficult - the friction from the rubber eraser helps pull the fabric through. For some reason, turning ties inside out with only his fingers is something he particularly hates, making the simple act of denying my sissy maid a pencil a surprising way to stress his submission. Hopefully, you'll find this far less of a fuss!
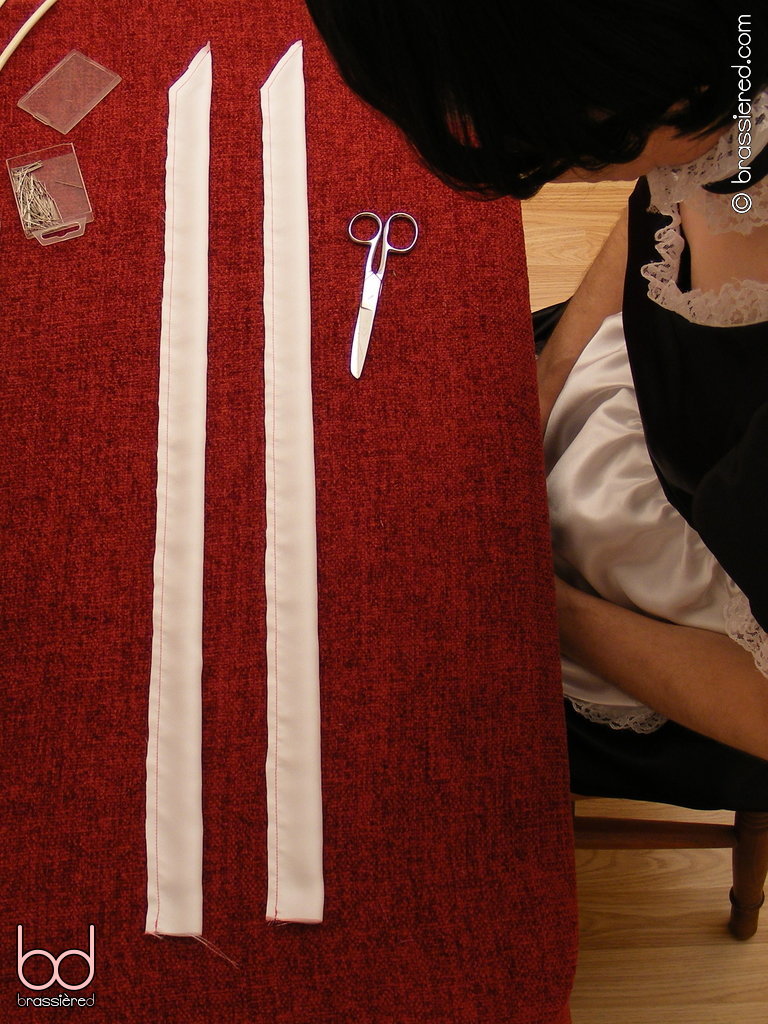
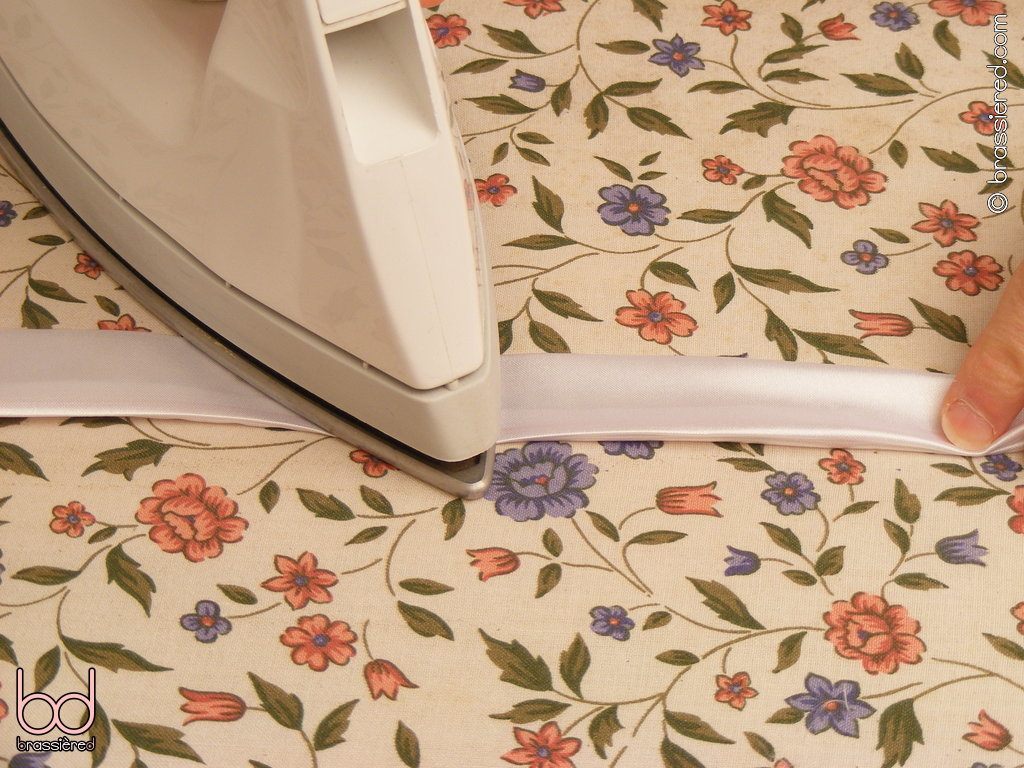
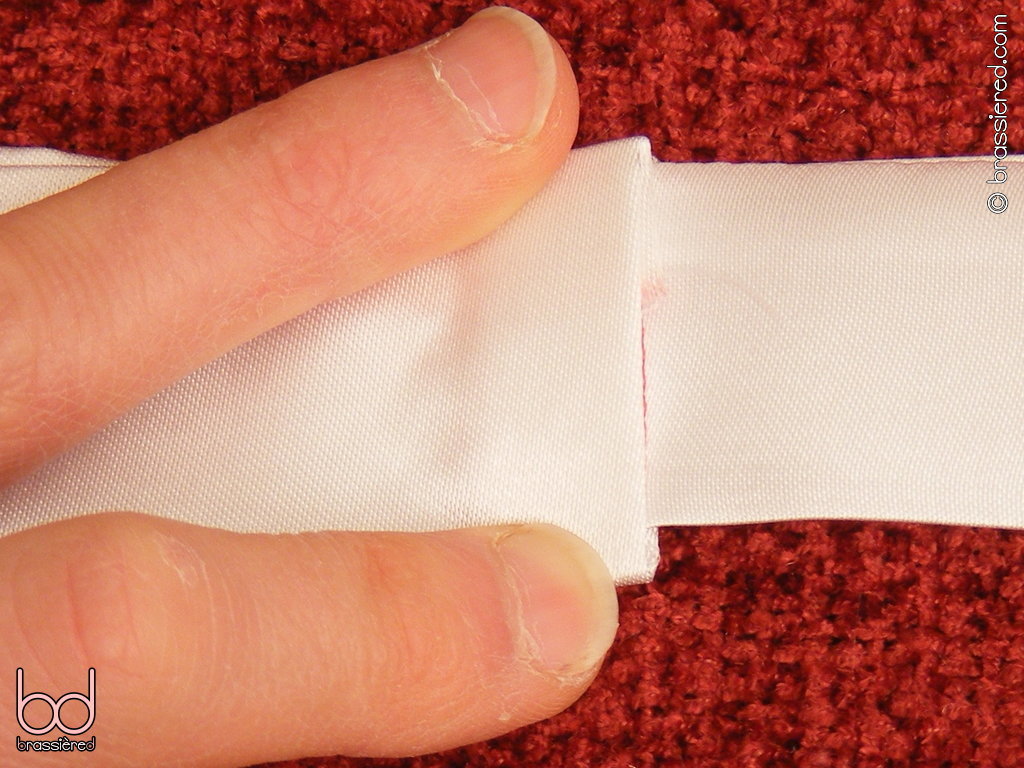
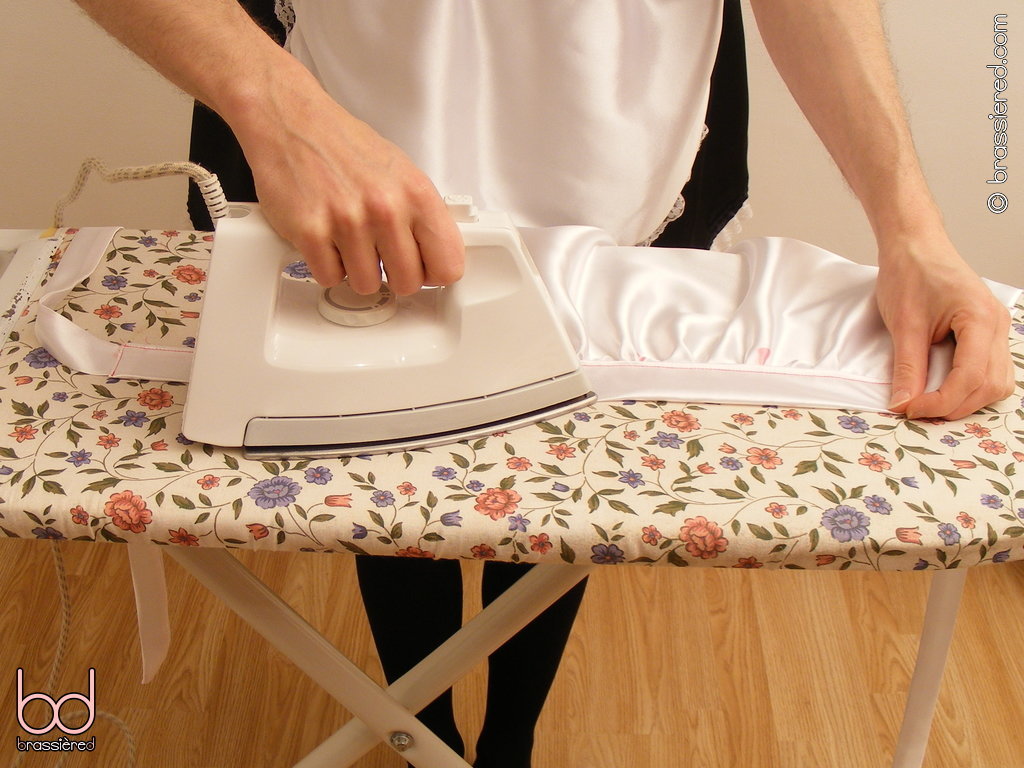
Press the resulting tube flat, adopting a side-to-side movement with your iron to help minimise the amount of fabric that gets folded inside (Figure 5.28). Ideally, you'll want the seam to be on the very edge of the double-sided strip. A picky mistress might insist her maid turns his tubes inside out and starts again should she not be satisfied with efforts, providing ample motivation to get it right first time!
Putting the pieces together
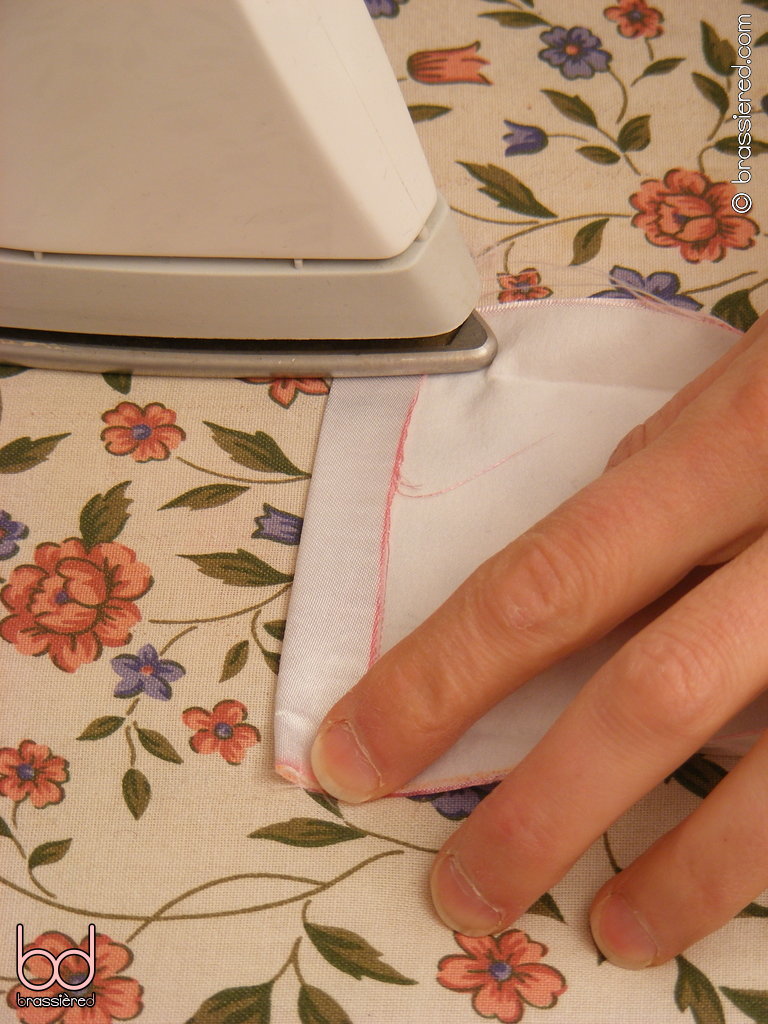
Returning to your waistband, with the right side down, fold each of the short edges over by your seam allowance and press (Figure 5.29). Take care to keep the creases along the long edges of the waistband, if necessary re-ironing them afterwards.
Pin a tie to the end of the waistband, pointing both its triangular tip and side seam towards the bib, as per Figure 5.30. Sew in place with a regular stitch just inside the crease, then repeat the process on the other side. Taking care with the side seams here ensures that the tips of the ties will slope in the same direction when the apron is done.
Folding first the short edge of the waistband, then the two long edges, you can now hide the stitches inside, as my husband demonstrates in Figure 5.31.
Using a pin to hold everything together, sewn another line of regular stitches through all the layers of fabric (Figure 5.32). Again, repeat with the other tie.
There's only one edge left to sew now. Pin the open edges of the waistband together, taking care to conceal the stitching of the bib. In Figure 5.33, my husband has placed the pins both horizontally and vertically, positioning them so that he can run the waistband through the sewing machine with the bib to the left. With the horizontal pins, check that the gap between them and the edge of the waistband is the same on both the front and the back of the apron, adjusting as necessary. Doing so confirms that the two edges of the waistband remain aligned even where the bib makes it difficult to determine this directly.
When you're happy with your pinning, sew a regular stitch from one end of the waistband to the other, staying consistently close to the edge. Once again, my husband uses the inside of the presser foot as a ⅛” guide.
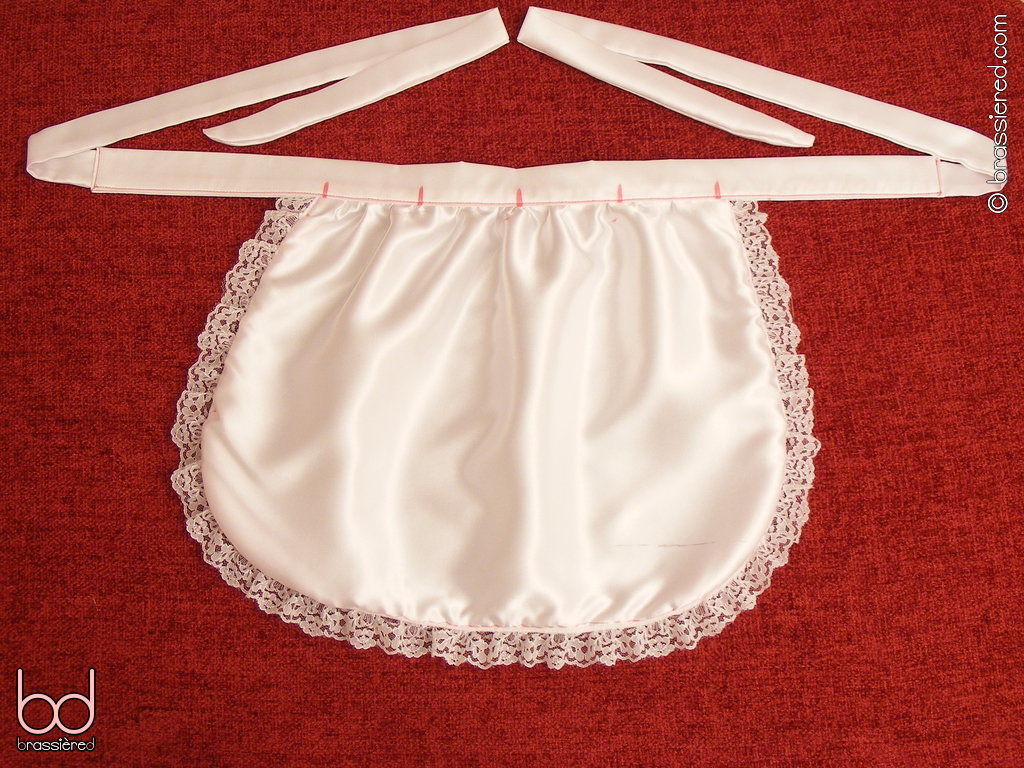
Turn the apron over, and check that the stitching does indeed pass through both sides of the waistband, as well as concealing the stitching of the bib - if necessary, unpick any faulty sections and repeat. The wrong side may wobble a little, but if you've used white thread rather than the pink that my husband has for demonstration purposes, this shouldn't be too obvious. Figure 5.34 shows him examining his almost finished apron - not a bad job, darling!
All that's left to do now is to make the fold in the waistband more permanent by pressing it (Figure 5.35). After giving it a wash to remove the marks on the bib, your maid's apron is ready to be worn! You merely need a uniform to wear with it, and we'll be making one of those next.